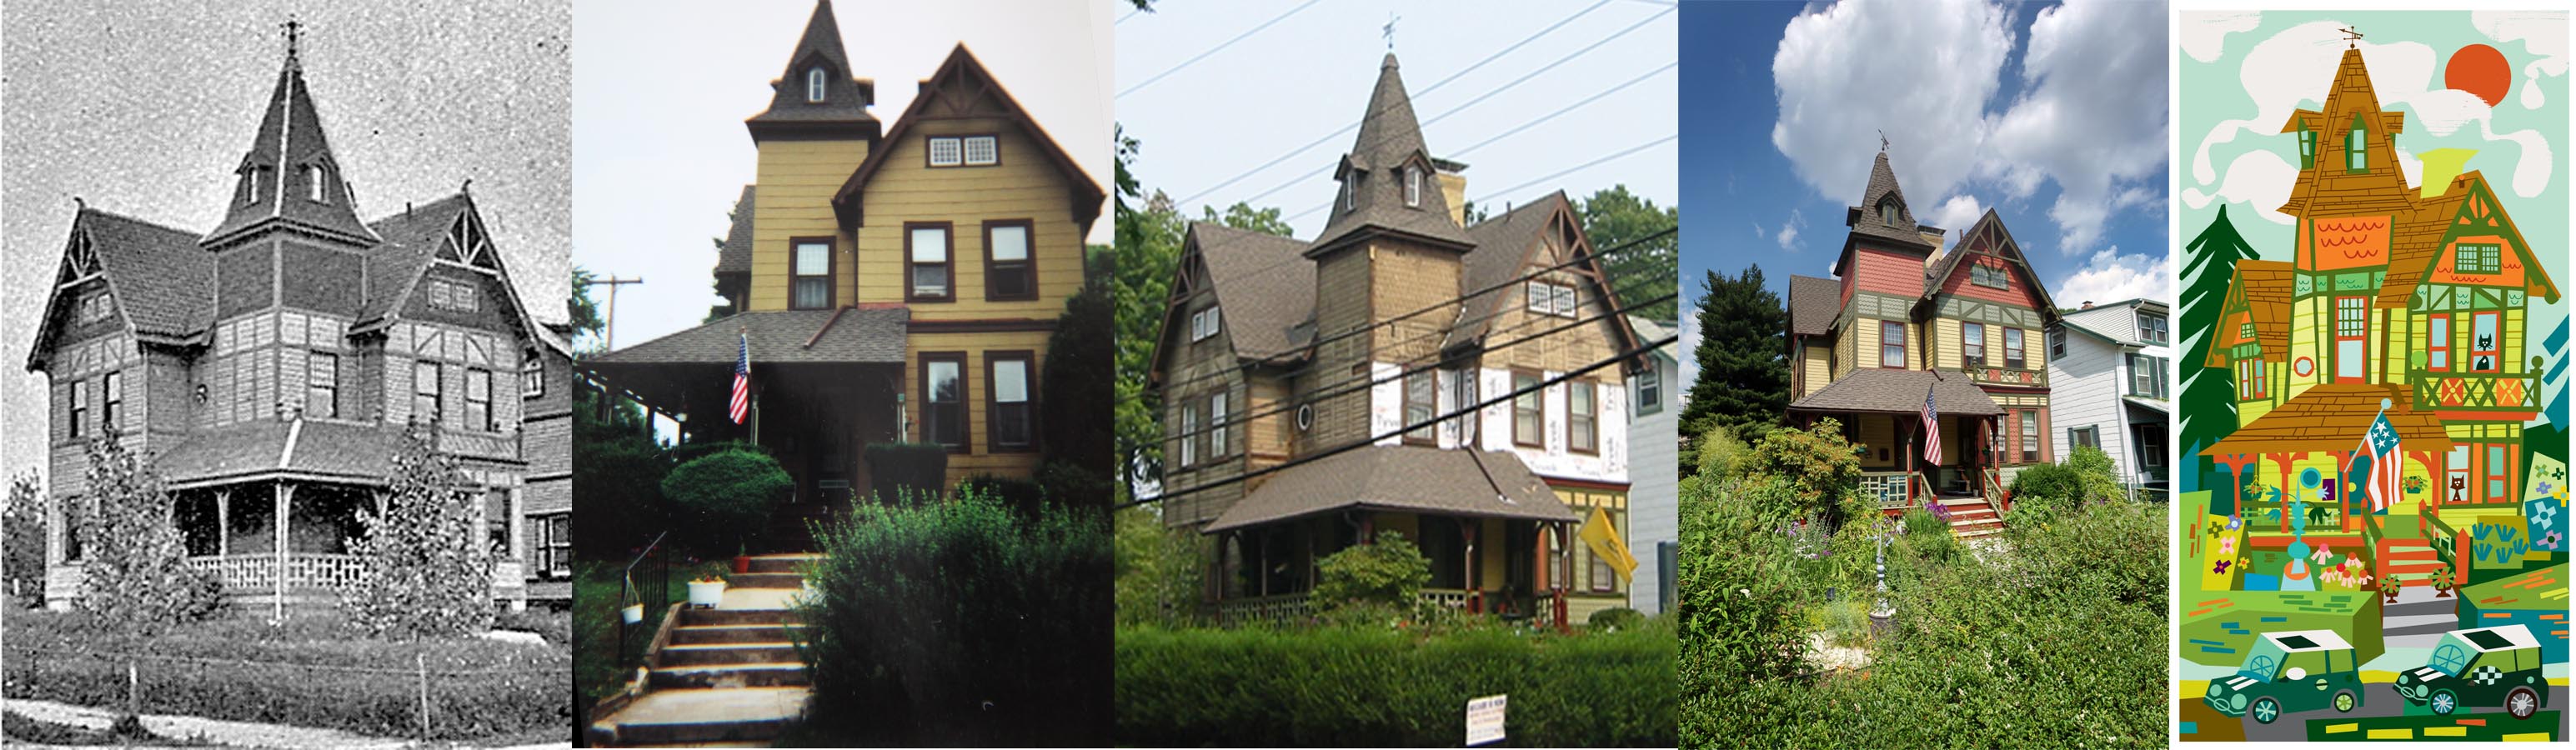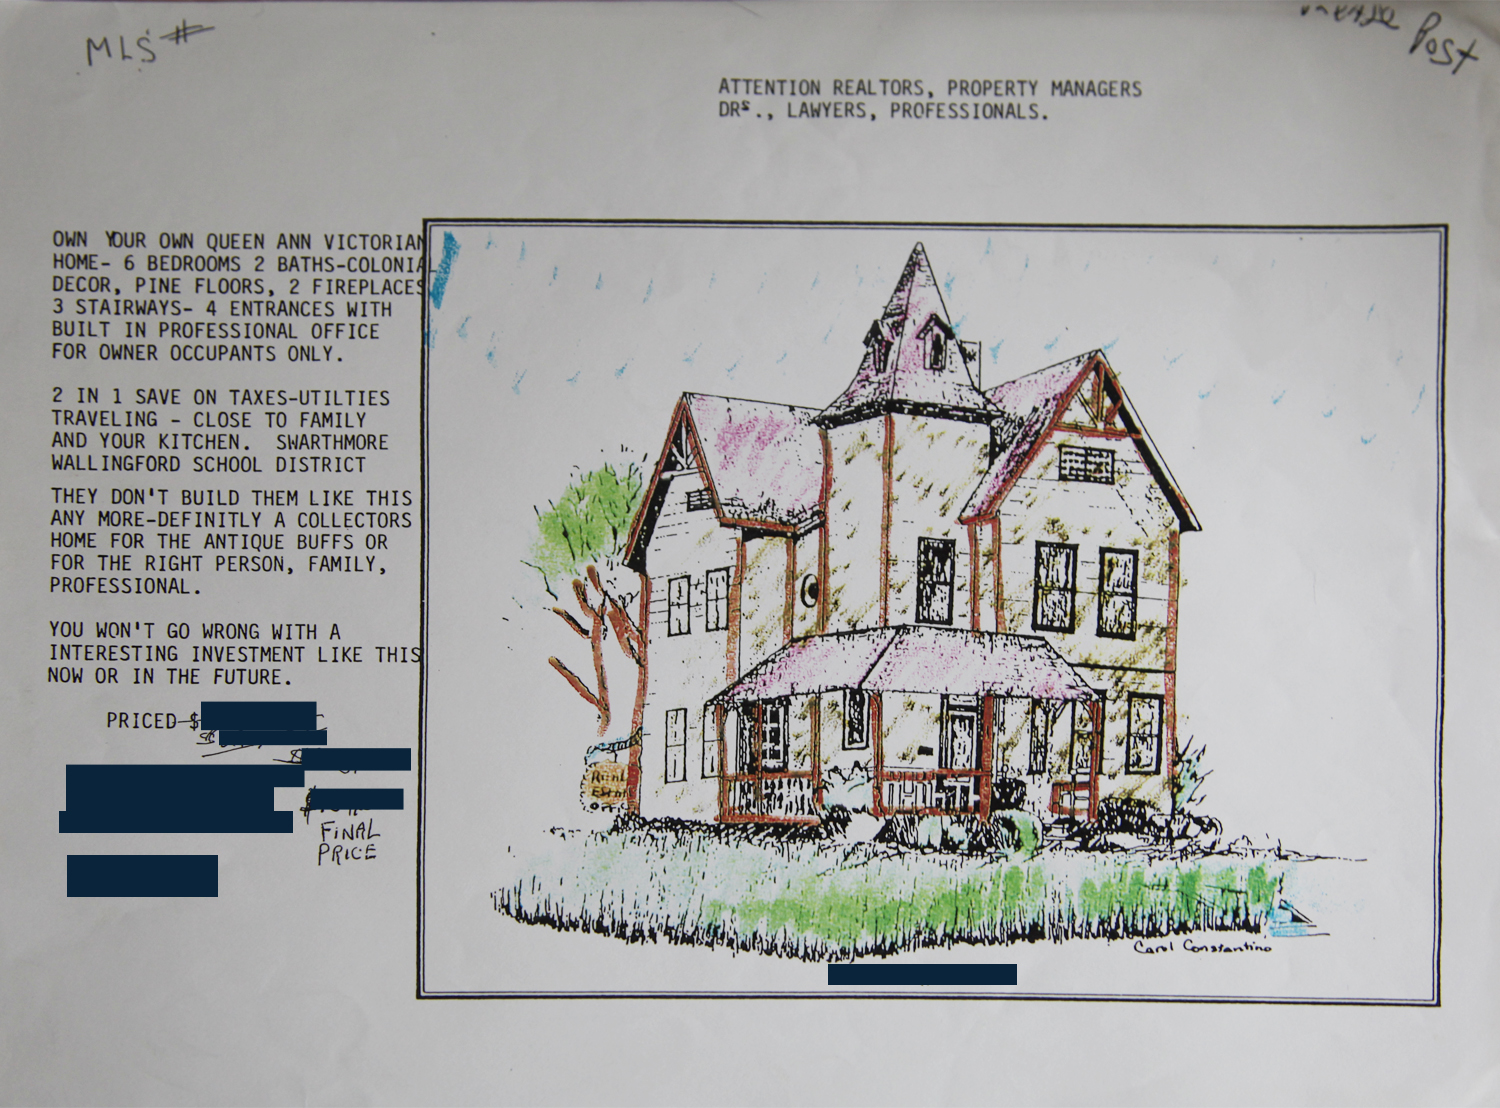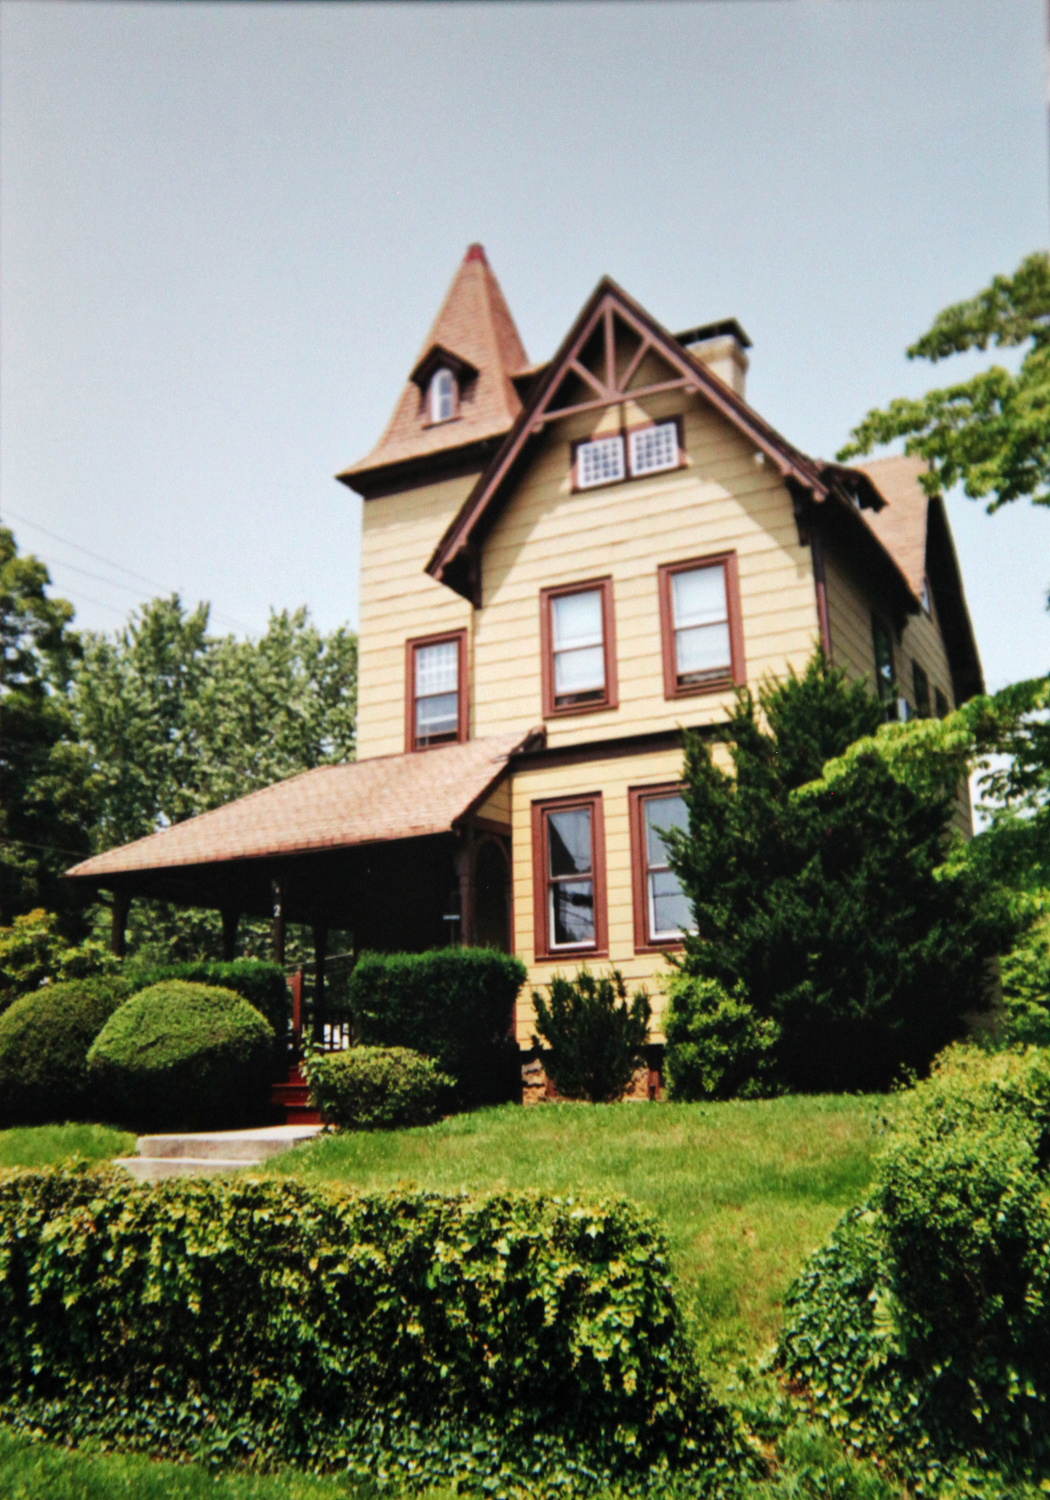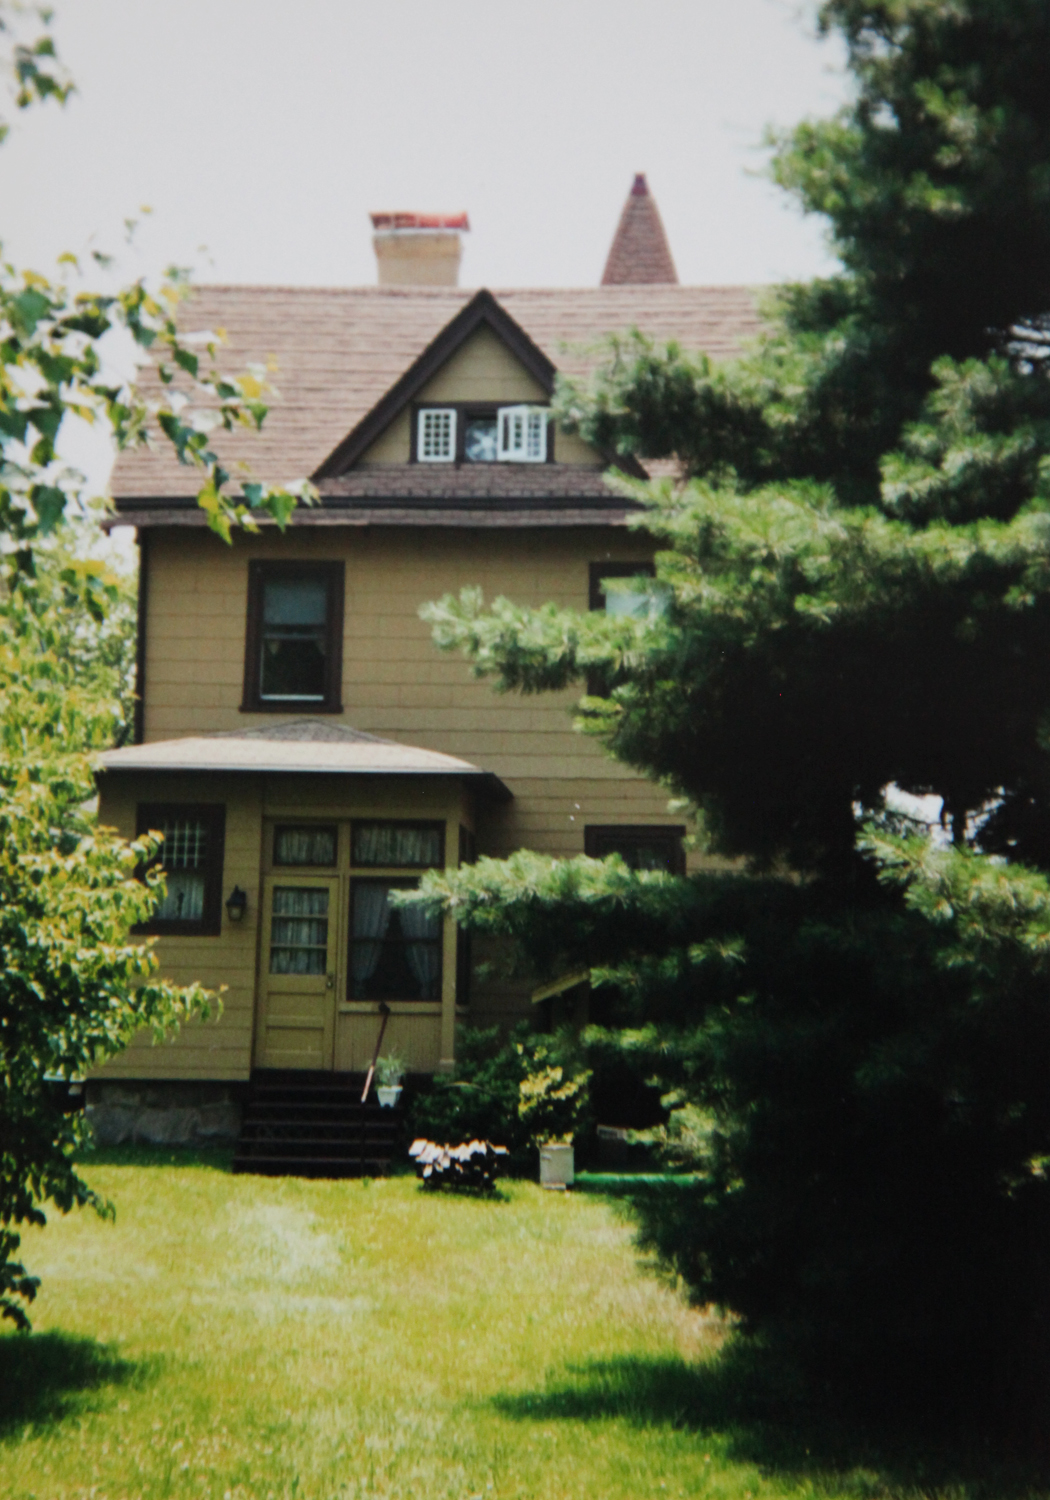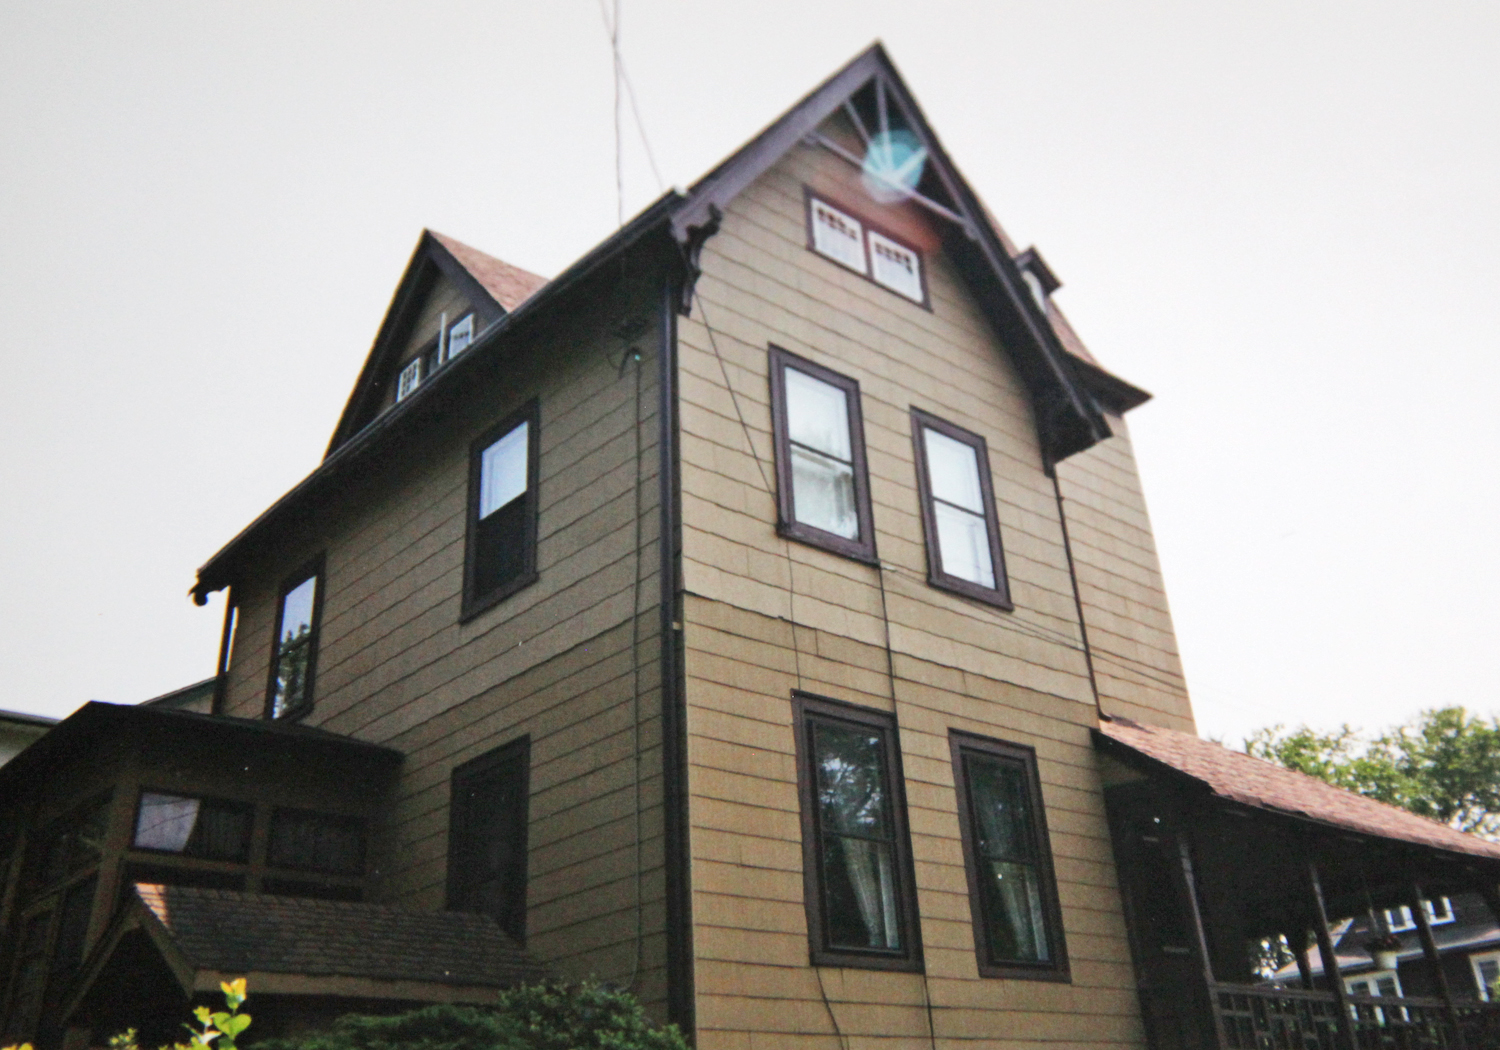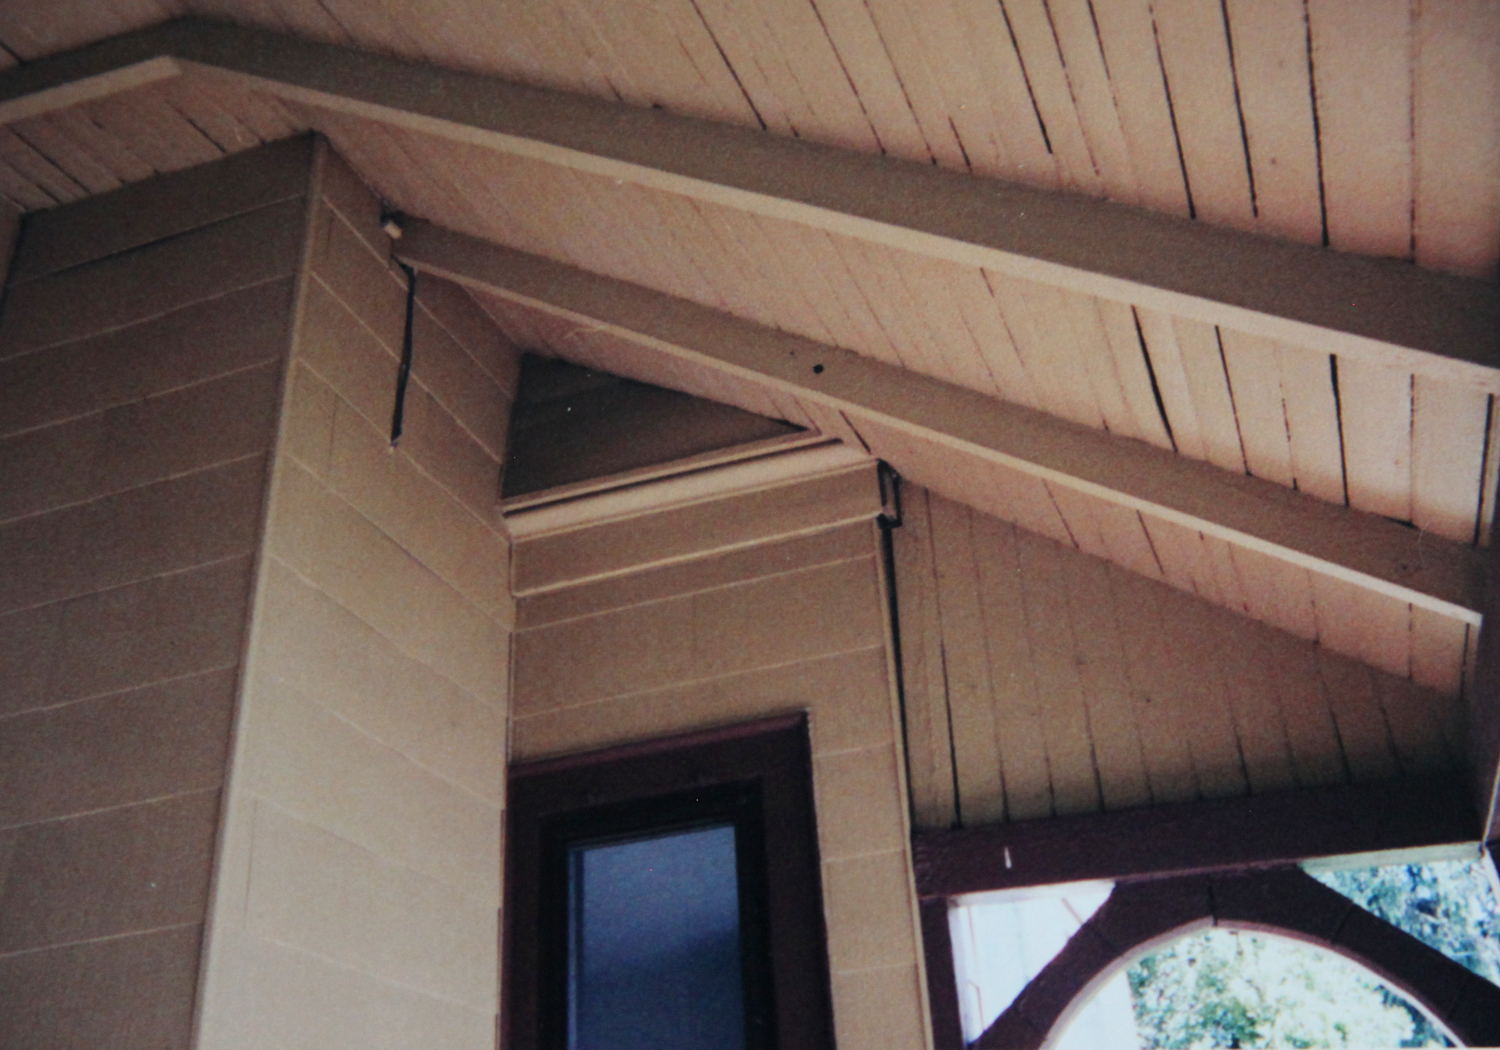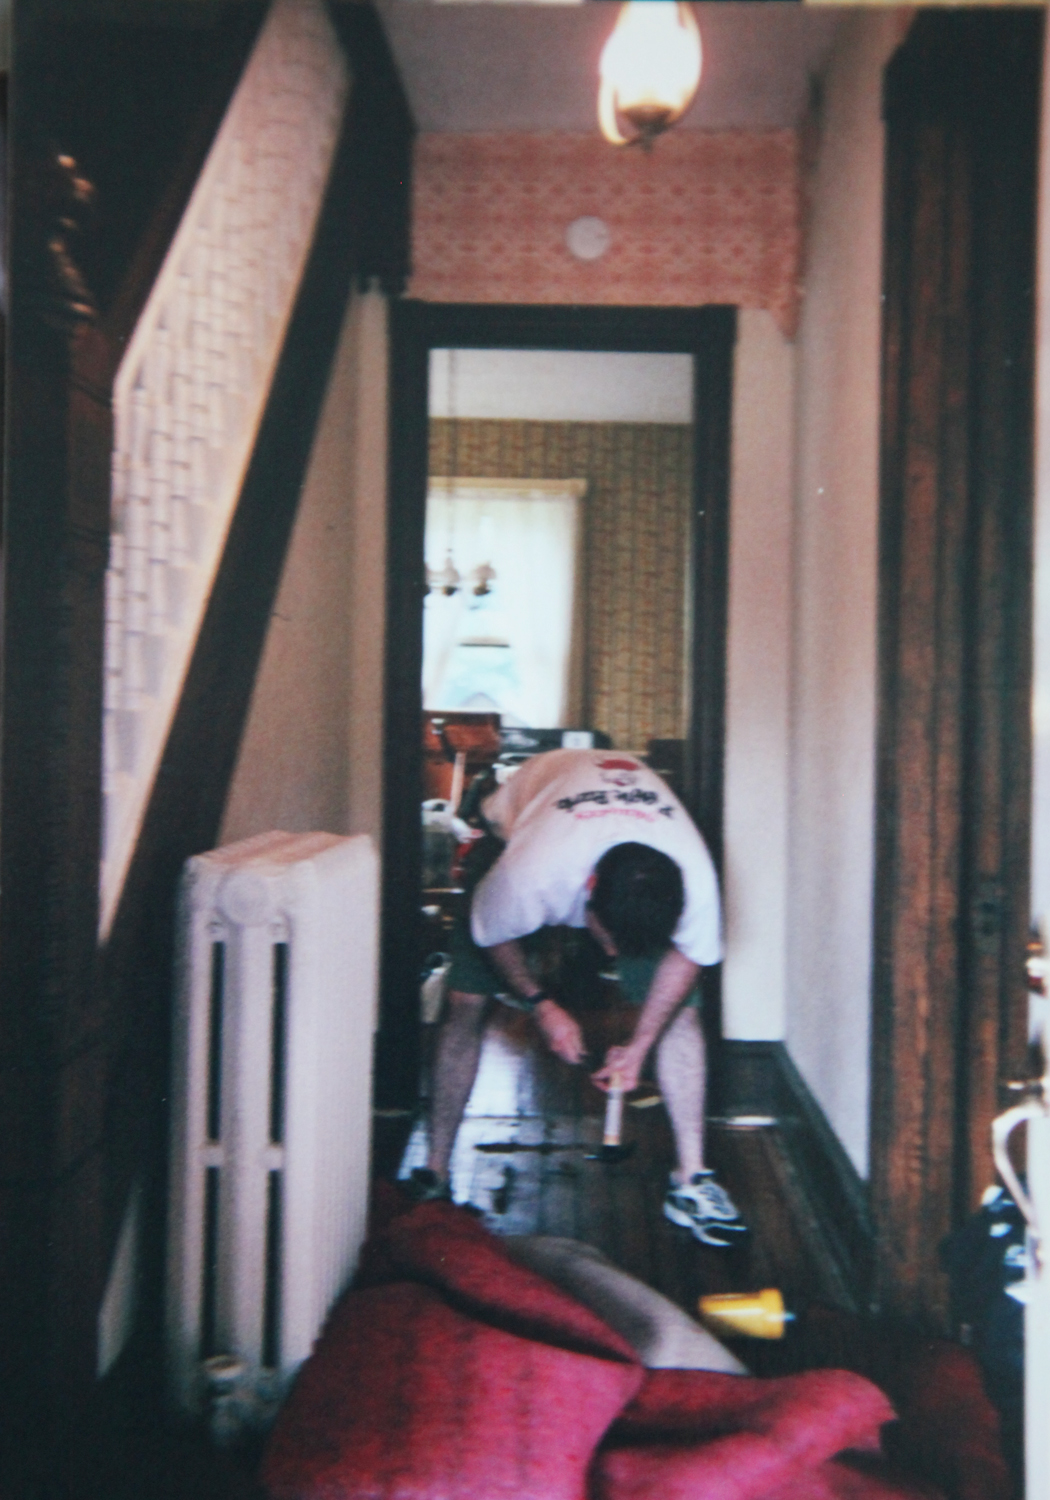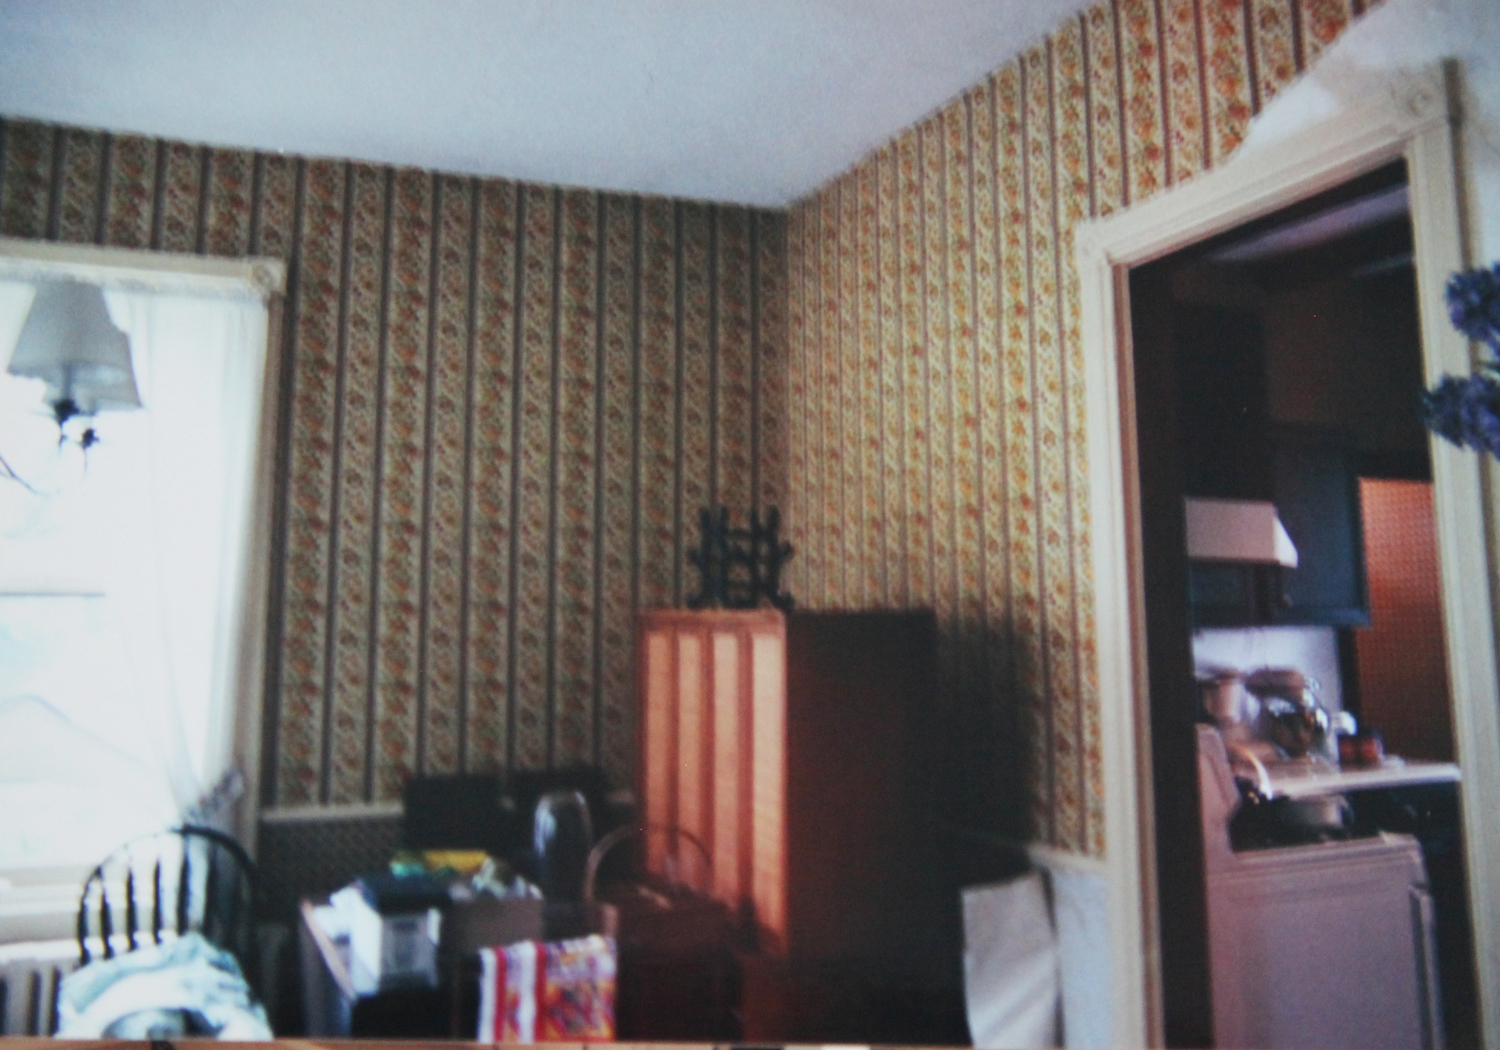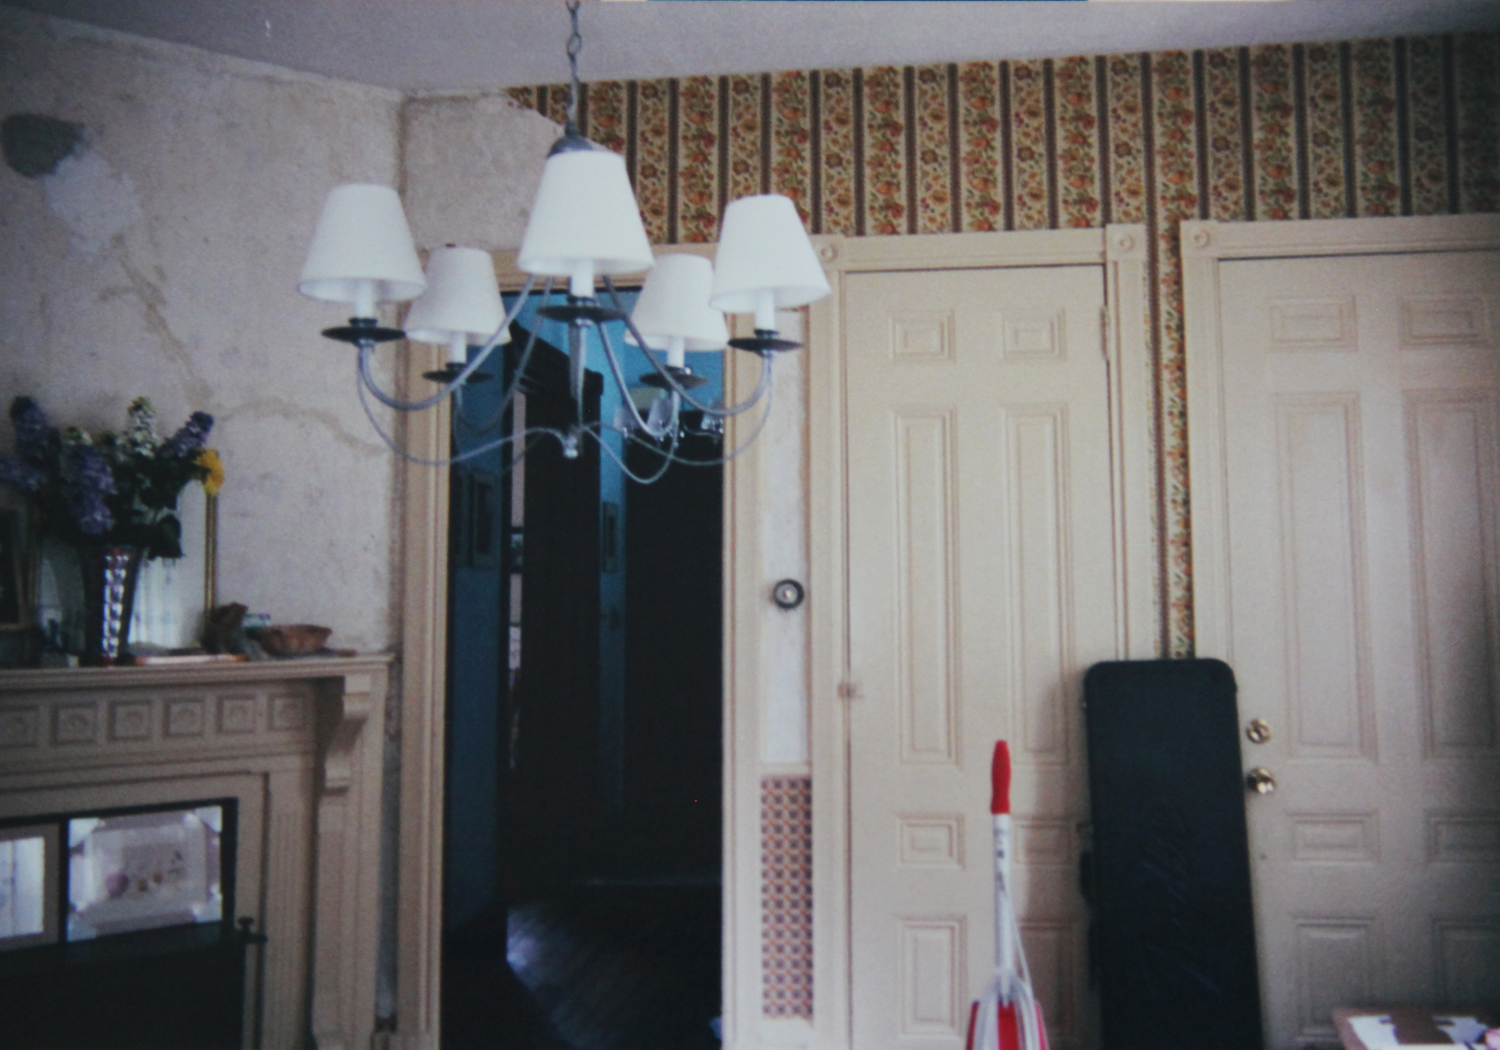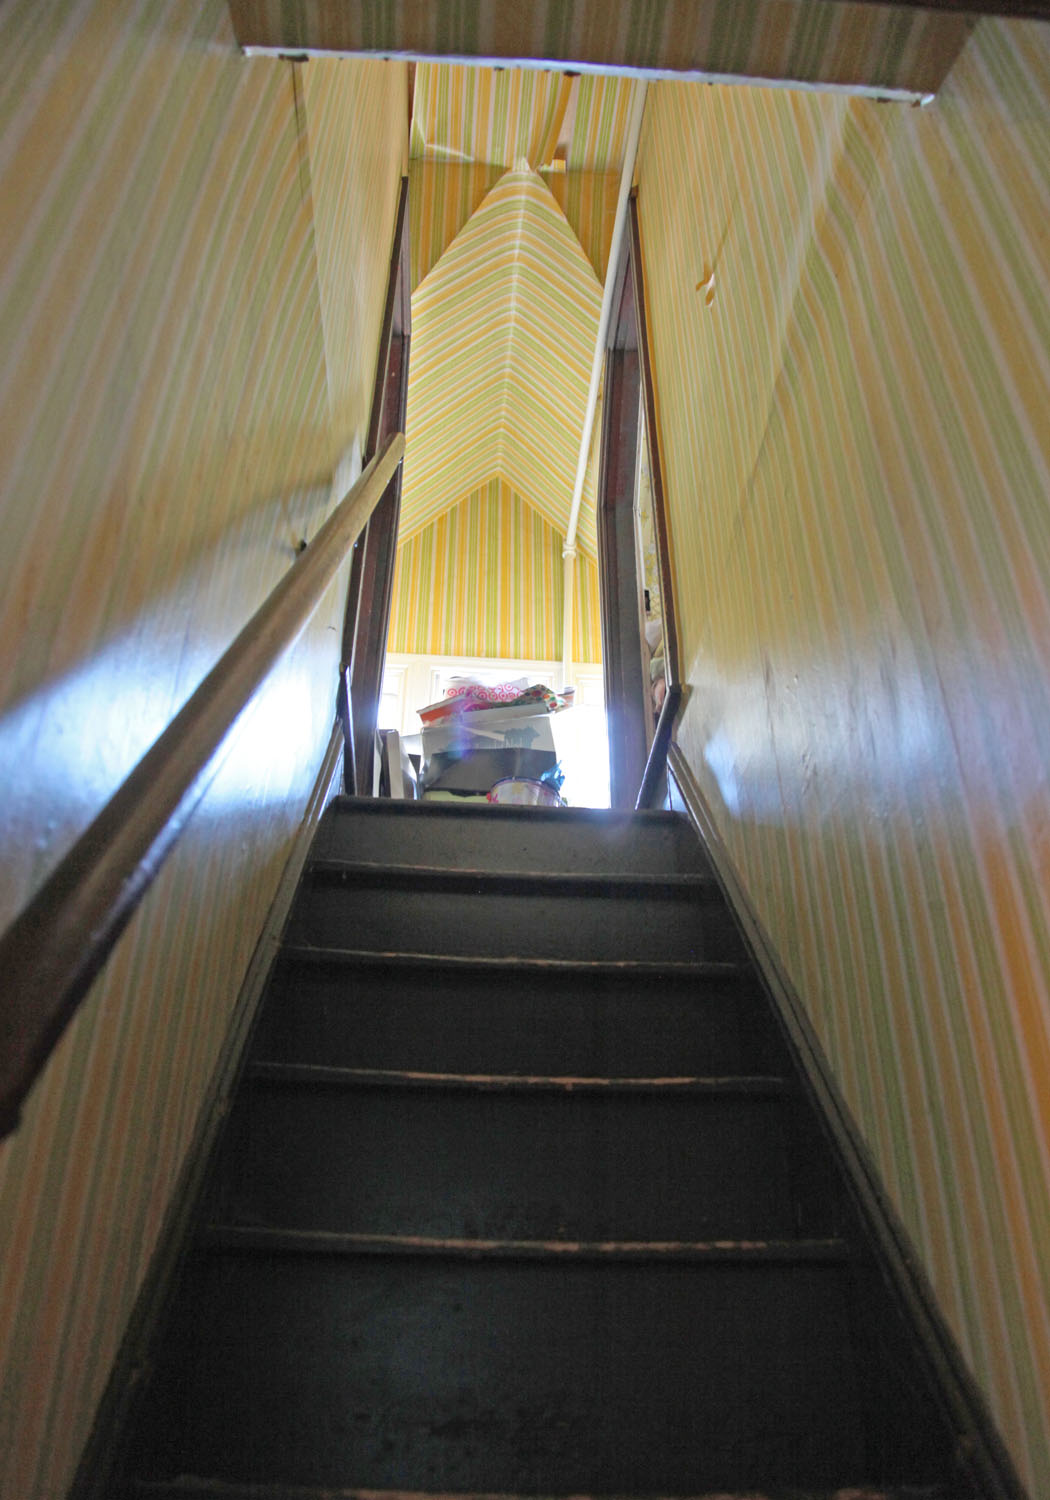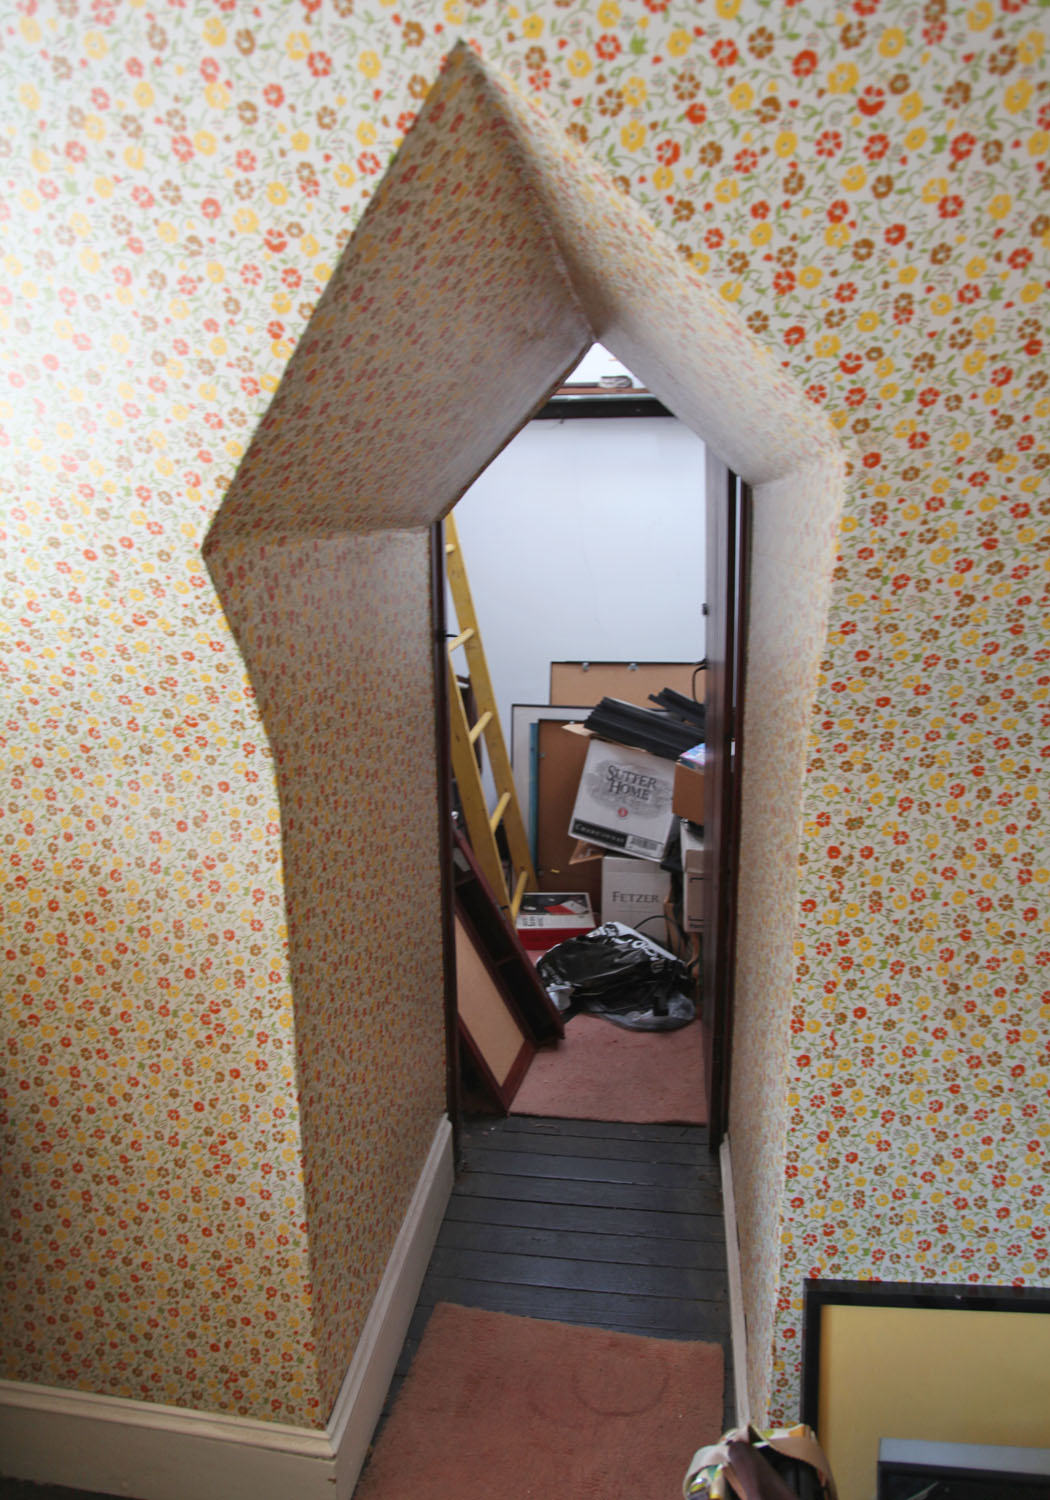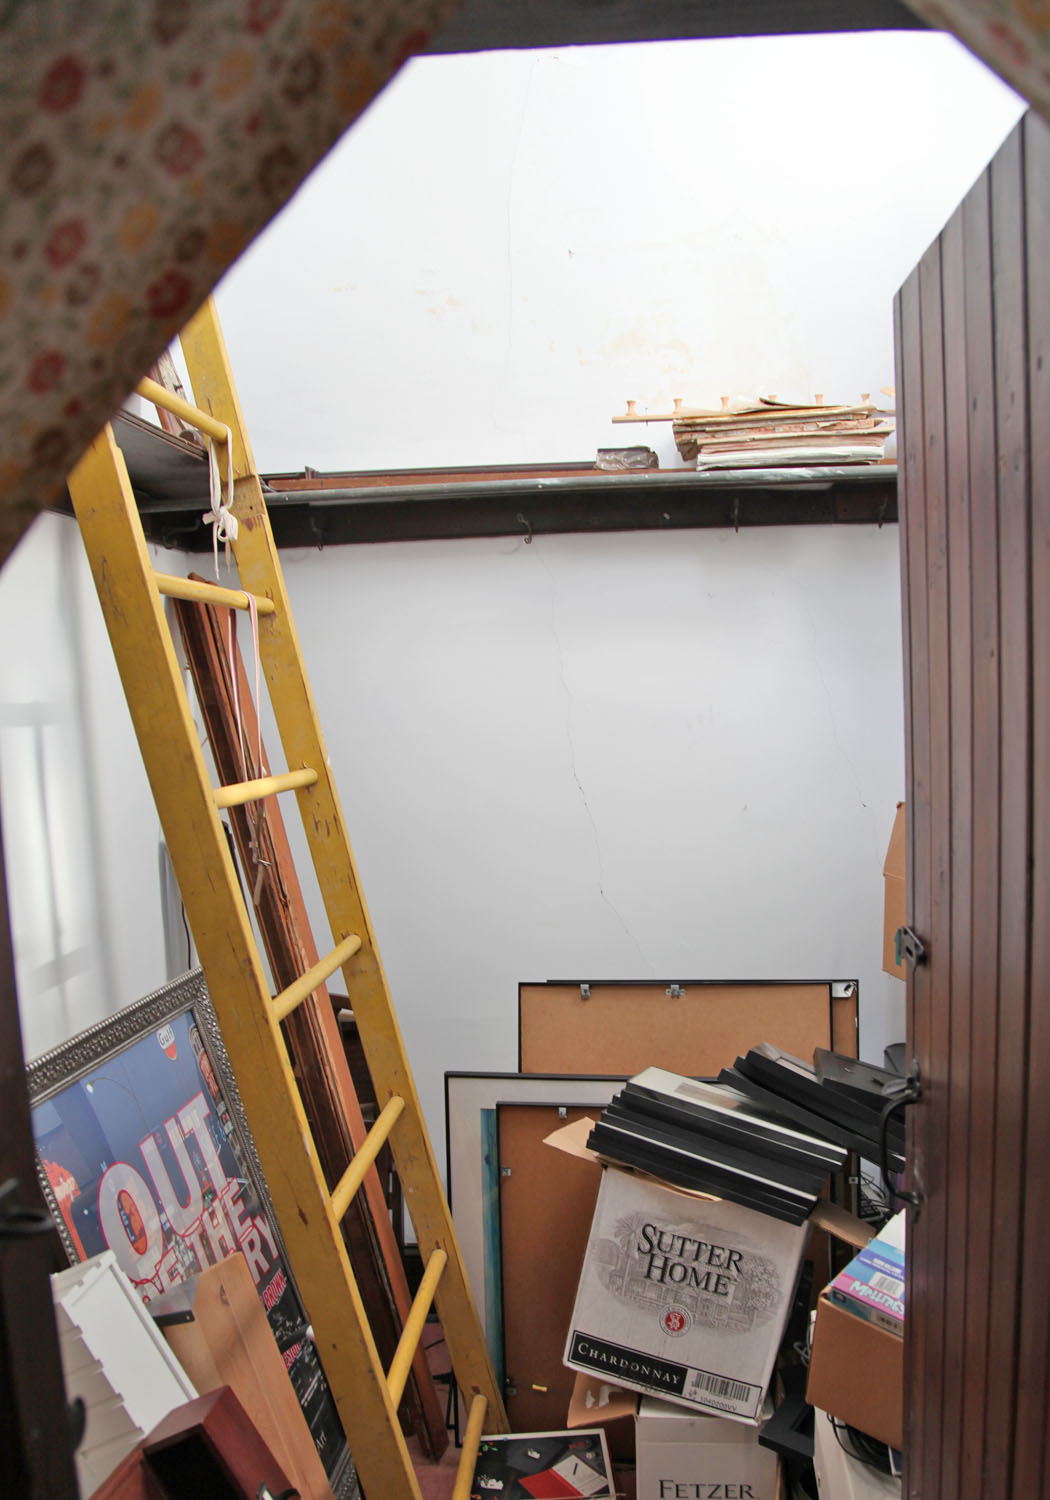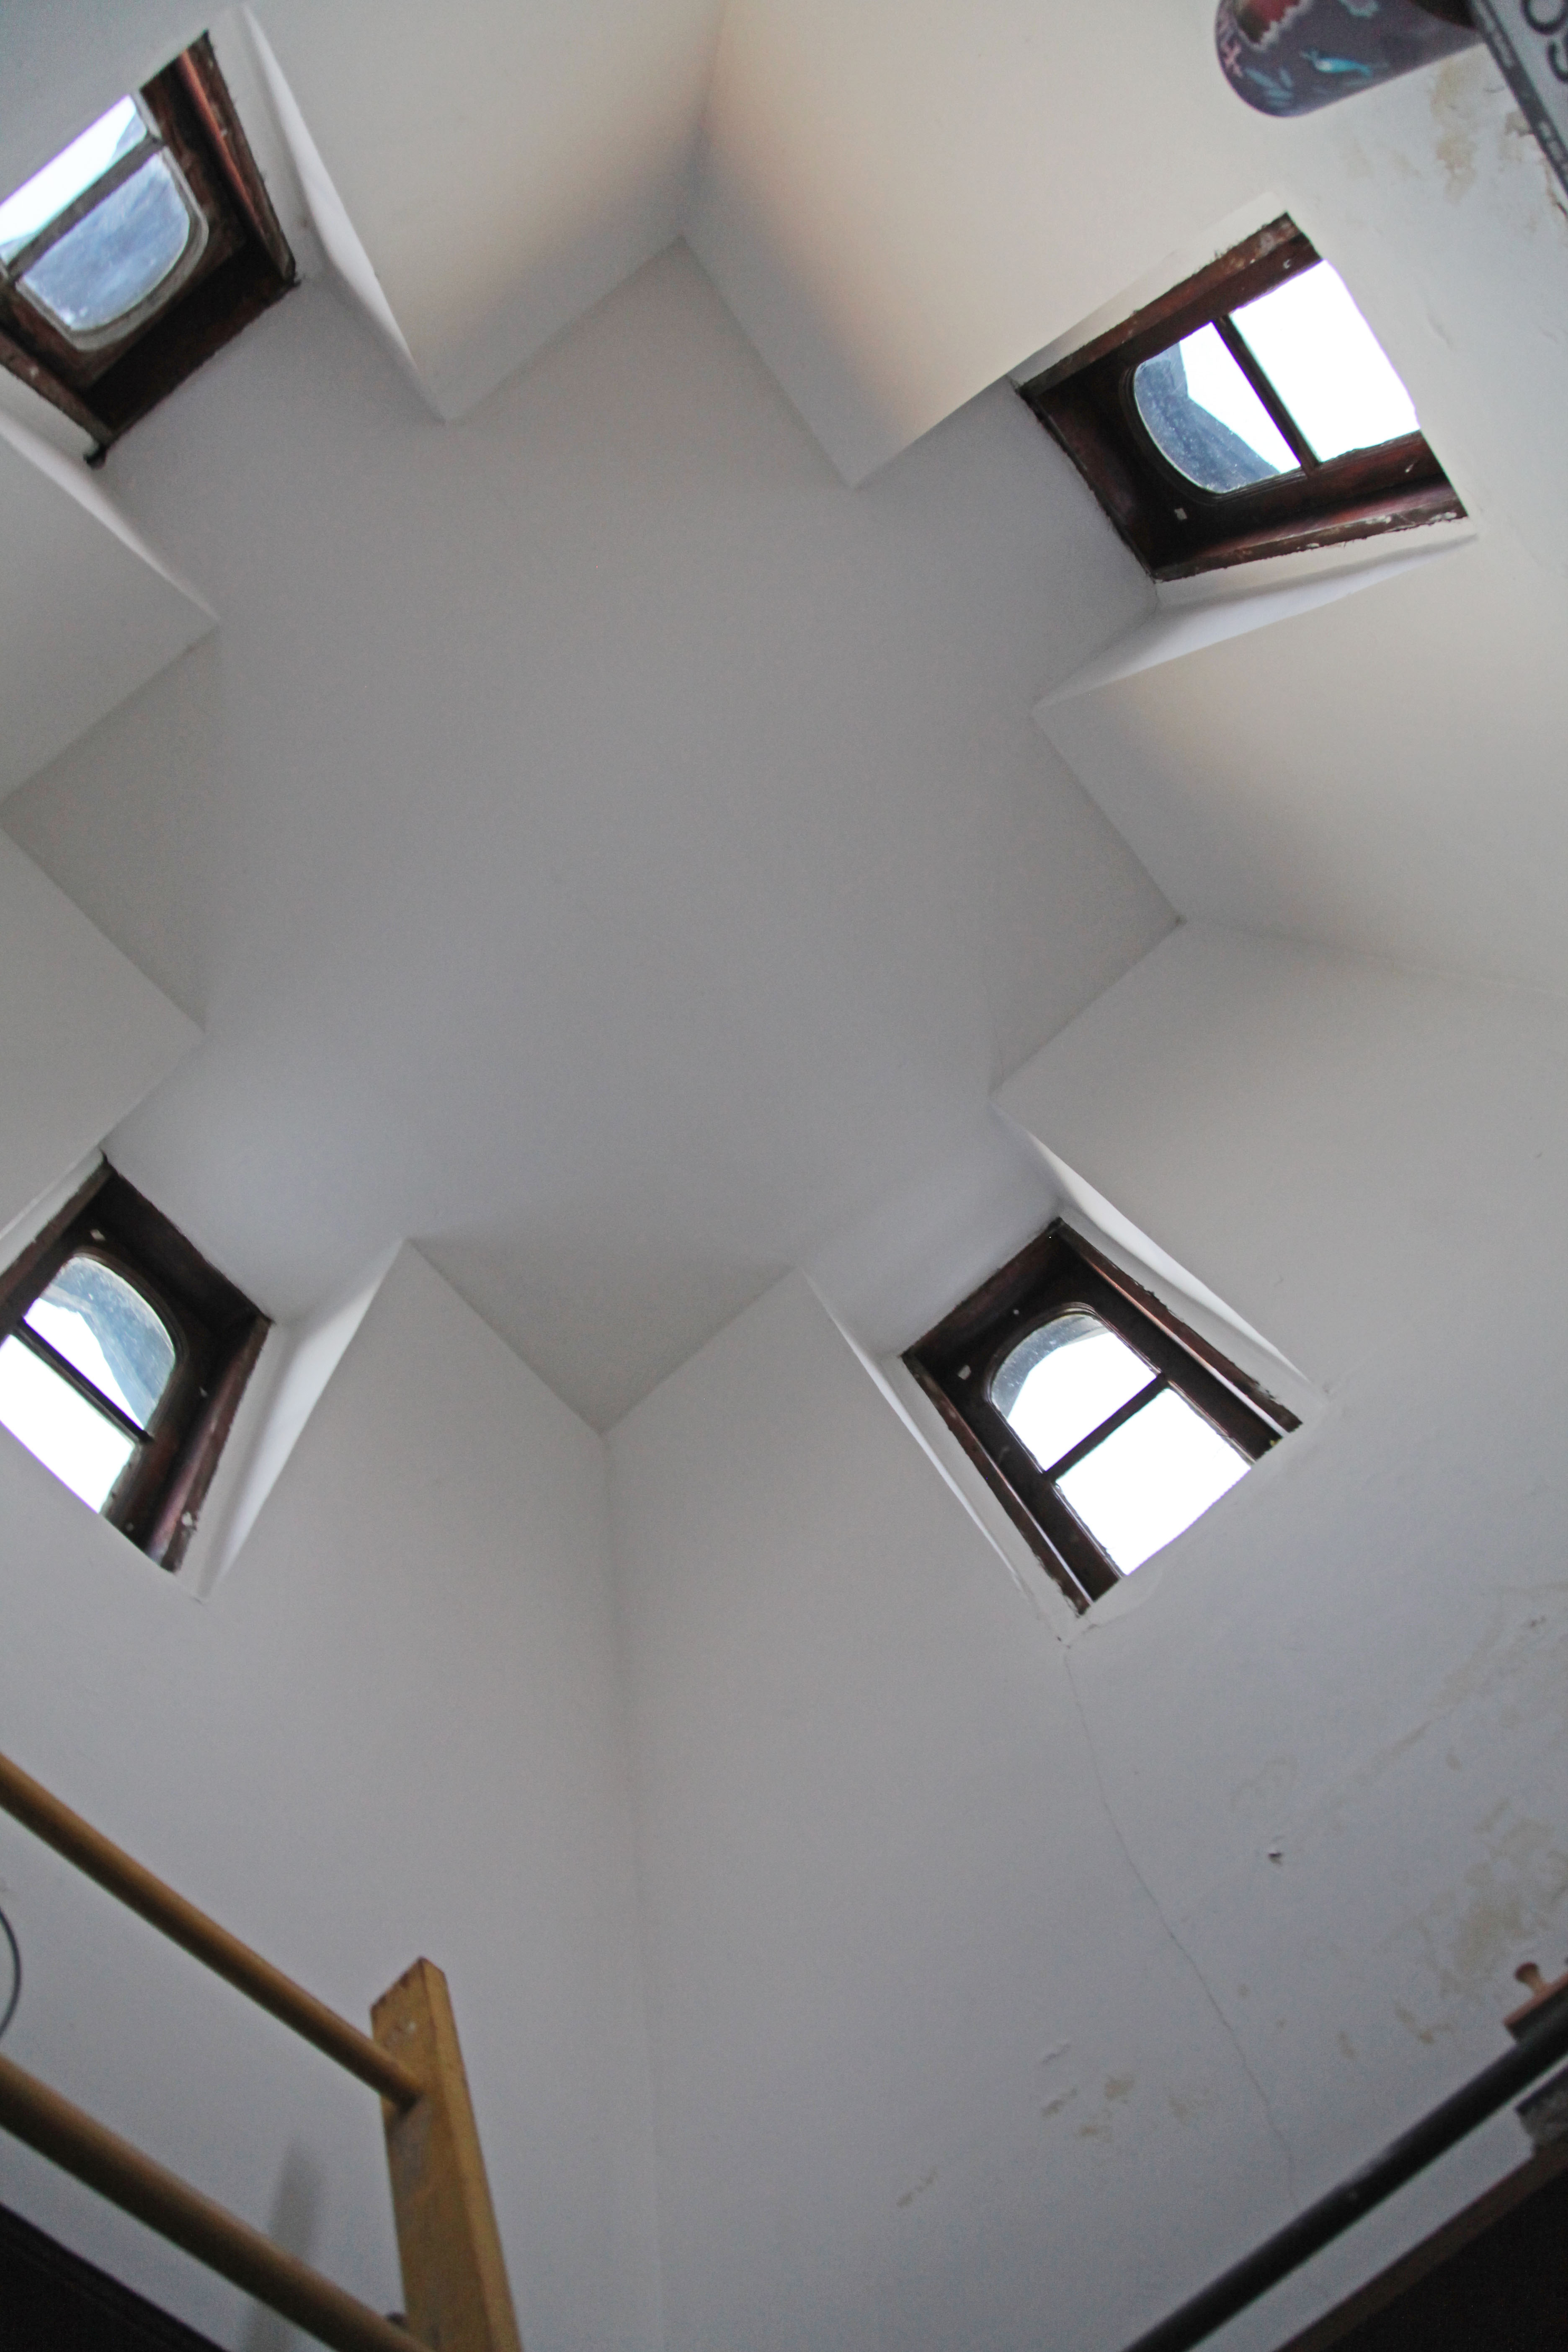
We had some amazing spring time weather over the weekend! Actual sustained blue skies, without the winter winds! We managed to open the windows in the third floor to try and air out from the sprayfoam. We also started planning for work in the tower. I’m not sure if this should really be the first priority, but it is definitely the most interesting. One of the reasons we bought the house was because it had a tower, but it has been totally unusable (at least until now). Isn’t that how all rational people choose their houses?
For years I have be imaging the space with a second story fort (even before kids) so that you could actually see out the windows. We also thought it would be really cool to clad the inside with half round cedar shingles (imagine the tower being inside out) and a beadboard ceiling to hide the new giant hole. But beyond that, it has always been a long away fantasy. Well now we are actually working on making it happen! Part of the rational is that we need to have the windows worked on, and wouldn’t it be easier to do that if there was platform up there to access them? And well why we are at, should we go ahead and put some closet space below (which will come in handy when we are working on the master bedroom and have to give up our closets temporarily). Besides the kids keep asking when their fort is going to be finished.
The Game Plan
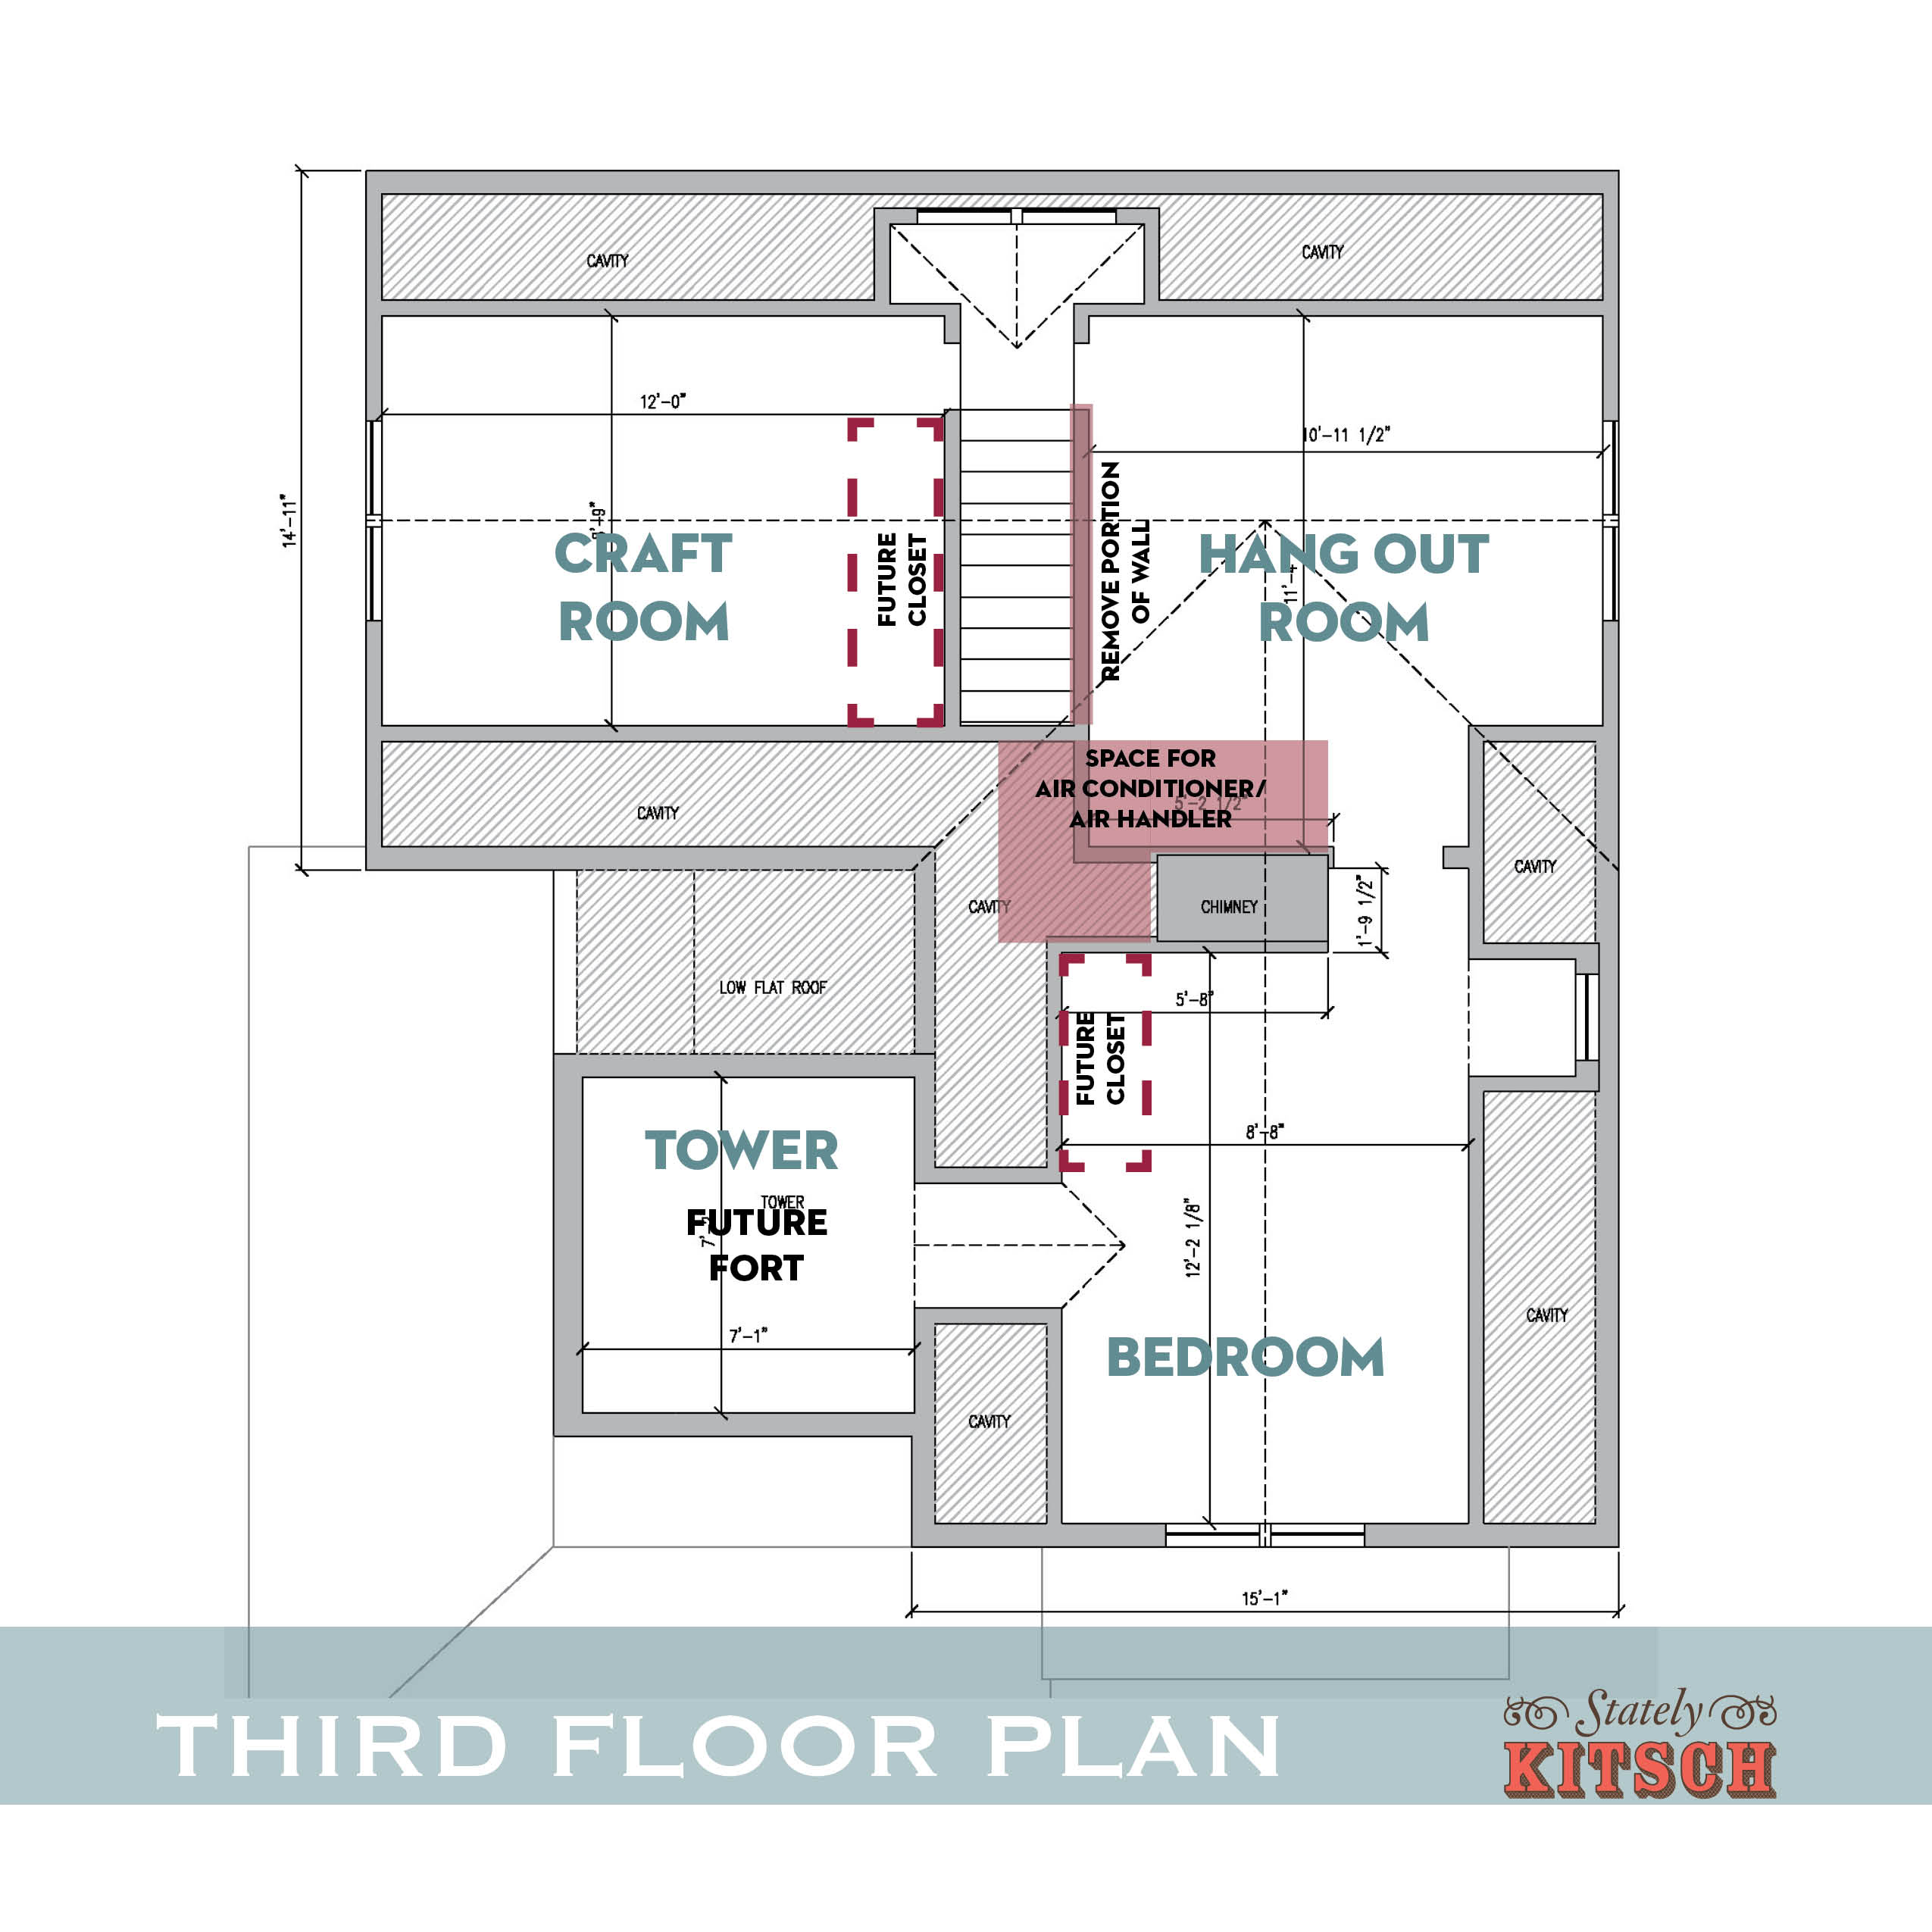
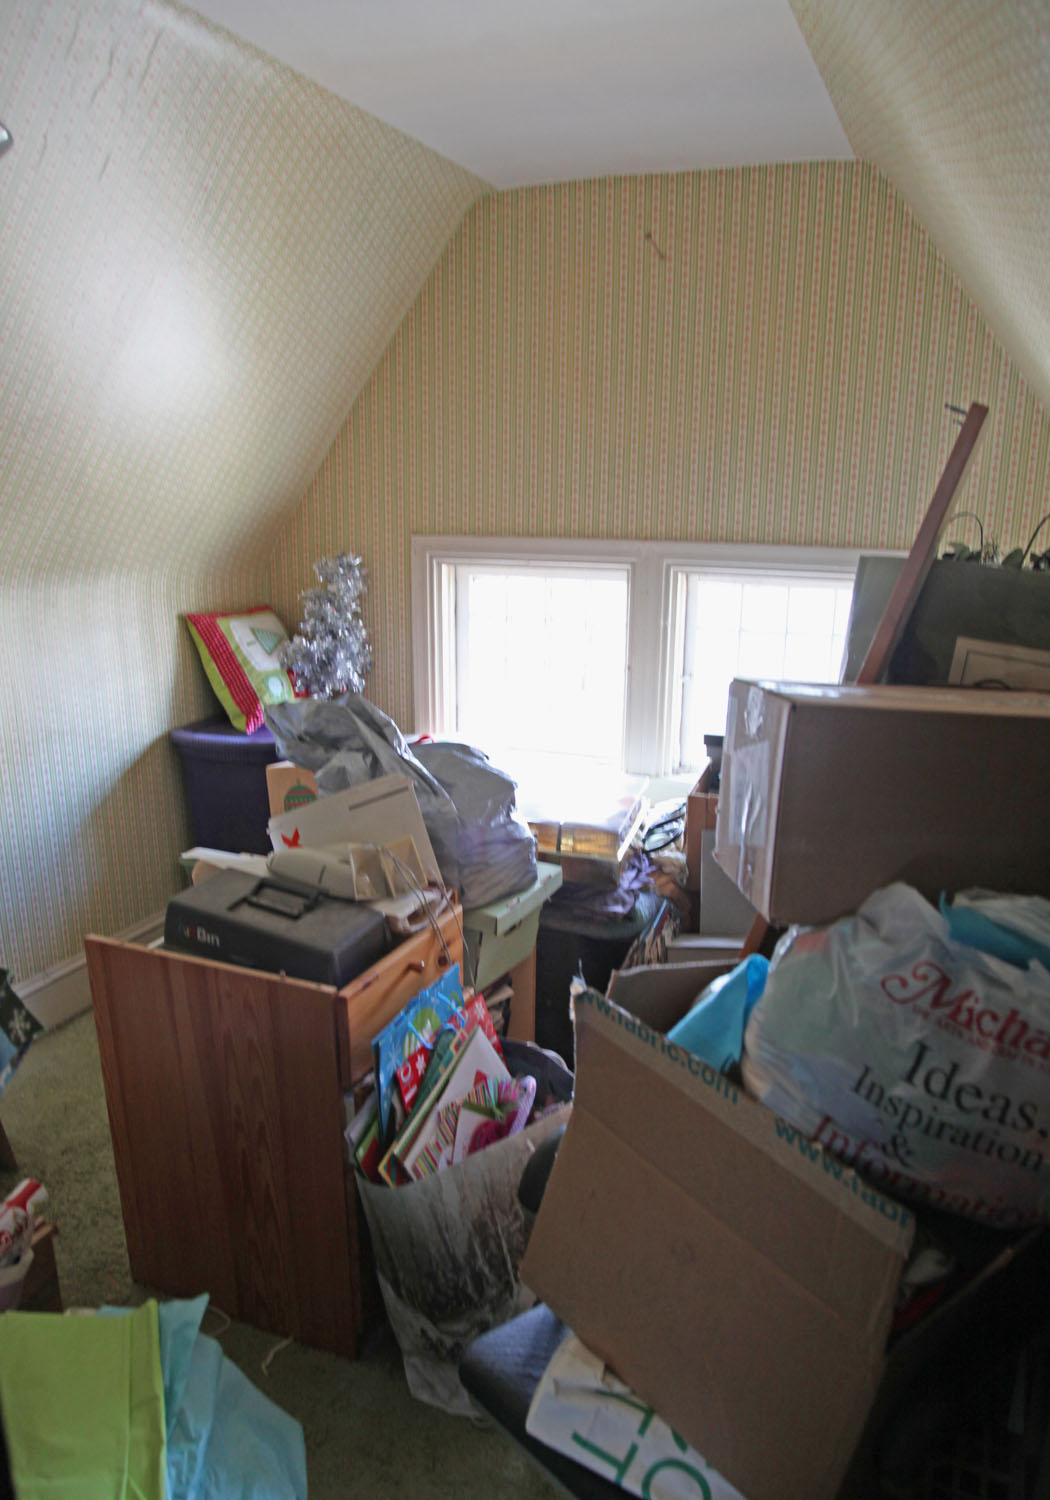
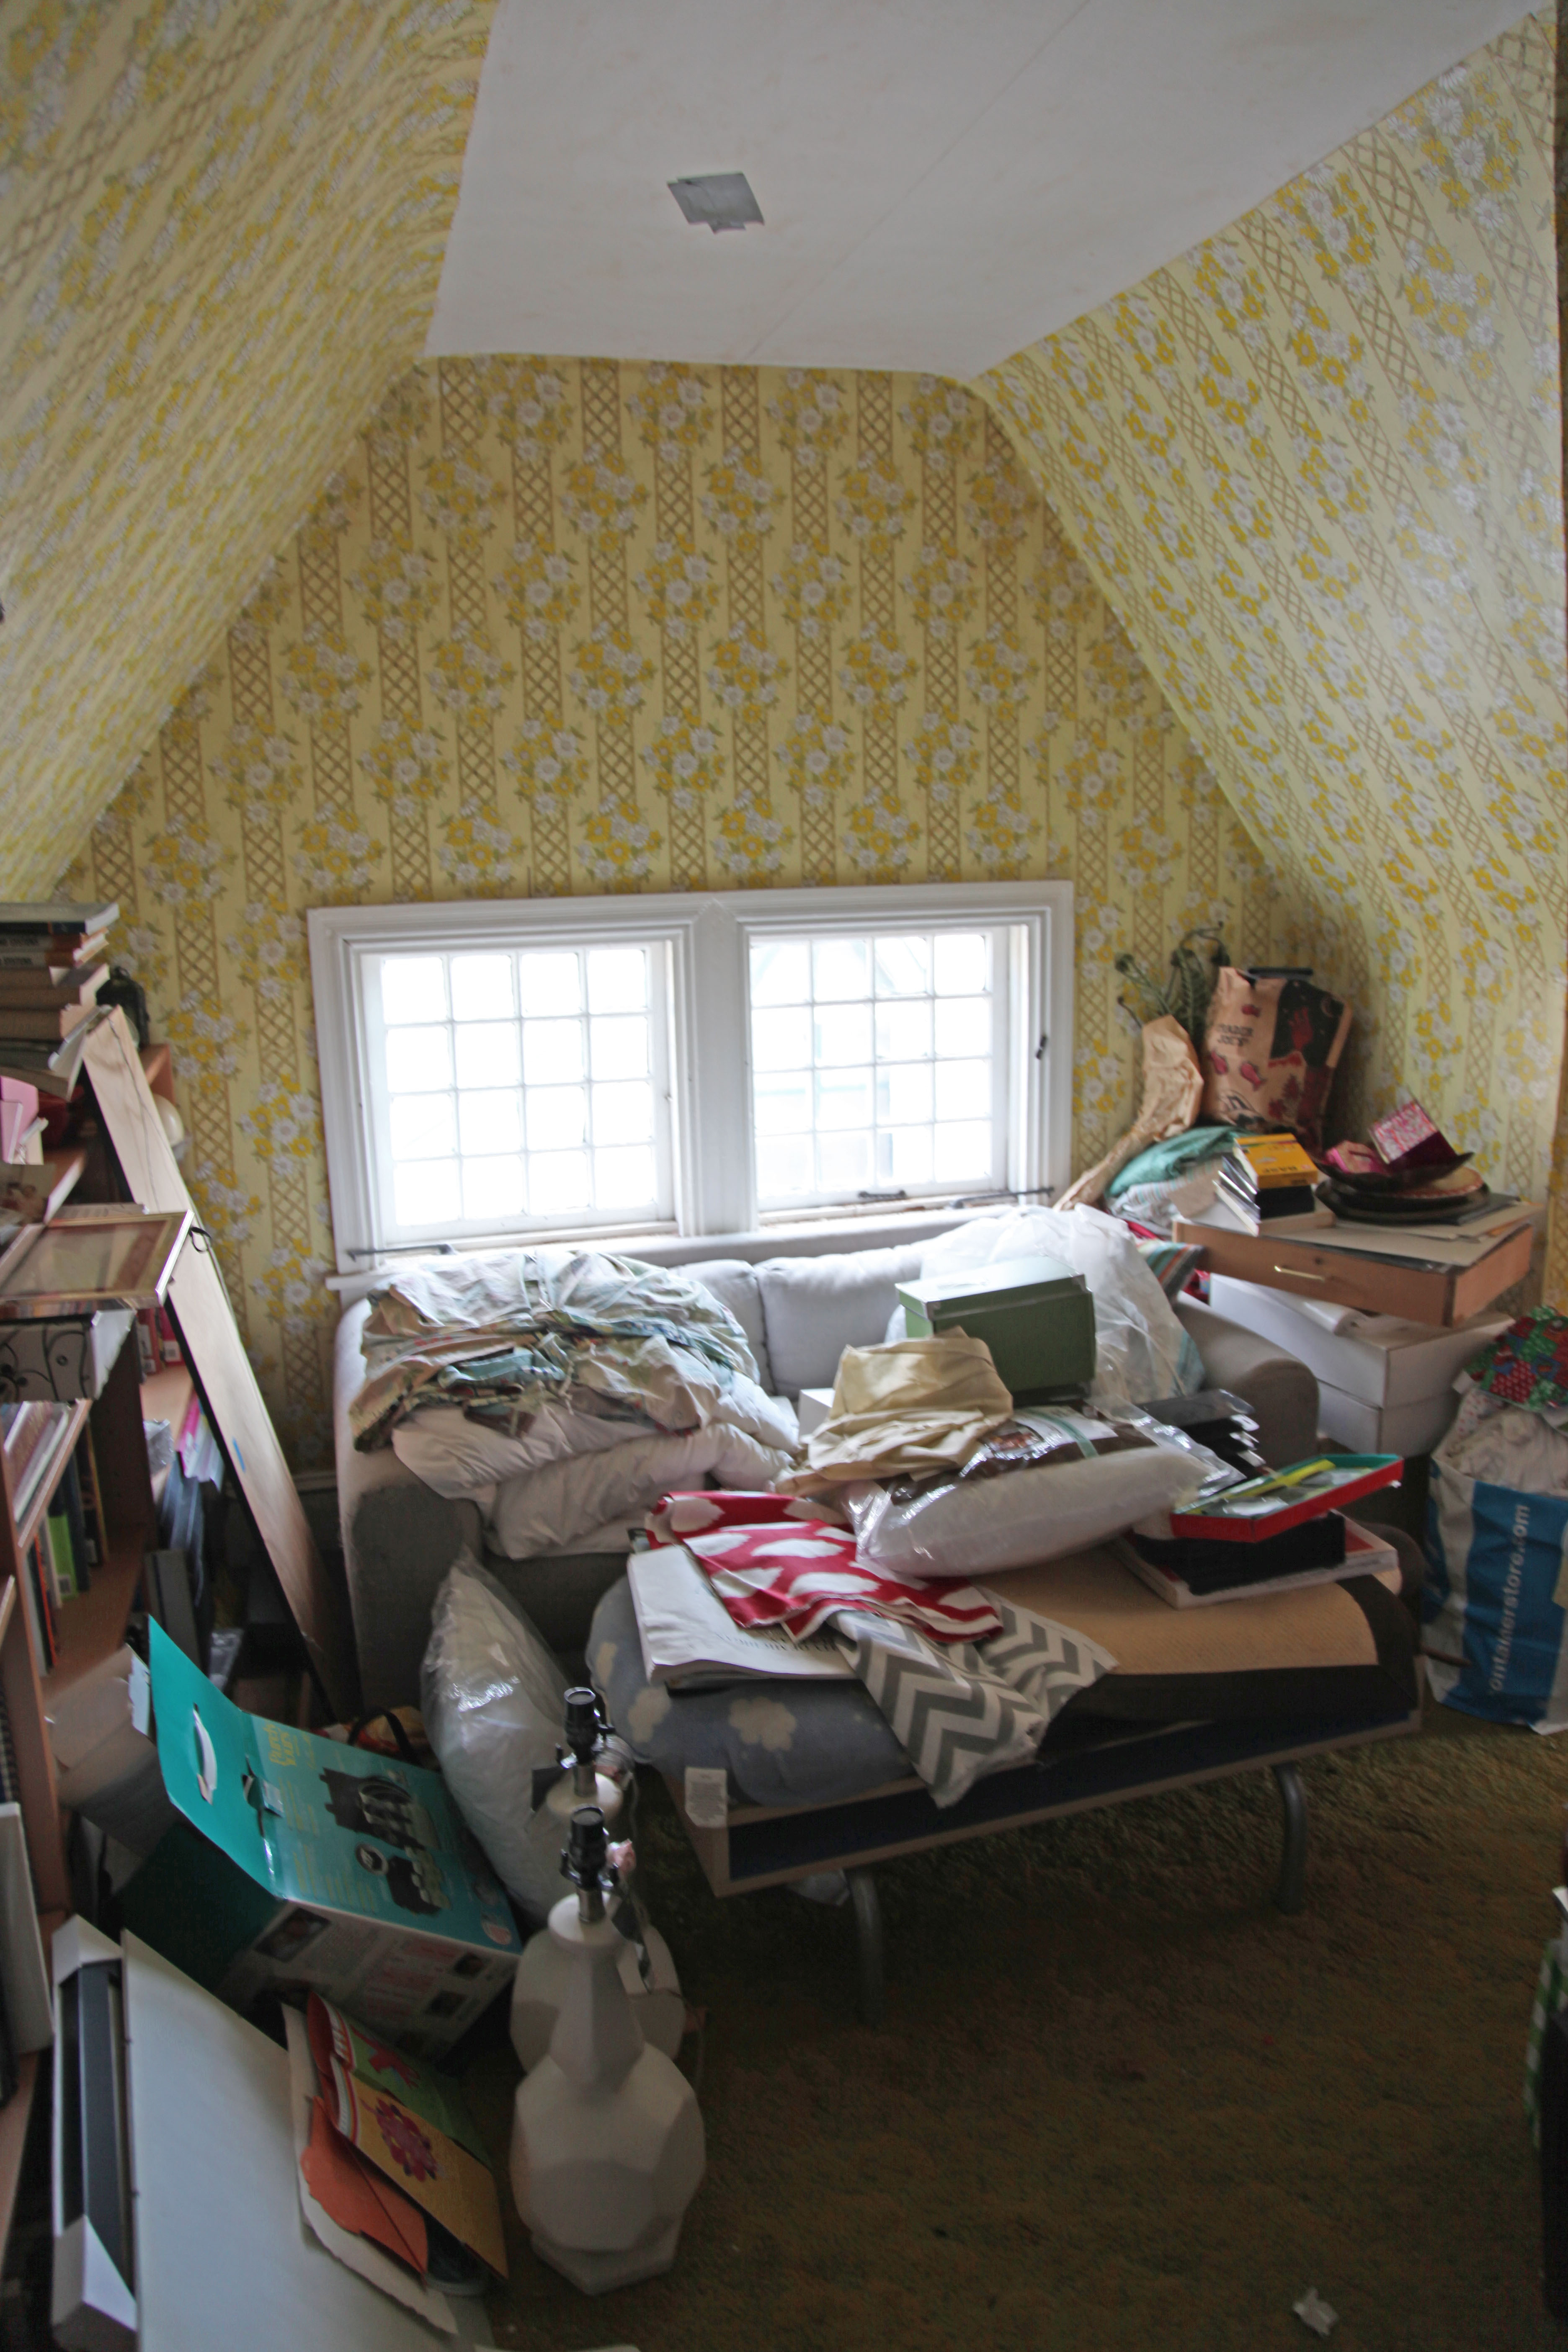
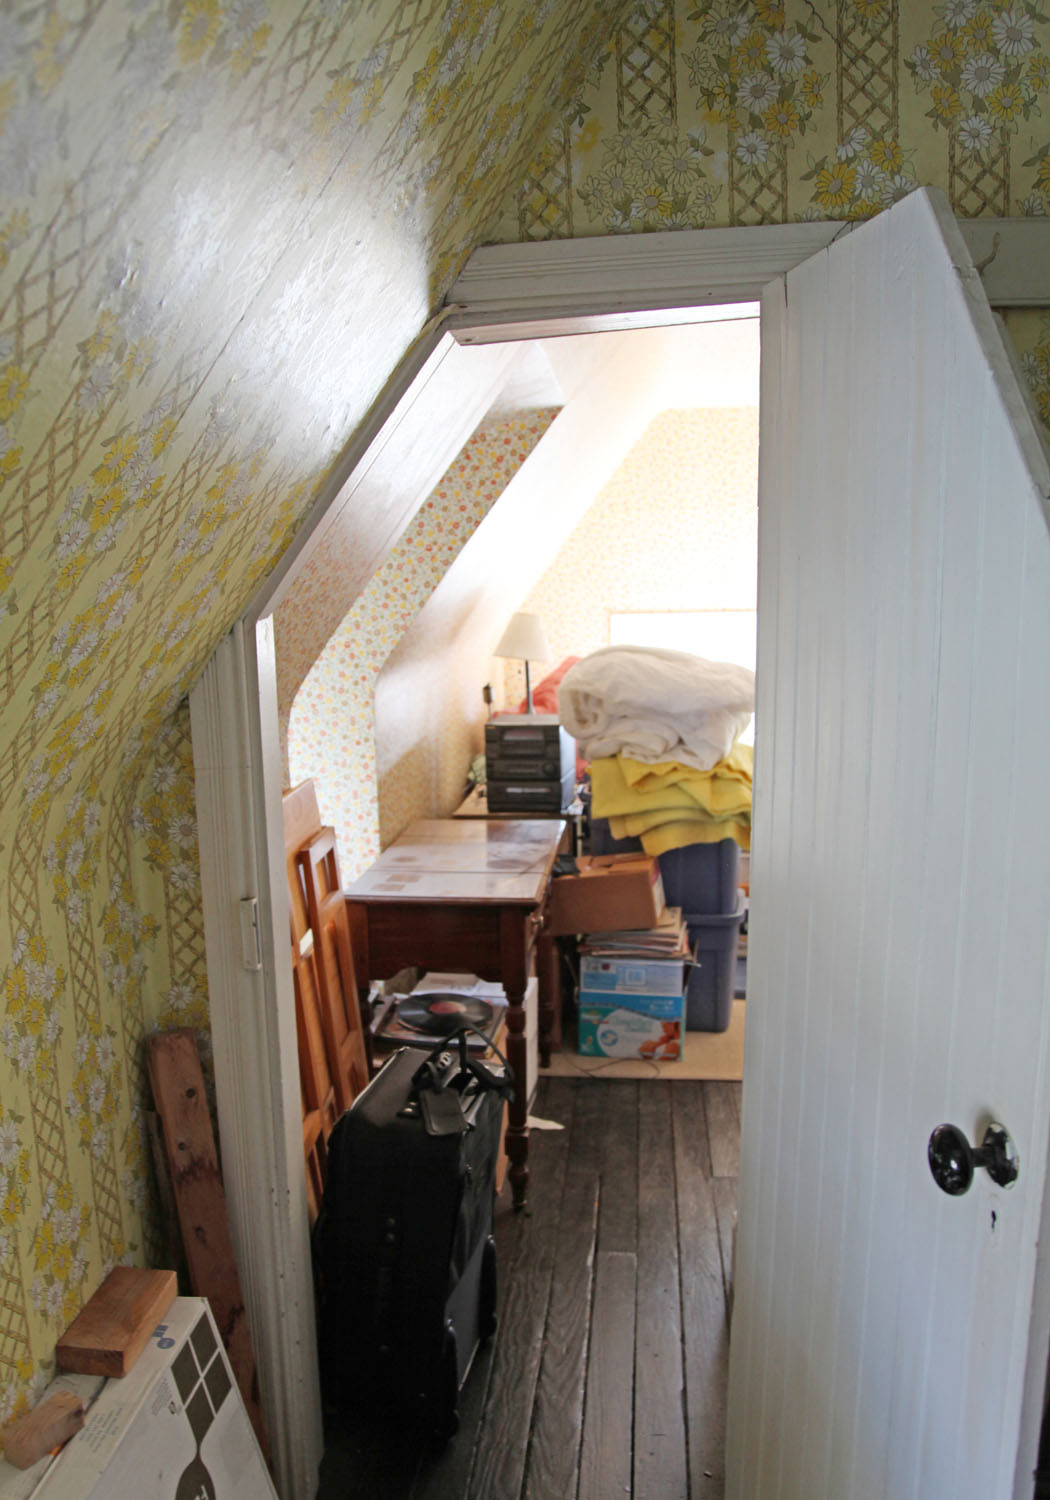
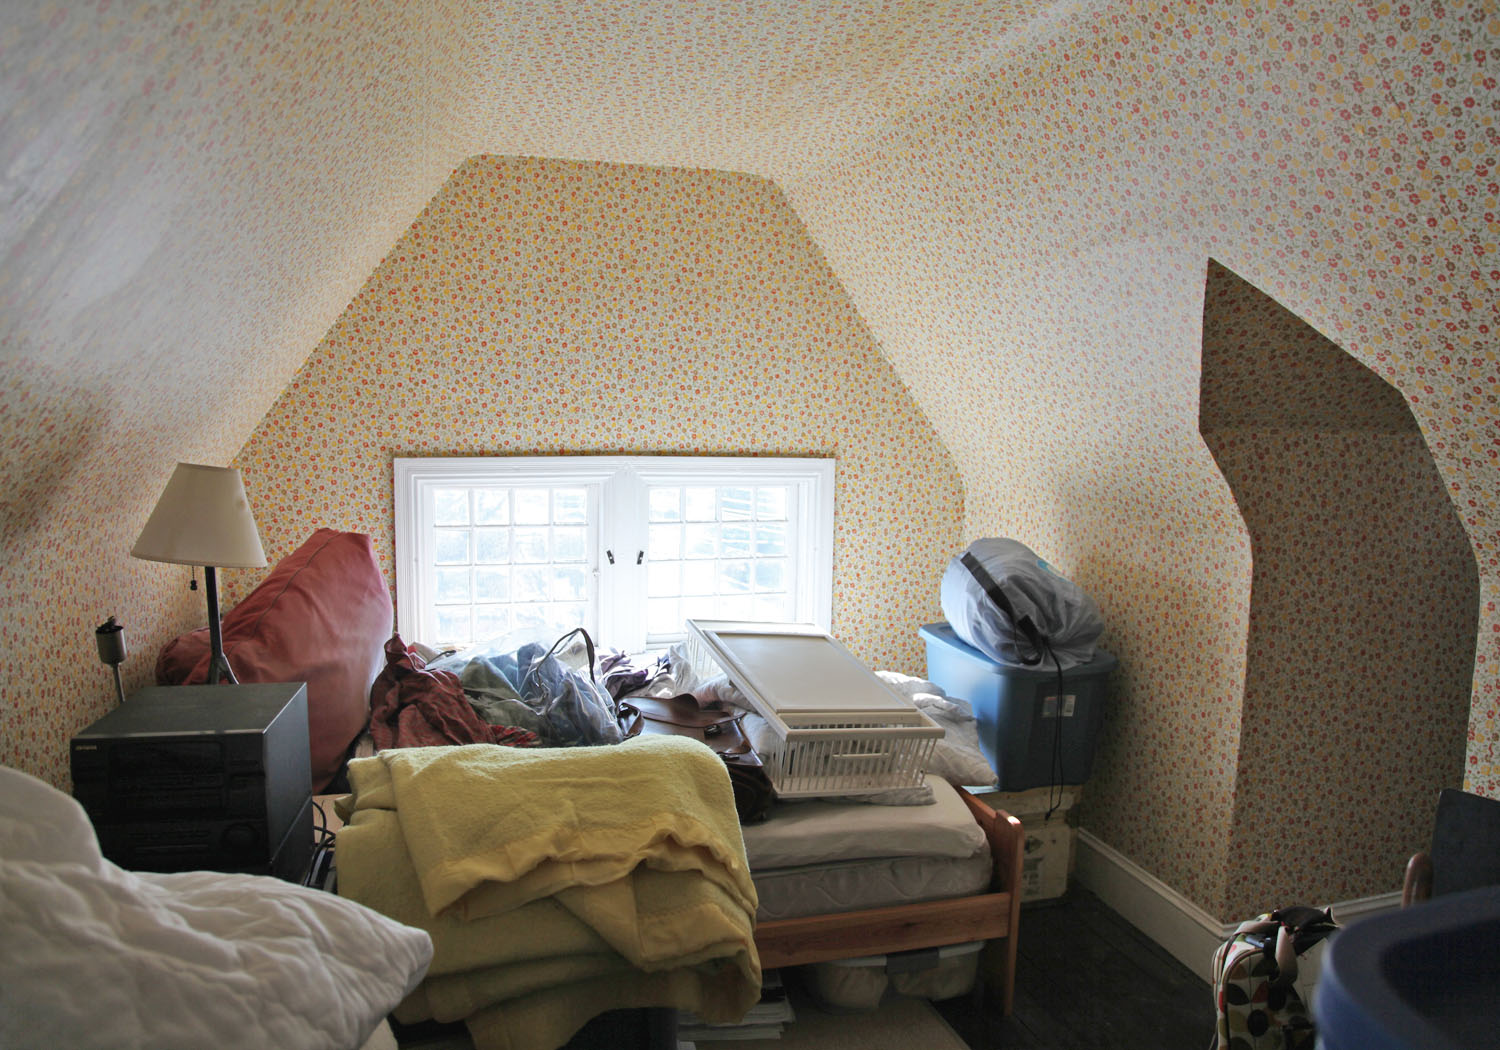
Over the weekend Mr. S. got out the blue tape and started marking closet locations on the floor.  The room is 7′-2″x7′-1″, far from spacious. How can we retain the interesting double height space while actually getting usable closet space and hang out space? How can we install a ladder and closet doors and make them both work?
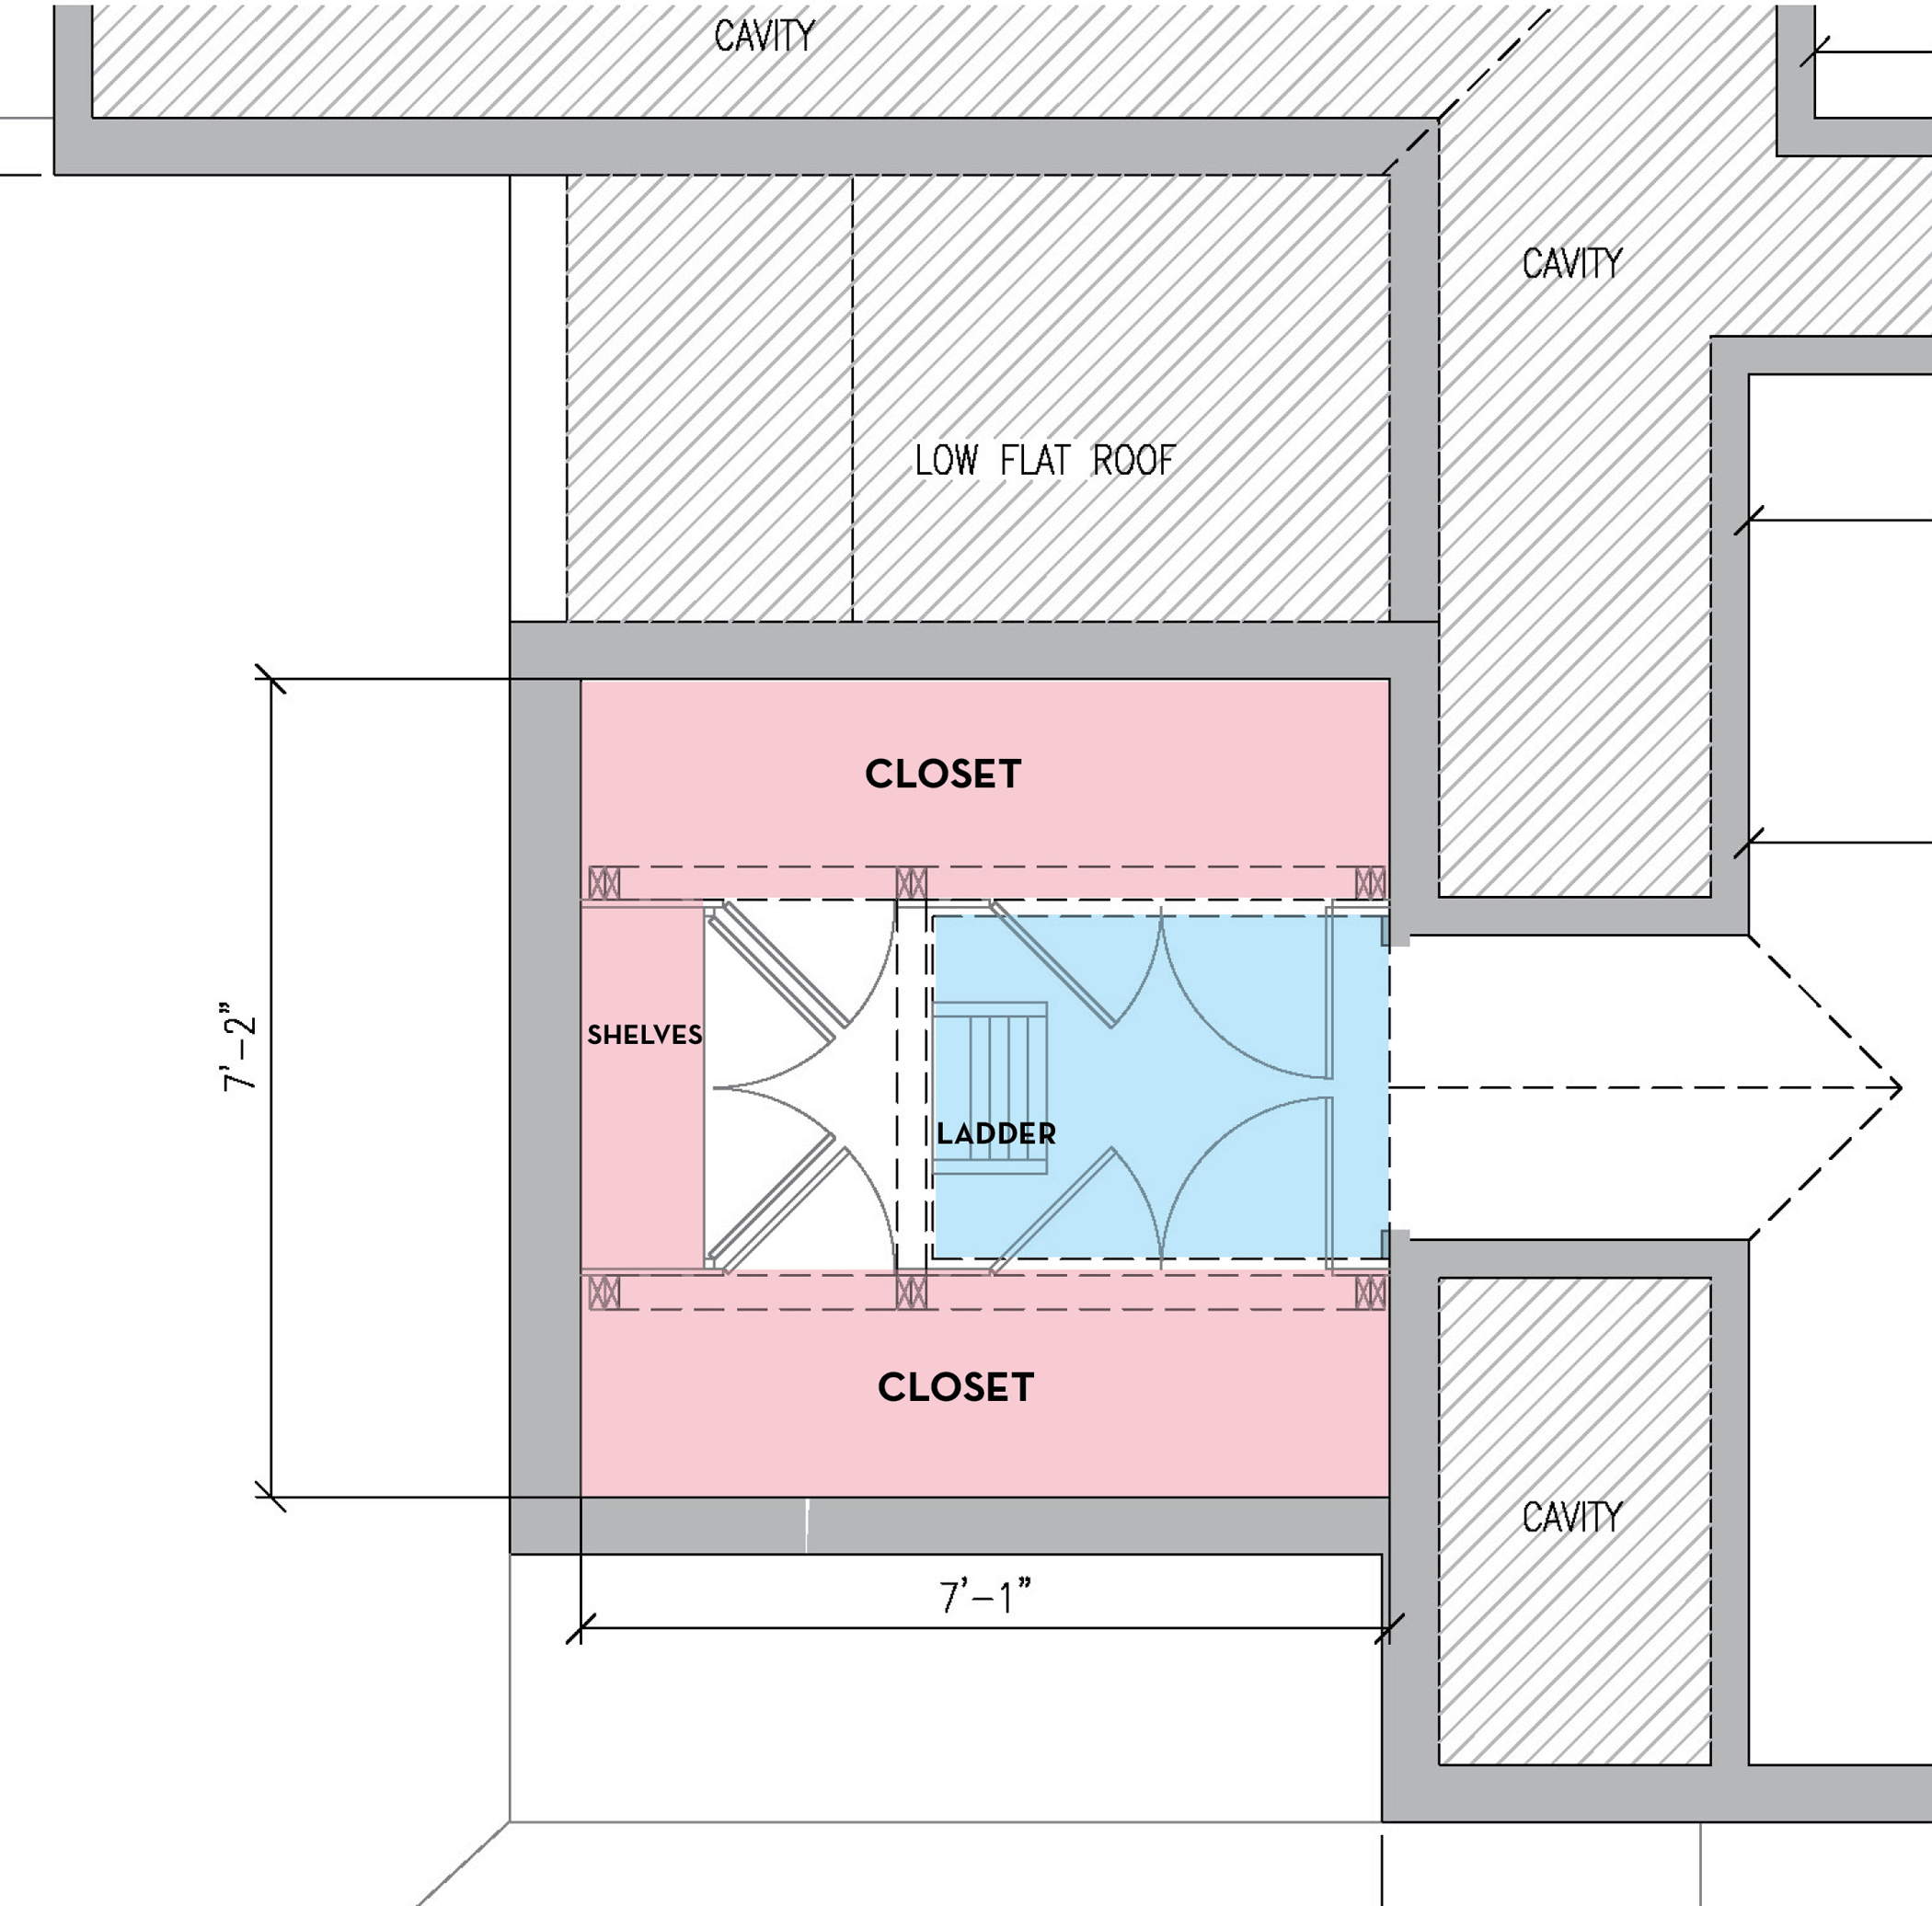
After lots of noodling this is what I came up with. It is funny that even with all of the years I have been doing this a little blue tape and standing in the space is an important step. At first I thought I would make the closet on the left deep. Then we realized that it closed in the room too much and wouldn’t allow for good access to the corners. Once I stepped it back to a shelving depth, it felt right and meant we could get doors in everywhere. We are in luck that a standard walk in closet is 7′ wide (2′ on each side for hanging and 3′ in the middle). The area in blue is the portion that will remain double height. The area that isn’t colored will have loft above but not have closet space. The ladder will be on a track and move to allow for full access to the closets.
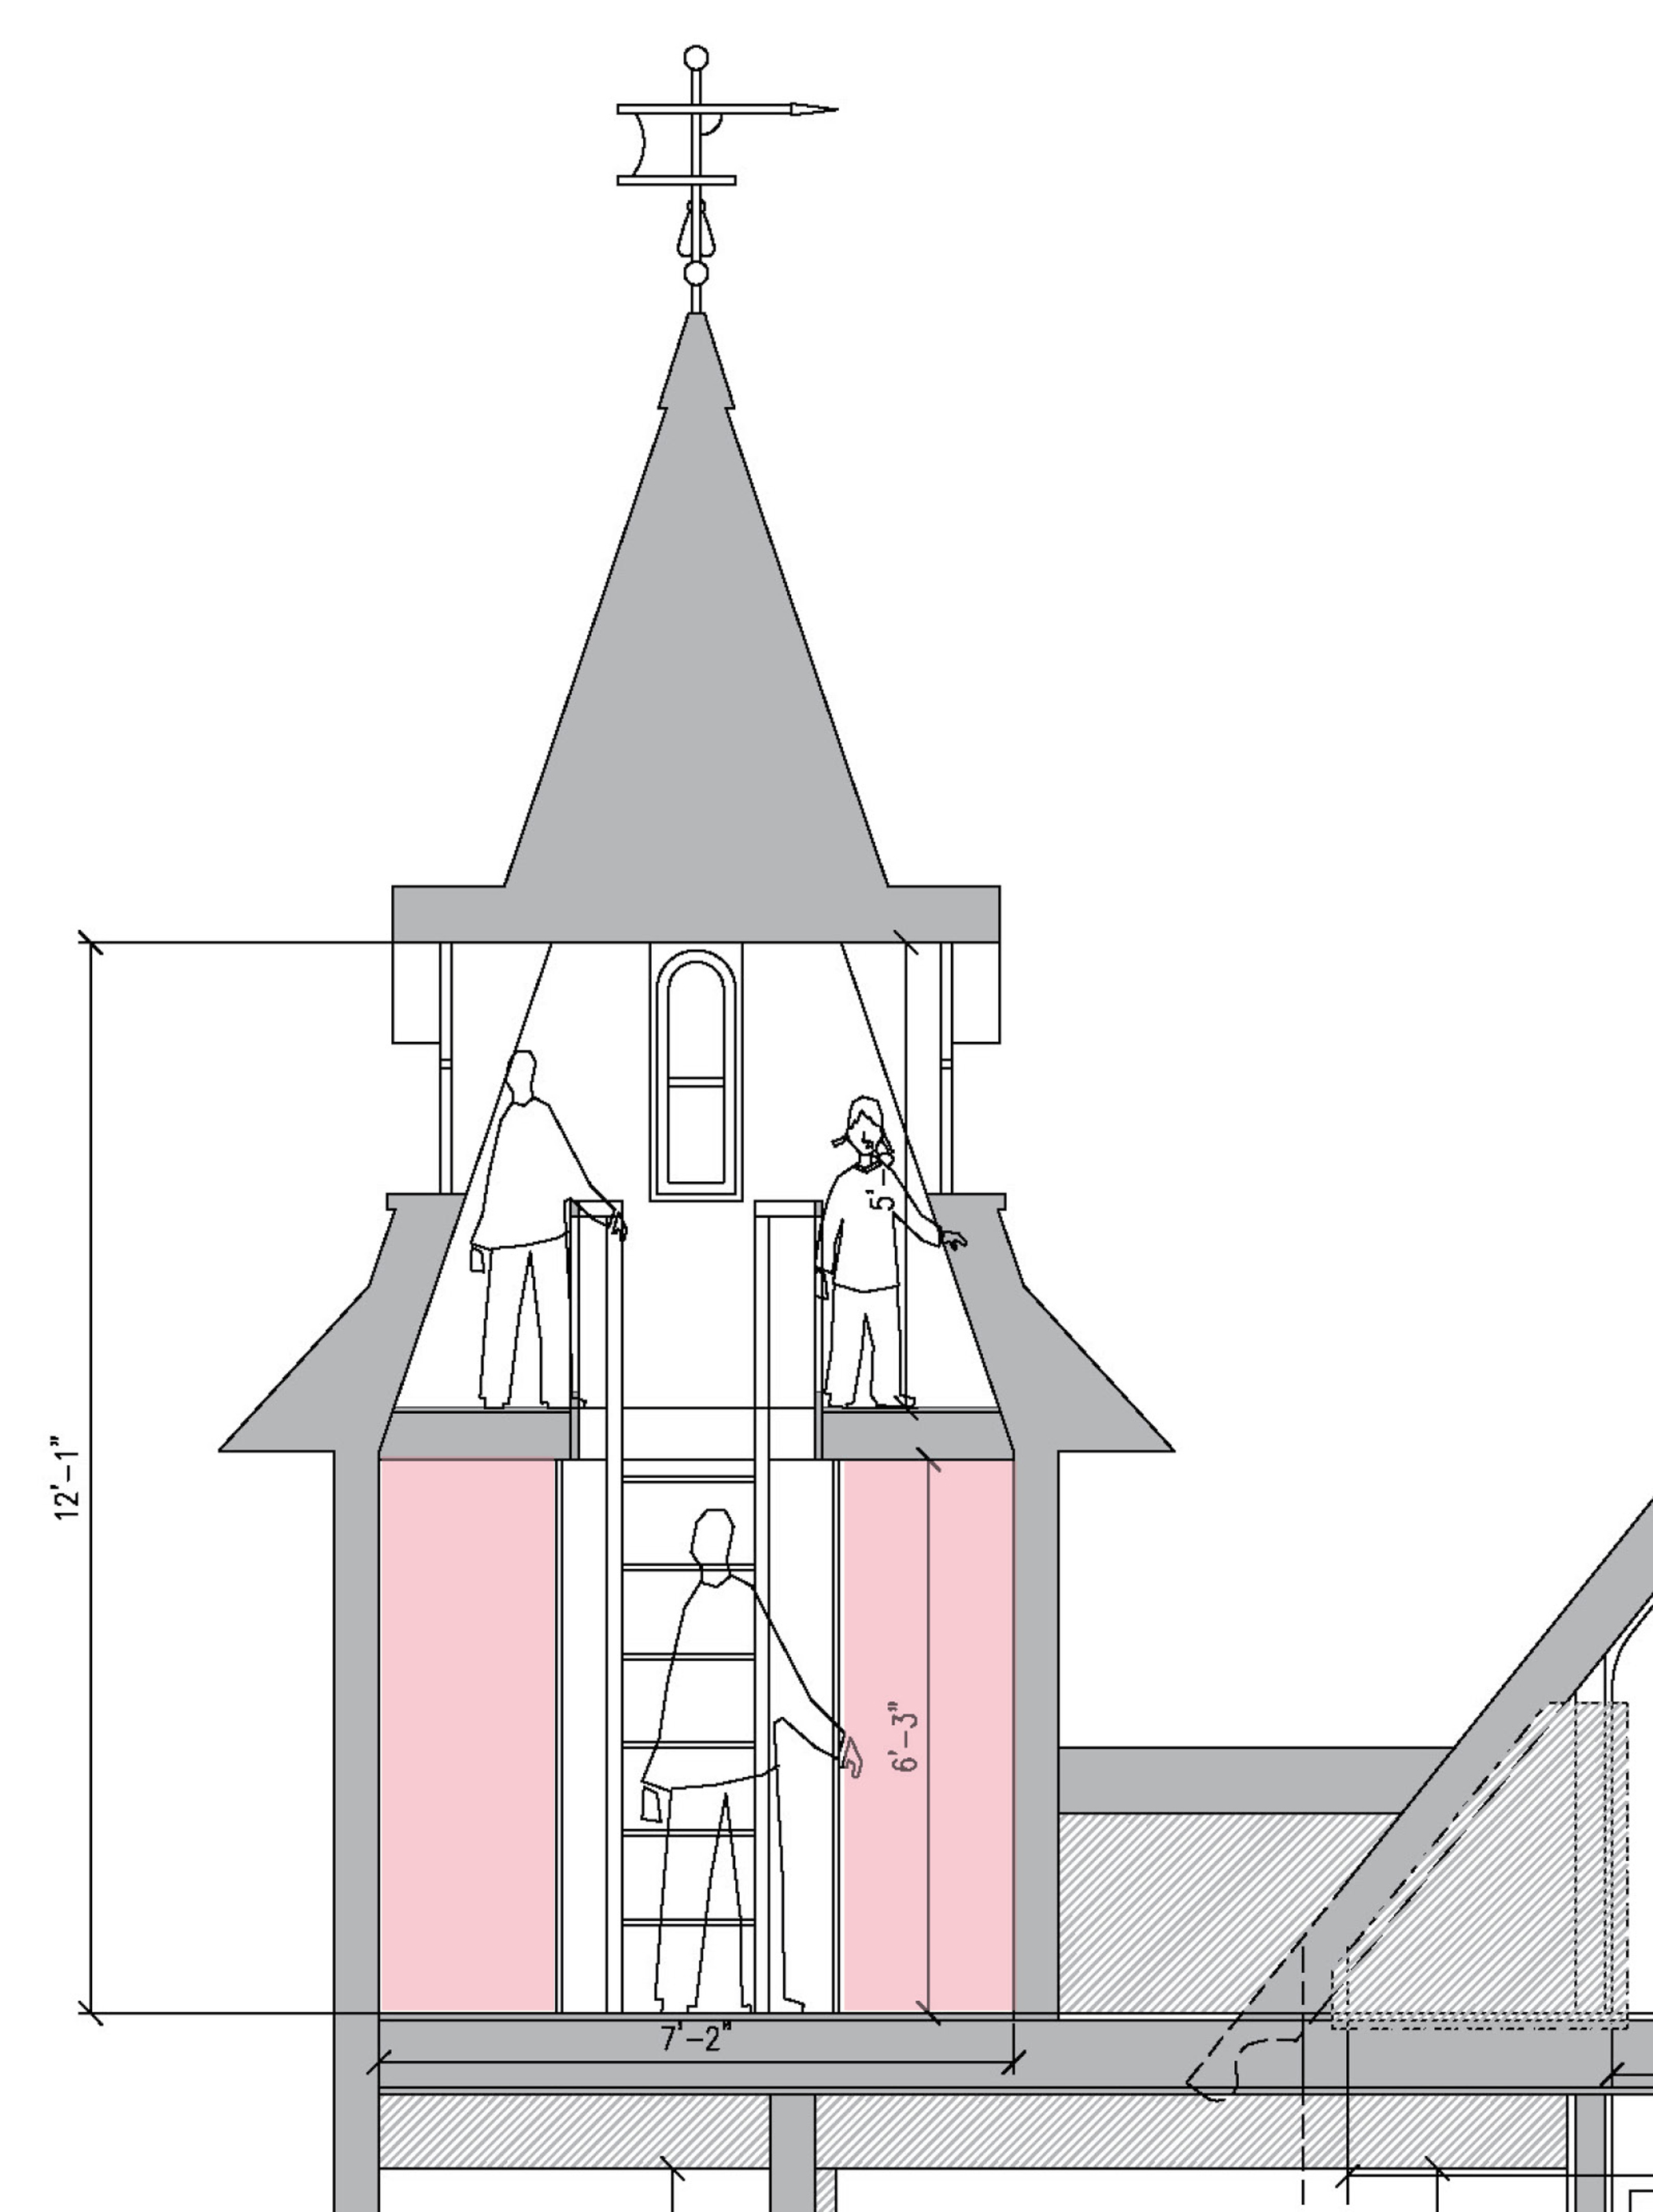
The kids (drawn to approximate current heights) should have enough space to look out the windows and curl up with some beanbag chairs on the wider end. Mr. S. says he might even want to claim the space for himself.
The Details
I have been trying to find details to work in the space. It has been a bit of a struggle. The ladder was the first thing on the list. I really like the library ladders but the cost is more than I want to spend (several hundred dollars just for the kit that you have to assemble), especially since I don’t need a long run of track just 3′.
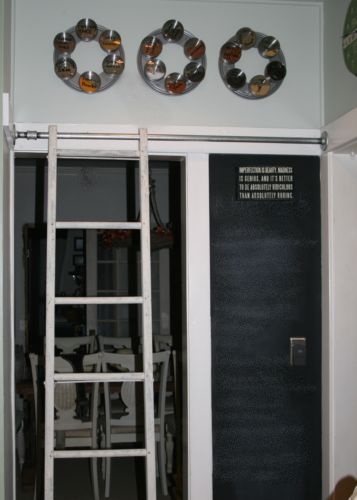
Then I found this DIY ladder from DIY Show Off. They used a vintage ladder, but we could do the same thing with a DIY ladder made with 2x4s and 1x4s. The trick is using 3/4″ galvanized pipe and cutting a slightly larger hole in the top of the ladder.
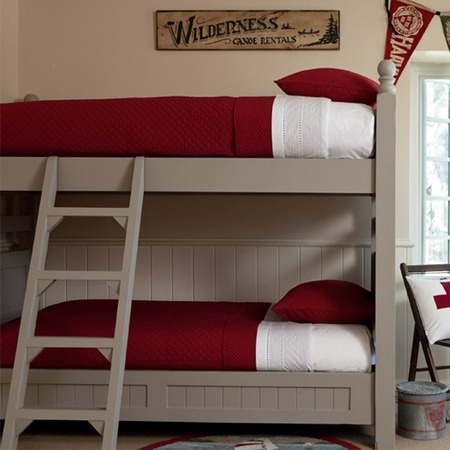
After spending way too long looking at bunkbed ladders, I came across this one (originally from Joss & Main of all places). I like the added triangles to give the ladder a little extra support.
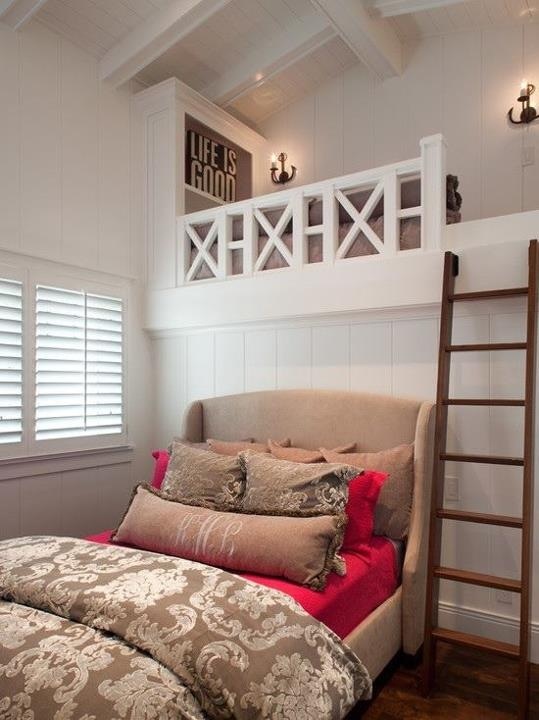
I haven’t totally worked out the railings for up there, but I do want a fair amount of height and coverage. I like this railing above (source not identified). So I imagine I will design something similar.
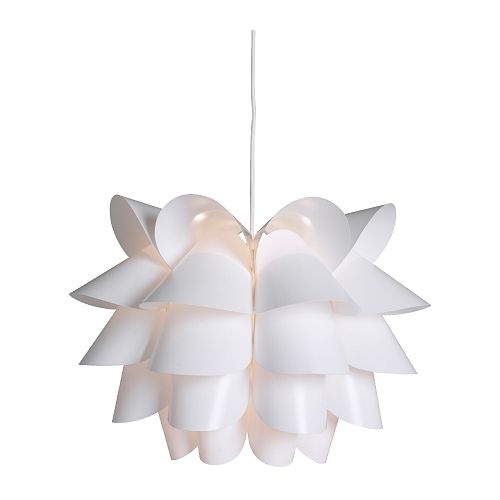
I am also leaning towards this light from Ikea. We need something that is suitable for little kids hands, but provides a nice soft light. I also want something with a little style. At $24.99 I think we may have a winner. I also think it will be a nice contrast to the more traditional style of most of the room.
There is still a lot to figure out and detail, but I think we have a good direction, so I will be plugging away on refining it.
In the meantime if you want to see what is currently inspiring me for our third floor you can peak at my third floor pinterest page.