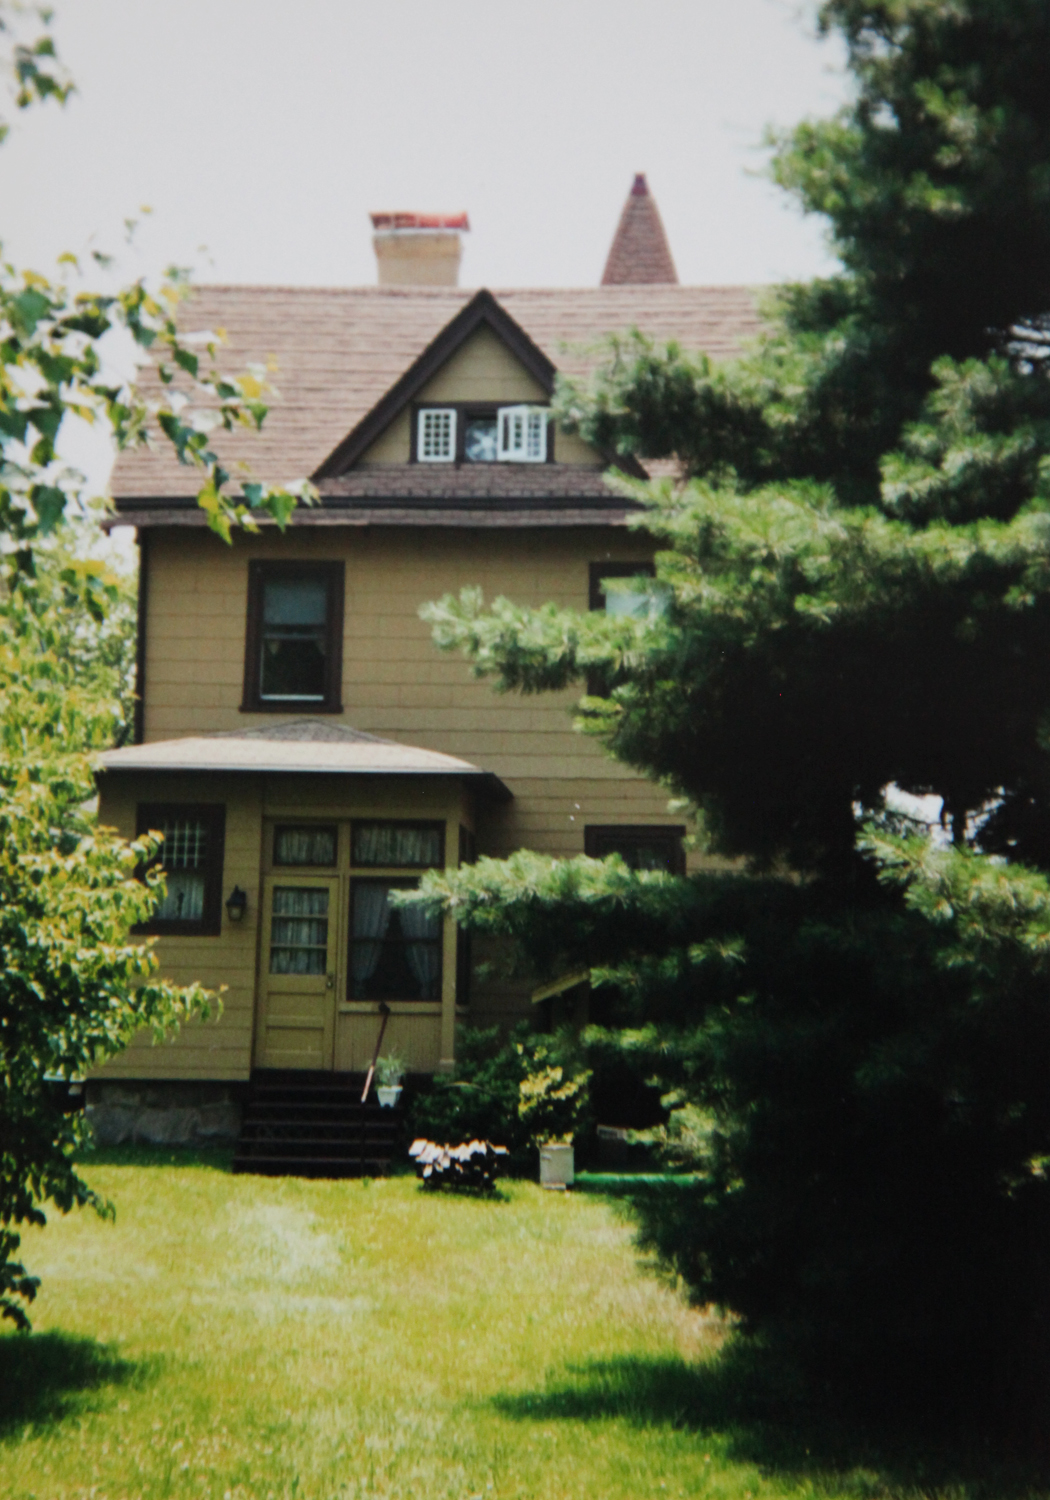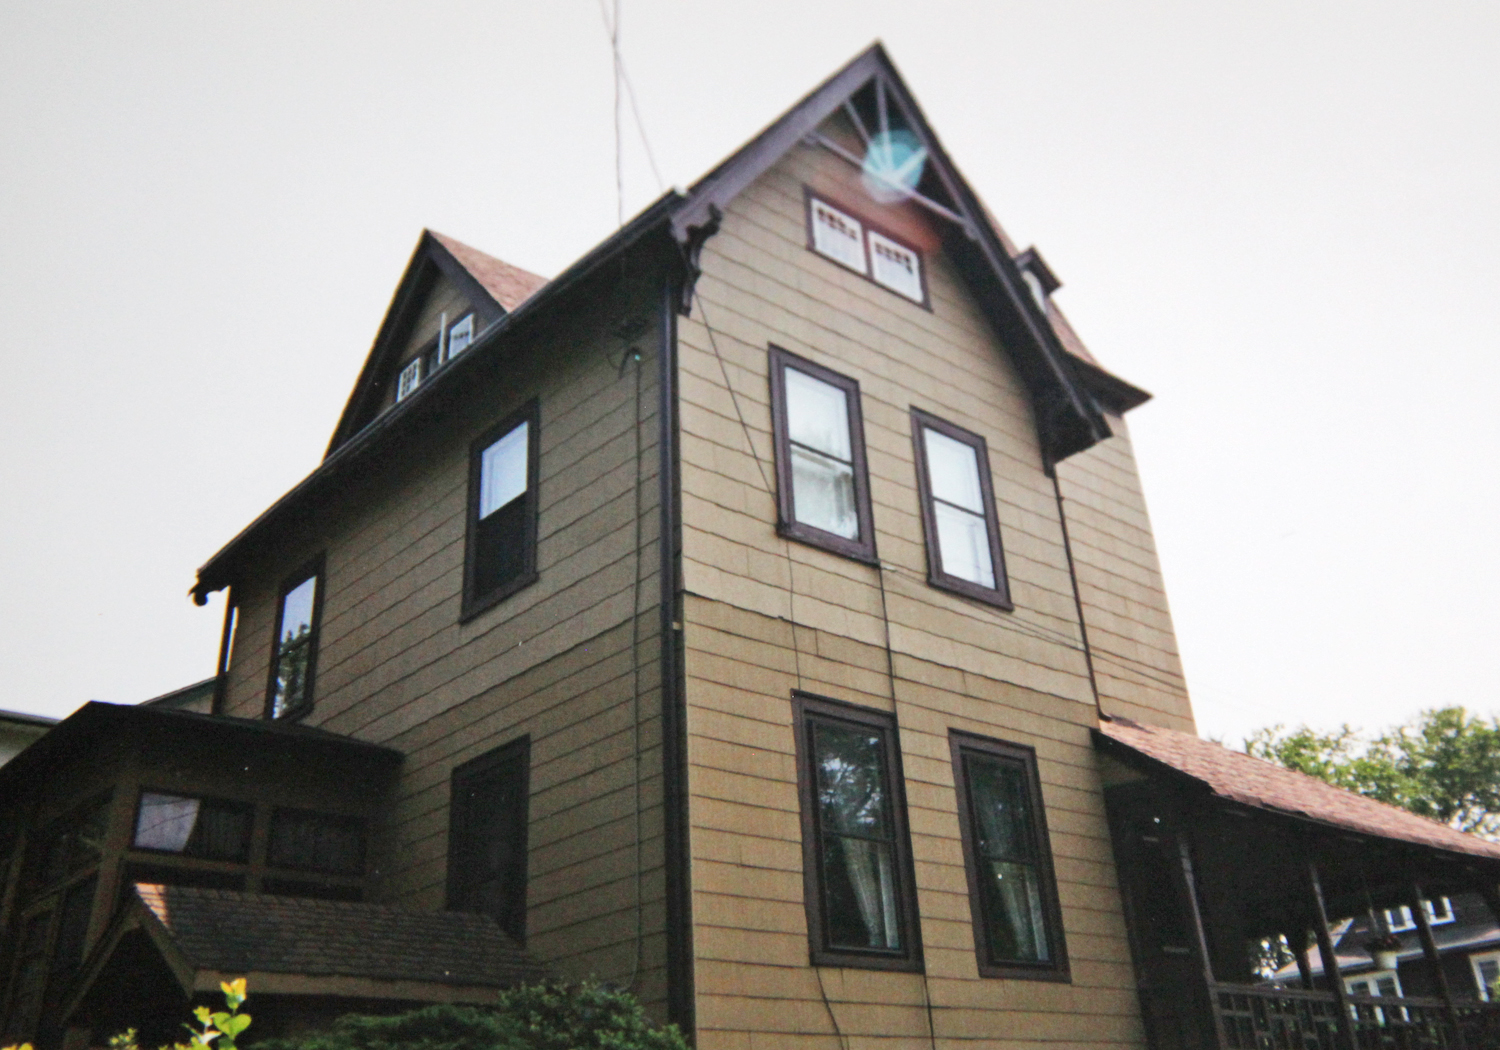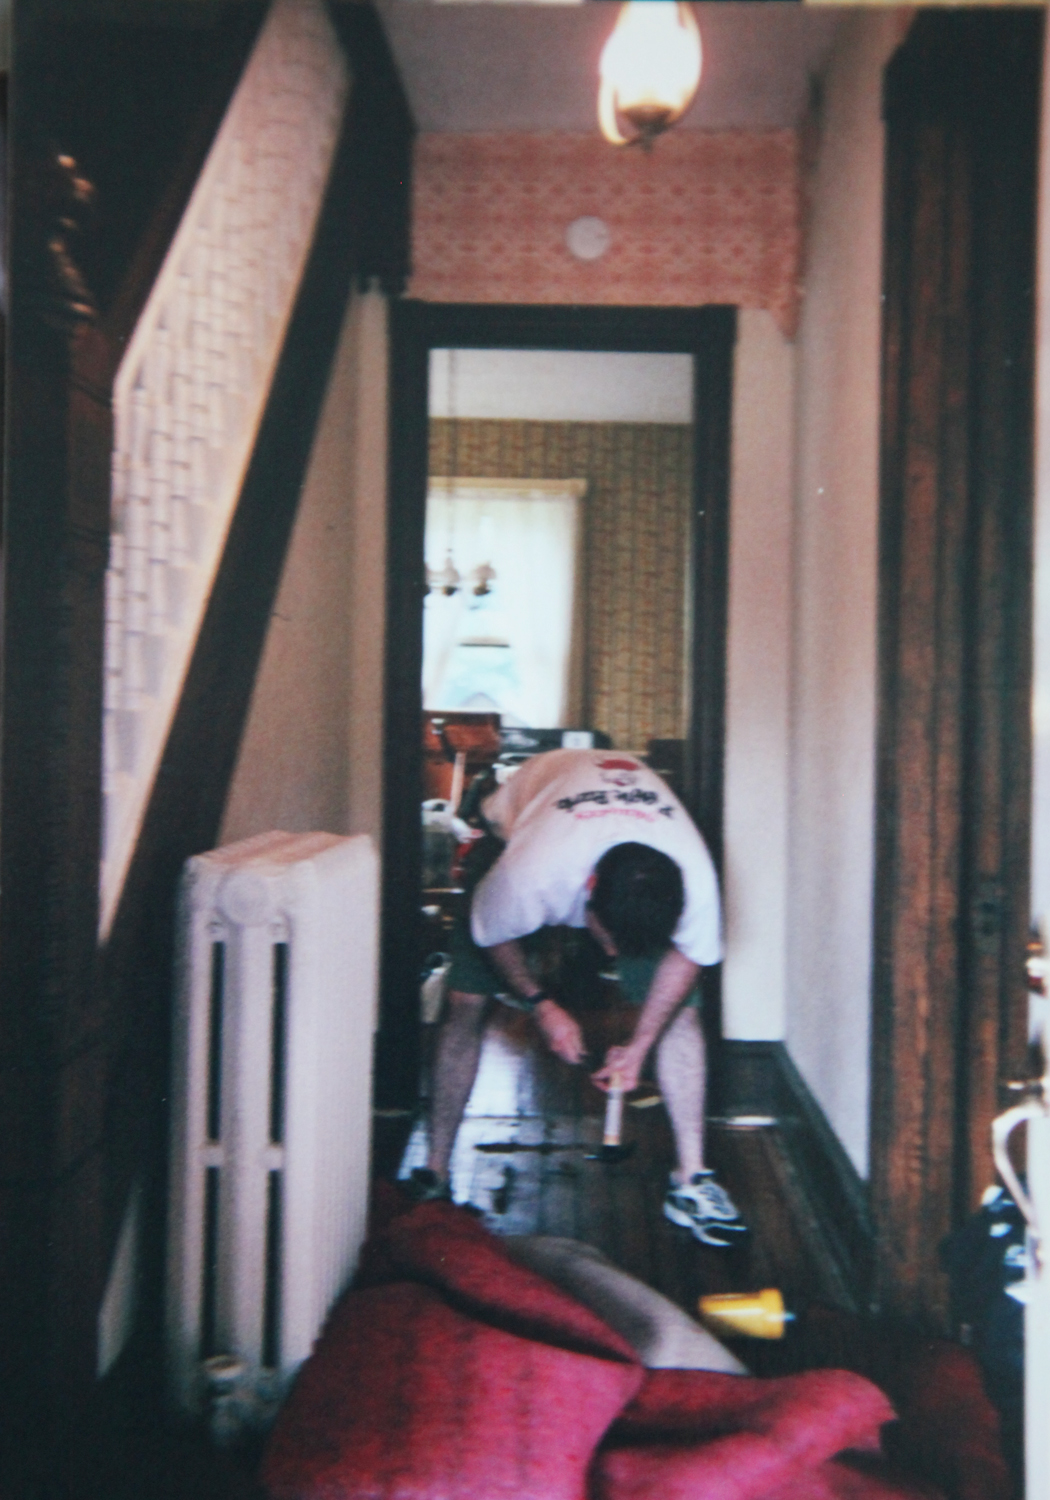
The lovely Victoria has decided to have a link party. I’m usually too lazy busy to participate in this kind of thing, but I like her subject and it doesn’t require me to actually make anything, just share a story. And we all know that I like sharing stories, so as my bedroom door is being moved and their is plaster dust in the air I will try and be amusing and tell you of my prior days of dumpster diving. Alas I don’t have any pictures, but I hope you enjoy the story.
In my previous life, a city dweller in her mid-twenties, I worked at an architectural firm that just so happened to be adjacent to a certain home store with the initials PB. It actually opened shortly after I started there. I was excited to check it out. Of course I quickly learned that my intern wages were not sufficient to buy much of anything. I would go in at lunch once every couple of weeks to scope the sales. Occasionally I would buy a plate or two, or some 90% off Christmas ornaments, but mostly I would lament my lack of funds. So I was surprised when I started to hear stories of the dumpster next door. Architects are generally a poor bunch, so you say “free” and we all coming running. One of my coworkers had scored some sort of PB accessory in really good condition. I said I wanted in, of course at first some of my coworkers were not so interested in sharing their special stash, but dumpster diving actually works better when there are 2 or preferably 3 people to sort through the stuff and then quickly carry it into the office. So I was a good team player and I joined in.
This was the late 90s, when the economy was good and the thought of throwing out perfectly good stuff by a certain flush retailer didn’t seem like a big deal. At first it was mostly small stuff. Candles, candle holders and plates with chips. I started a collection of colorful chipped plates to make a mosaic table. I’m not a big candle person, so I was perfectly happy to let someone else have the candles. After a couple of months of this, several of the regulars dropped out, not seeing the point. However me and the receptionist stayed at it. We would run down around 5:45 to see what was there. As we continued, the stuff started getting bigger and better. I snagged a dented metal file cabinet (the dent was in the back where no one would see it). I got some random table legs, good for my mosaic table project.
Then it started to get really good. One night there was a taped up heavy box. Sometimes these just contained broken glass or plates, but the two us decided to try our luck, because after all if it wasn’t good we could just go put it back in the dumpster. We pushed into the back door of the office. And what did we find? I box of lamps. I think there were 16 in total. Probably floor samples. But most were in really good condition. And by this point we were getting ready to buy our house, which was sorely lacking in any form of lighting. We divided up the lamps and even offered some up to my fellow coworkers. I came home with about 8 or 9 lamps all together. These are still the lamps that we are using in our bedroom and living room. They aren’t the most exciting, brushed silver with a thin stem, but they have been going strong for well over a decade now. So was this my best find? Actually no. It was the tables!
Do you think a major retailer would throw out 8 dining room tables? Probably not now, but back then YES! I was a dark (but not stormy night) and I went out to check the dumpster by myself. And there it was filled with table legs. Over 30 table legs! No tops but lots and lots of wood legs in all different finishes and styles. So still working on my mosaic table, and thoughts of future dining room tables, I decided to bring them all in to the basement. It required going into the dumpster and quickly trying to get them all out. Fortunately we had a large storage room in the basement, so I could put stuff down there for a while without anyone really making a big deal about it.
The next day I told my coworkers of my score. I think they all thought I had lost it. What was I going to do with all of those table legs? I said I wasn’t sure, but I could always put them back in the dumpster. Well low and behold the next night I go out to check and what is out there but table tops! I managed to find someone to help me get these bad boys into the basement. It took a lot of picking through, because the employees of the retailer had scratched up and marked a lot of the tops, but over the next 6 months I put back together and gave away 5 tables (to my fellow poor coworkers) and brought a stockpile back to my new old house. Mr. S. was not as keen on my stockpile as I was. The stockpile sat in the basement for some time. We finally decided to make a coffee table out of 2 leaves and 4 chopped down legs. It is actually in the garage right now, as we have switched to storage ottomans for the kids, but someday it will make a reappearance. The rest of the stockpile I finally gave away on Craigslist to some guy who had just built himself a workshop and was going to transform them into something new.
After the tables I managed to score a couple of rugs, but as the recession of 2001 started, less and less good stuff made its way into the dumpster and my house quickly filled, I stopped my dumpster diving habit.
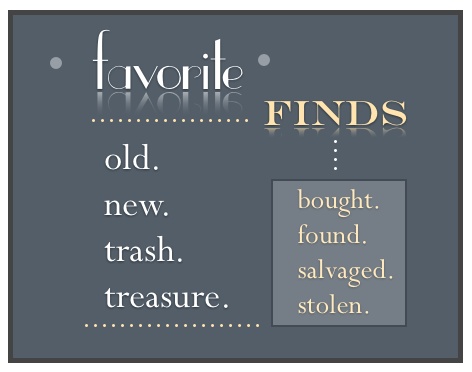
Do you have any good favorite finds to share? Why don’t you join the link party.