Archives For -Porch

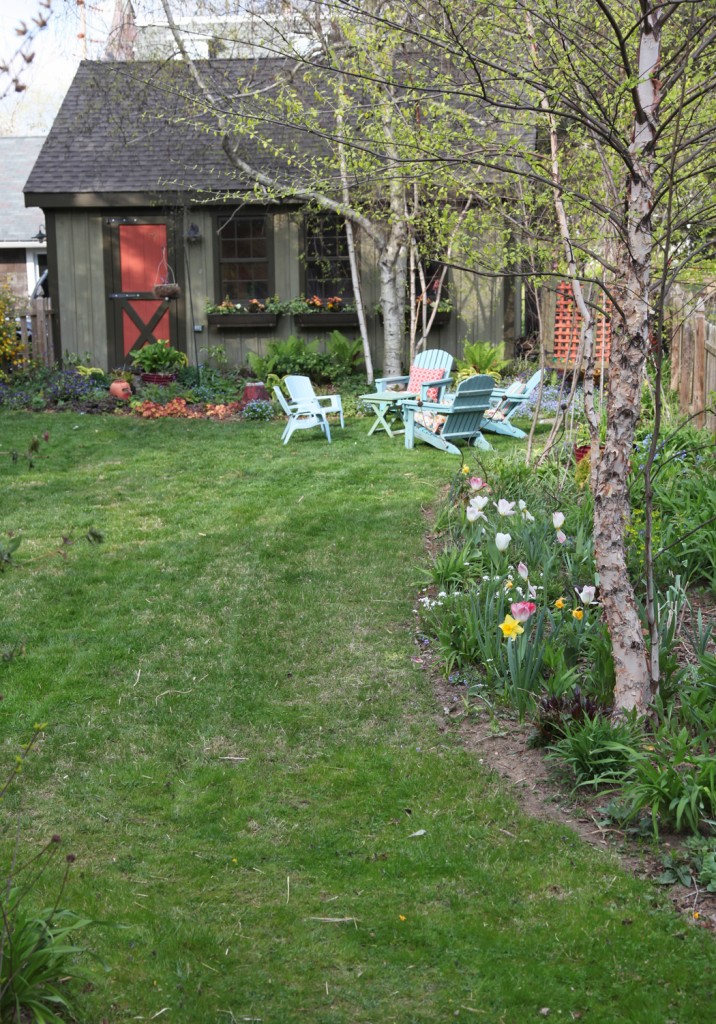
Backyard this week w/ new chair cushions

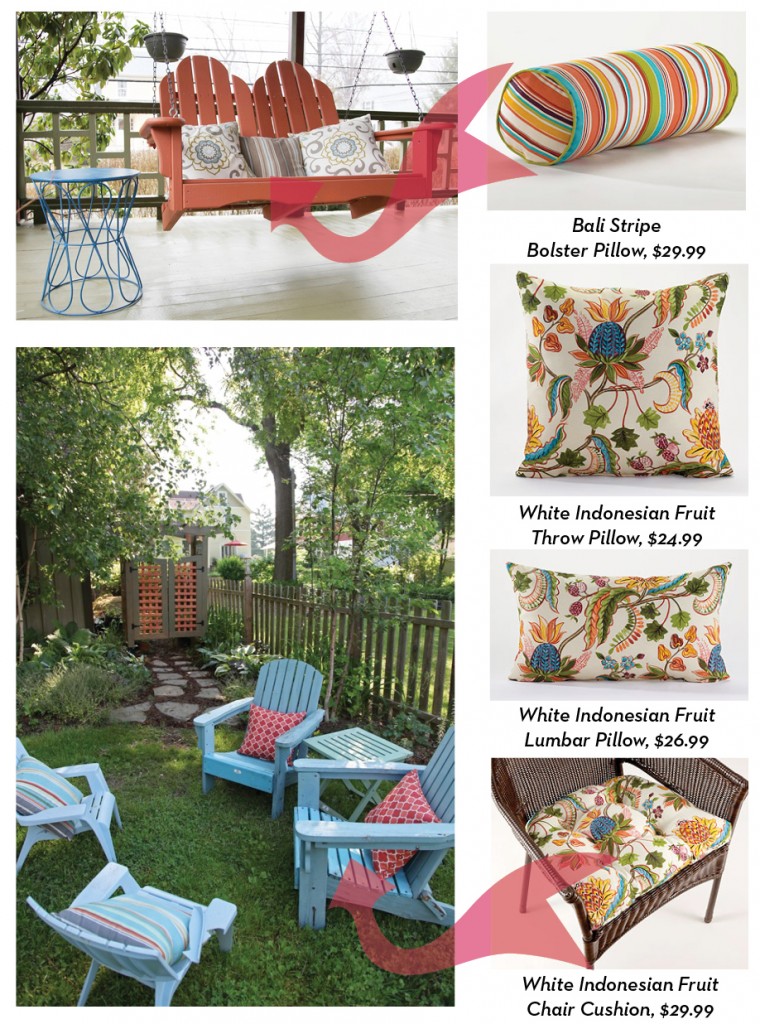
I have been admiring the tropical style White Indonesian Chair Cushions from World Market since February. I decided that it was time to order them (I found a free shipping coupon).  Here was my original inspiration:

In the end I decided that ordering the seat cushions was my biggest priority since we don’t have any for the Adirondack chairs at the moment, and they could definitely use something to soften them up (in addition to a paint job). I also ordered one lumbar pillow to see if I wanted to use it anywhere else.

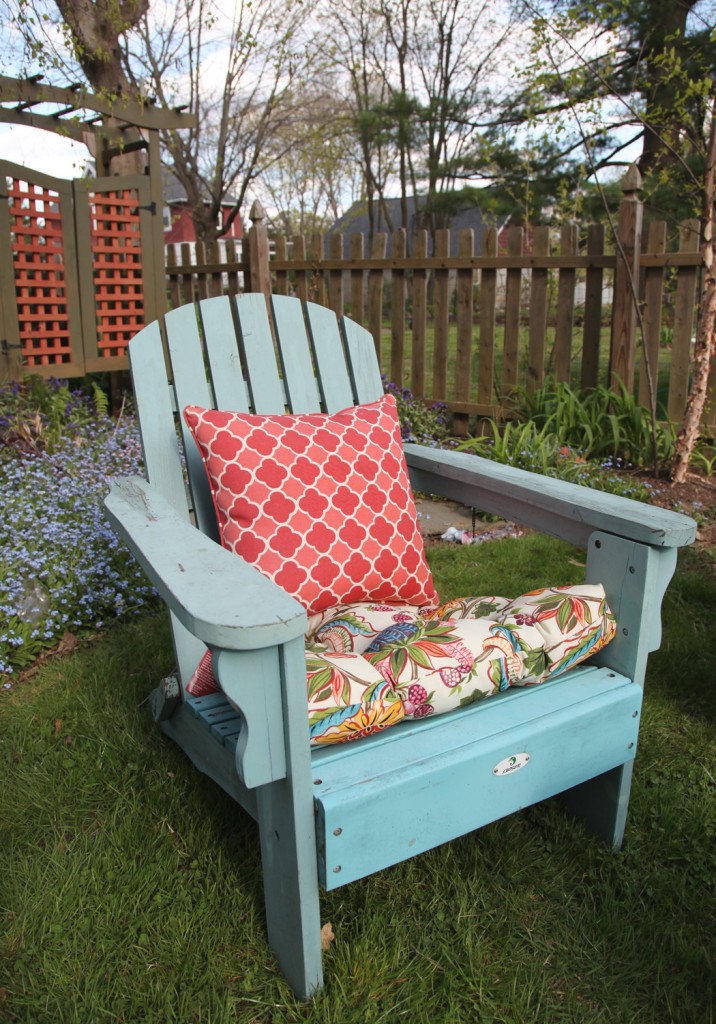
New Outdoor Chair Cushion

New Chair Cushion Close Up

So far I am loving them! They make the chair much more comfortable and they look great. It hasn’t rained much since I put them in, so we will see how they hold up. If I could get my shed cleared out I would store them in there when we weren’t using them.

Beach Umbrella, World Market $14.99

As part of our future sandbox area I also ordered a pair of beach umbrellas to keep the kids out of the sun. They just arrived last night, so I haven’t had them out yet but I am hoping to put them directly in the sandbox, although I may need to install a small piece of PVC pipe to keep them in place.

What do you think? Too much color?

2 Comments

Blue Loop De Loop Side Table from Urban Outfitters, $49.99 + extra shipping charge

I have been looking for a small sidetable for our porch (for next to our swing) for a while.  I have been back and forth on what to buy since the spring for the porch. I was leaning towards a ceramic garden stool, but could never seem to find one that was the right color at the right price. I had given up for now, figuring I would find something in the spring. I have also been looking for a new small table next to our wingback chair in the Living Room. The current one is getting a little unsteady thanks to 2 small children playing with it. So I was looking through the clearance section at Urban Outfitters over the holidays and saw a nice blue table. I was just reading my new Alexander Girard book, so this table really spoke to me! I was thinking it would be good for our Living Room so I decided to order it.

New Table in the Living Room

When I took it out of the package I was surprised at how heavy it was. It is definitely painted steel not aluminum (the description just said “metal”). I was not quite sure if it was suitable for the Living Room (which at the time was full of Christmas stuff). I did immediately think that this would be great for the porch or the backyard. It was also nice and sturdy and seemed like it could take having my kids sit on it (an important feature in our house).

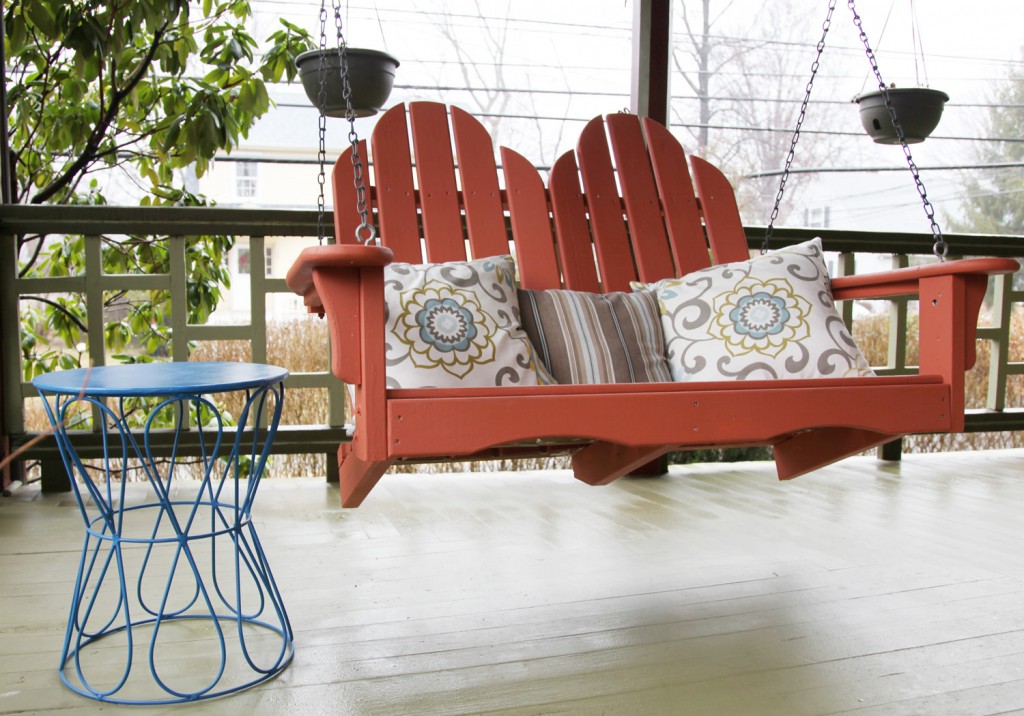
New Table on the Front Porch w/ our Terracotta Colored Swing

So I brought it outside to take a look! And I really liked it. Then I brought it back inside to consider for the Living Room. It has now been living inside for about 2 weeks, and it has grown on me. So I ordered a second one and put it outside! Isn’t it funny how when you give up looking for something, the perfect thing suddenly appears. I also figured if I change my mind about the Living Room I can always use an extra table in the backyard.

What do you think?

P.S. Thanks Mom for the belated Birthday gift!

2 Comments

My gardening helper!

After edging and weeding

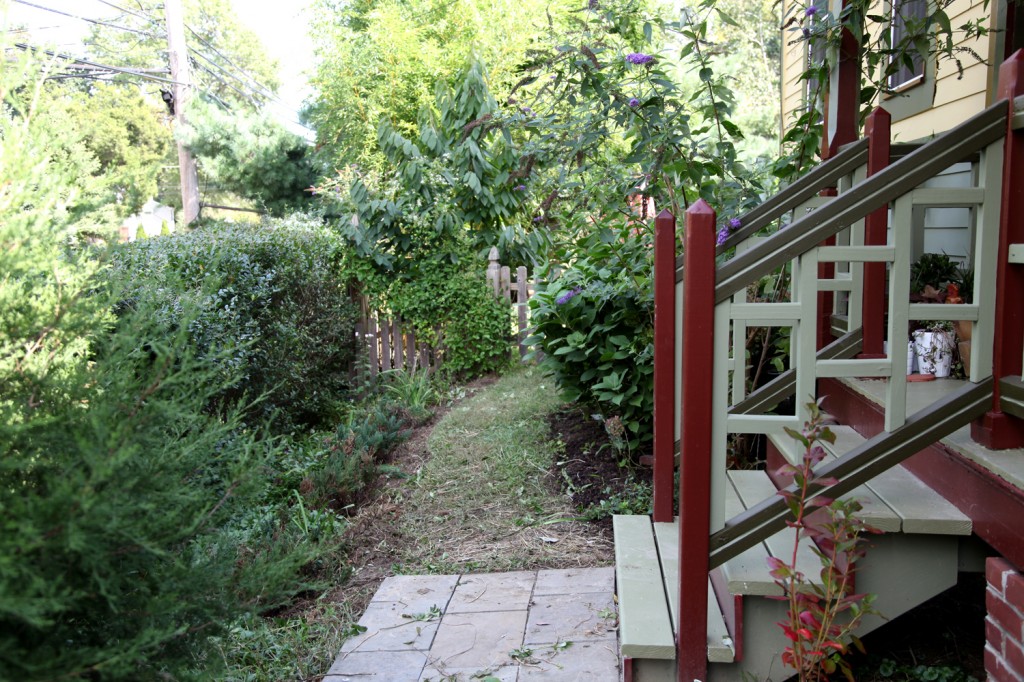
This past weekend was the Scott Arboretum Plant Sale (held every other year). In past years I have bought a LOT. This year, I definitely did not need as many plants. I am finally at a point where most of changes and additions in the garden are smaller. That said, the sideyard is a bit of a mess. We added the new steps and a bluestone landing back in May, then I proceeded to ignore the area, except for the occasional mow/weed wacking. The area was in desperate need of some edging, weeding and planting.

New Steps with Blueberry Bushes on either side

I also decided that this would be a good spot for blueberries. I have thought about planting blueberry bushes for the last few years, although I hadn’t found a good spot until now. This area is in sun for a good part of the day, so I thought it would be a good choice. Additionally the blueberry bush leaves turn a pleasant reddish color in the fall (and go with the coloring of the front porch). I picked up 2 of the “Patriot” variety. These get 3′-4′ tall and wide (smaller then a lot of the other varieties) and tend to look good most of the year. I think the kids will really like being able to pick blueberries, although I have a feeling we will be covering these with mesh so that the birds don’t take them first.  This area is right off of the kitchen, which is nice too.

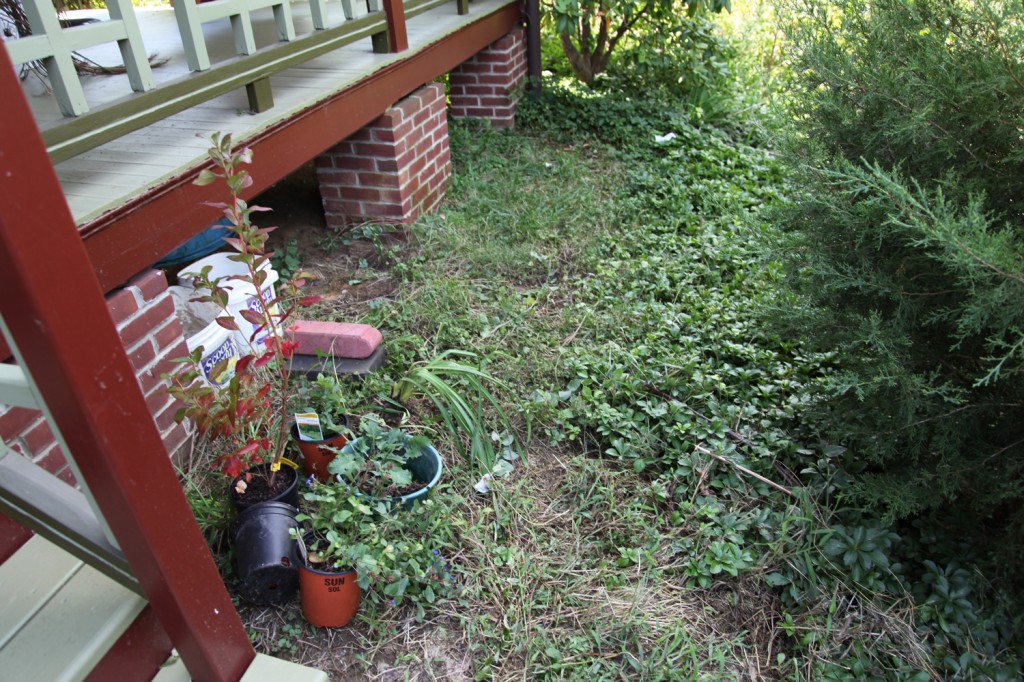
Sad and embarassing weedy patch! Home of future raised bed. I also need to transplant the cedar tree that seeded itself here.

Part of this area is also going to be designated for a raised planting bed for veggies. I haven’t started on the future planting bed area yet, but I did manage to get the edging done and began to battle back the pachysandra. The pachysandra was brutal and I know there are a ton of roots still there (they tend to break when you are trying to pull them out). This will be a multi-year battle! At least it is mostly gone from the upper portion of the hill.

Leave a comment

The Porch Swing

August 31, 2011 — 3 Comments

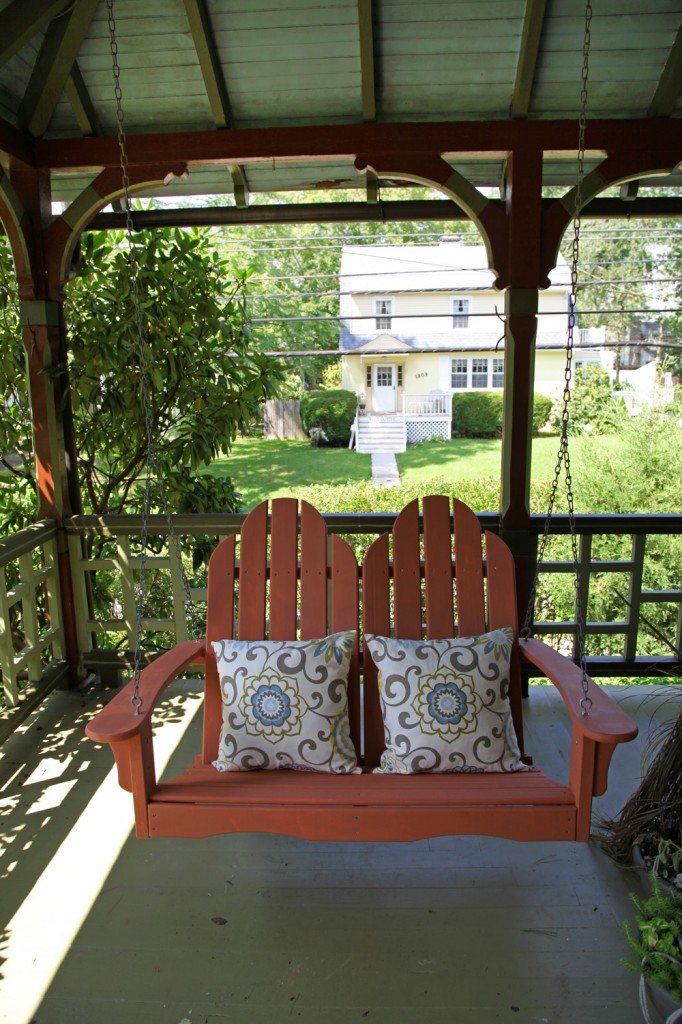
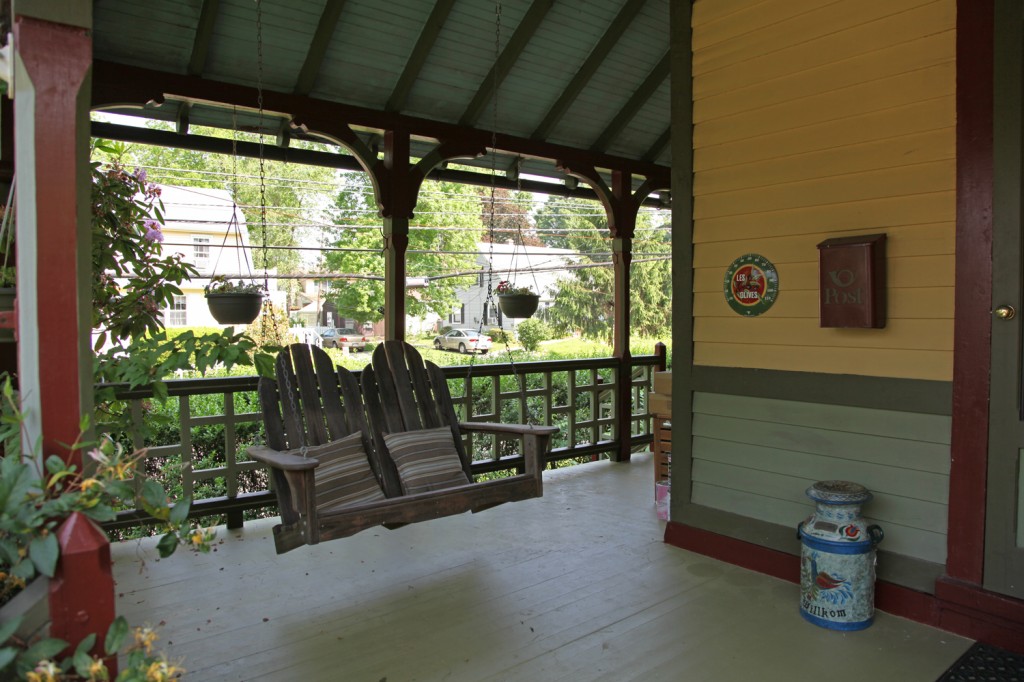
The Porch Swing with its first coat of terracotta colored paint! It doesn't look quite this garish in person.

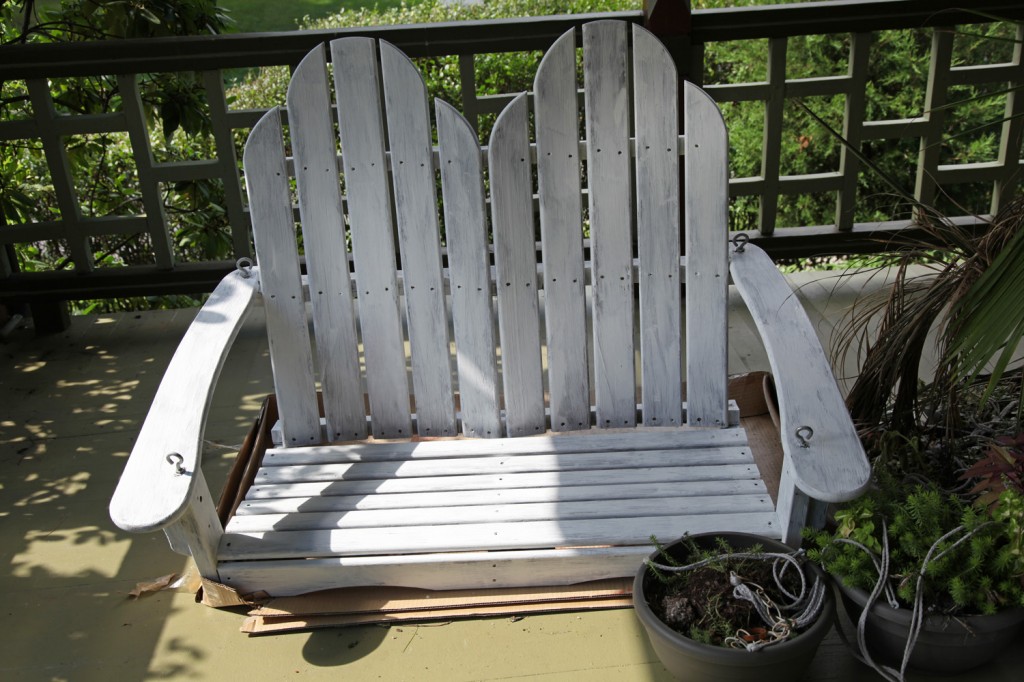
Porch Swing with Primer Coat (kilz oil based primer). It is on the ground in preparation for the hurricane.

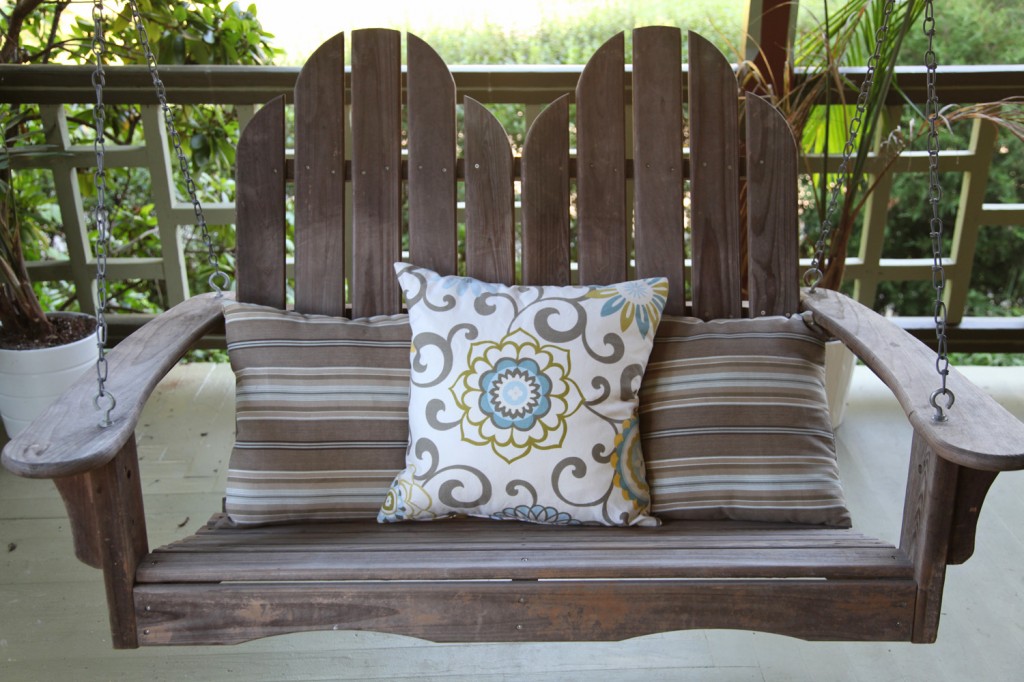
Porch swing without paint & 1 new pillow

Porch Swing 2 months ago after I picked out pillow fabric.


I managed to finally paint the porch swing yesterday. I have one more coat to do today then it is officially done! It is one of those projects that has been “in progress” for way to long. I still need to give the porch floor a good clean up and also paint the plant stand, but at least now I can smile when I see the brightly colored swing when I walk onto the front porch.

I am going to take a couple days off from the blog. I will be back next week with some new stuff to show but in the meantime I need to get ready for a neighborhood BBQ, take care of my sick kitty cat and spend the weekend with the family. I hope everyone is back up and running after the storm (my parents are still unfortunately without power). Enjoy the long weekend!

3 Comments

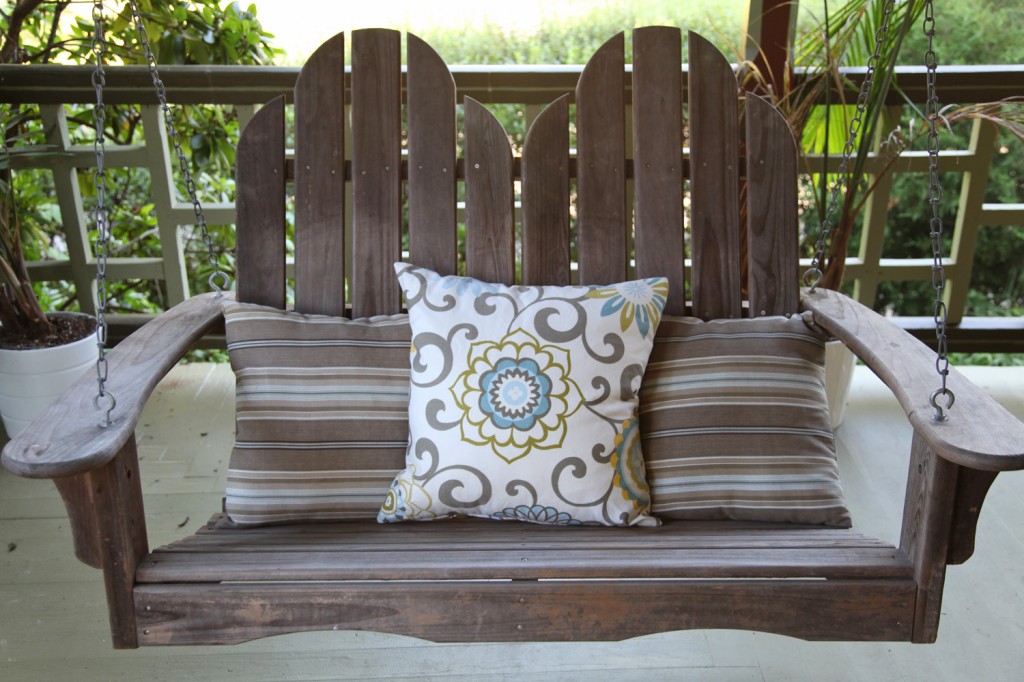
Porch Swing (still needs to be painted) & New Pillow. Try to ignore the half dead plants.

My new pillow (the flower is centered but because of the swirls being asymmetrical it looks off)

In the last week we have had about 10″ of rain (mostly concentrated on Sunday). So in addition to getting water in the basement (literally seeping up from the slab)  it is looking like a jungle outside am I am not looking forward to taming it. At least the weather was pretty nice yesterday afternoon  (for the first time in a while) so the kids and I put on our bug repellent and spent some time outside, which was lovely. Earlier in the day while we were waiting for the clouds to go away, I decided that I should finally work on the pillows for the porch swing. So during Maisie’s nap I managed to get one finished. I should say that I have made a number of pillow covers in my day, but never one with a zipper. My mom always said that zippers were really hard to install, but I saw this great tutorial from designsponge/sewing in a straight line for how to sew a pillow cover with a zipper. It looked pretty straight forward so I decided I would give it a try. We had a few technical difficulties, but overall it went pretty well.  Here are the steps I followed:

Making an Outdoor Pillow Cover:

1. Bought outdoor fabric and two 16″ zippers at JoAnns. I bought 4′ (1 1/3 yards) of 2 fabrics since I wasn’t sure which one I was going to use. It is a Waverly fabric callled “Pom Pom Play” in Spa from their Modern Essential line. I just found this link showing the whole line of fabric, which I think are pretty and modern.

2. Ordered two 20″ square outdoor polyester pillow forms. The only ones I could find were from fabric.com. They are nice and squishy. You could also cover over a pre-made outdoor pillow. I looked around to see if I could find any on sale but I couldn’t find any in this larger size.

3. Put off doing project for about 6 weeks. Have cats sit on fabric. Wash fabric to remove cat hair and keep in a place where cats don’t sit.

4. Cut four 20″ squares for the 2 pillows. This was more difficult then I was anticipating because the repeat is really big on this fabric. I bought a yard and a third (4′) of fabric so I had a good amount to work with. In the end I went with centering one flower on 2 of the panels and on the other 2 I have 3 flowers off center. I ended up needing all of the fabric to be able to make 2 matching pillows and was really close to not having enough. Sam “helped me measure” the fabric for the pillow.

5. Iron fabric to get out creases from having it folded.

6. Pin one side together good sides facing each other. Mark 3″ in from each side.

7. Sew from corner to mark on each side (including backstitching to prevent unraveling). Use a 1/2″ seam allowance all the way around. I also used a polyester thread.

8. If you have a modern sewing machine you can apparently set it to “basting” to sew the remainder of the side. I have my old school 1940s singer which only sews one kind of stitch so I hand basted the rest of the side.

9. Iron seam flat.

10. Pin zipper so that it aligns with basted seam. Zipper should be closed and face down.

11. Sew to one side of the zipper. Most sewing machines have a zipper foot that you can install that leaves one side of the needle free so that you can sew next to your zipper without the foot getting caught in it. Of course I do not have one so I decided to wing it. I sewed with the zipper on the right of the foot since on my machine the foot is narrower on that side (I was probably about 1/4″ off of the zipper). Once you have gone down one side then turn 90 degrees and sew across. Then repeat down the other side.

12. Cut out baste stitching and check to make sure the zipper is working. Miraculously it worked! Keep zipper open (I foolishly kept mine closed and then had to carefully open it after the pillow was finished)

13. Pin and sew the other 3 sides.

14. Turn right side out and iron.

15. Put in pillow form and close zipper!

16. Put on front porch. Have kids lay on it!

17. Find time to make second pillow. Consider ordering a zipper foot for my sewing machine.

Does anyone else still have outdoor projects to finish?

2 Comments

Fabric Love

July 1, 2011 — 1 Comment

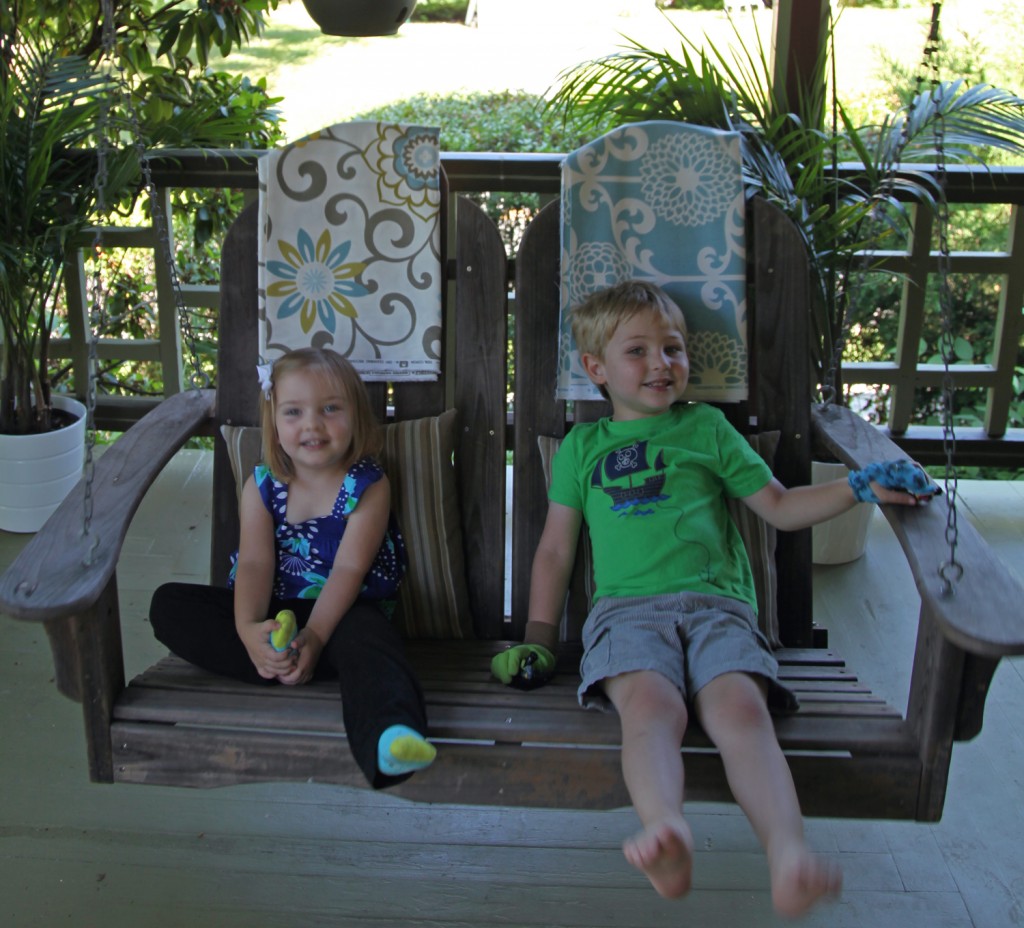
Outdoor Fabric for Porch Swing Pillow (and the kids including Sam's spint)

Jiti Outdoor Pillow $65

Another nice outdoor fabric on sale for $9.99

I was over at JoAnn’s earlier this week to pick up some felt for our Fourth of July creation (more on that later). While I was there I checked out the fabric. All of their outdoor fabric is 50% off (most were $9.99 a yard). I have been looking for new outdoor pillows all spring/summer. So far I haven’t found anything that I loved that wasn’t expensive. The closest thing I had found to buying were this Jiti Pillow (which I am pretty sure is a Waverly Fabric). Fortunately I found a couple of nice fabrics with pretty large scale flower patterns that I scooped up (they don’t seem to have these patterns available on their website).  Ideally I would have 2 big square pillows and then two smaller rectangular pillows.  For now I may sew new pillow covers for the existing pillows. Now if I can just get around to painting the swing the terracotta color to match the top of the house.

Fun Bright Colored Fabric:

Two beautiful patterns from Annie Selke, on sale for $28 a yard

Annie Selke Seema Fabric, $23

Pillows made from Annie Selke Links Fabric in Indigo

More Muted Colored Fabric:

A combination of Annie Selke Fabrics

A Nice Outdoor Fabric from JoAnn's, $15.99

Another nice Outdoor Fabric from JoAnn's, $9.99

Also while I was JoAnn’s I checked out some of their designer fabric. As a lover of a good pattern, I can’t seem to help myself! So I was pleasantly surprised to see that they are now carrying Annie Selke’s line of fabrics. The fabric is kind of pricey but JoAnn’s has all of their special order fabric 50% off right now. I thought I would show you a few of my favorites. I don’t have a place to use any of these at the moment but I am now on the hunt for a spot (maybe Maisie’s Room).

If you are not familiar with Annie Selke but love playful colorful pattern, I highly suggest checking out her different product lines:

Pine Cone Hill

Dash and Albert

Vanguard Furniture


– Her Pine Cone Hill bedding is always beautiful and colorful (although sometimes a little too feminine for my taste)

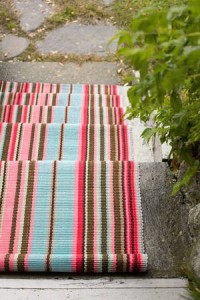
-The Dash and Albert rugs are amazing (in both cotton and indoor/outdoor). If you get any home magazines, I am sure you have seen these lovely striped and patterned rugs, although you might not of realized who made them. Some day I would like to install one of them as a runner on the stairs.

-She also has a line of furniture made by Vanguard

1 Comment

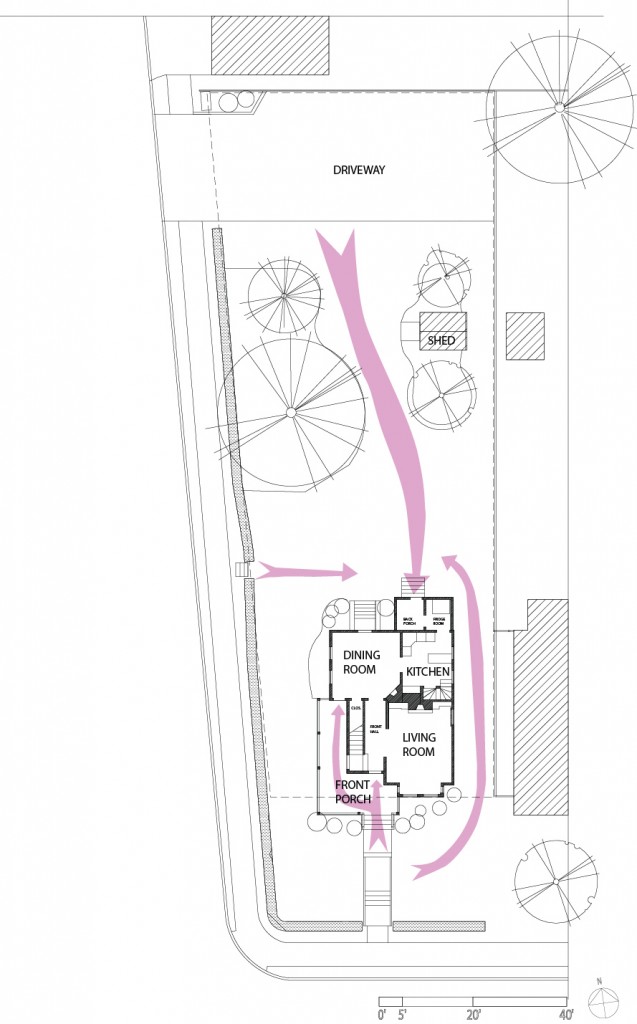
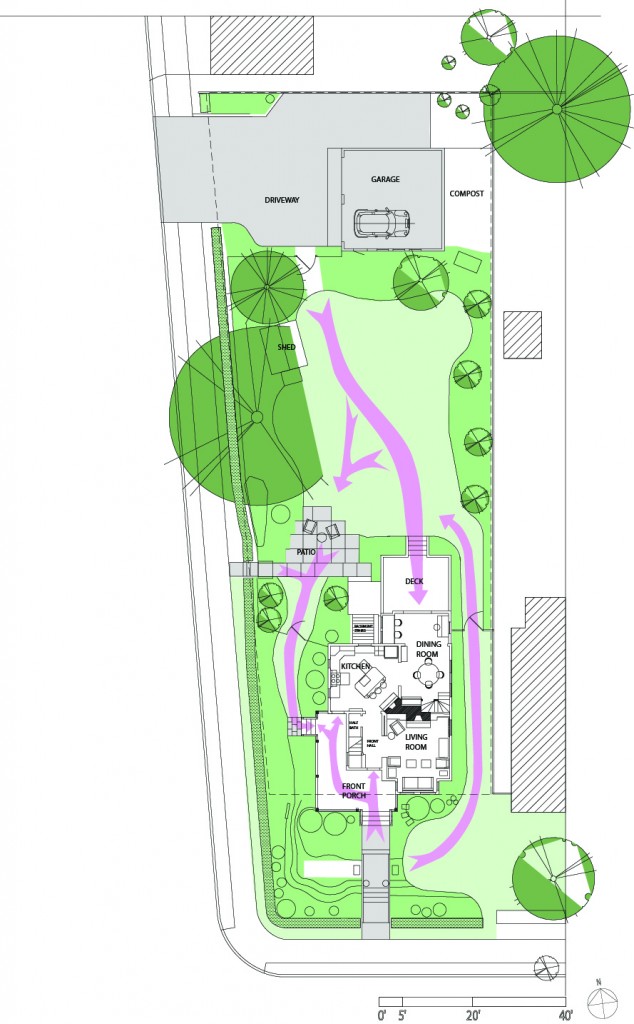
I thought it would be helpful to show everyone the original siteplan and first floor compared to the the current configuration. I also added some arrows to show the connections and pathways through the yard.

House Circa 2000:

-The only landscaping where some overgrown shrubs in the front yard and a large pine tree, dogwood and birch tree in the backyard.

-The Yard slopes down significantly towards both streets. Mr S. wiped out several times trying to mow it.

-The Entrance at the back of the house was not very welcoming or easy to use. Through the back porch and refrigerator room to the kitchen. Yuck!

-The Front Porch was nice, but very exposed to the street and had no side entrance.

-The Kitchen was tiny and the fridge was in an unheated adjacent space. The layout was horrible (it included 3 doors, 2 windows and a back staircase). The connection to the rest of the house was poor. You couldn’t see the backyard from the space.

-The Dining Room was really large, but not very well used.

Current Configuration:

-The landscaping has limited the grass to walking areas and play areas. Lots of perennials, shrubs and trees have been added to provide privacy, add visual interest and to encourage butterflies and birds.

-The House has been opened up to the backyard, providing better light and visual connection.

-The Kitchen and Dining Room switched places, providing us with a large kitchen and a smaller but functional Dining Room.

-We reconfigured the back porch/refrigerator room to be open and have a built-in desk space as well as a space for the piano.

-We added a patio and deck to the backyard to better utilize the space.

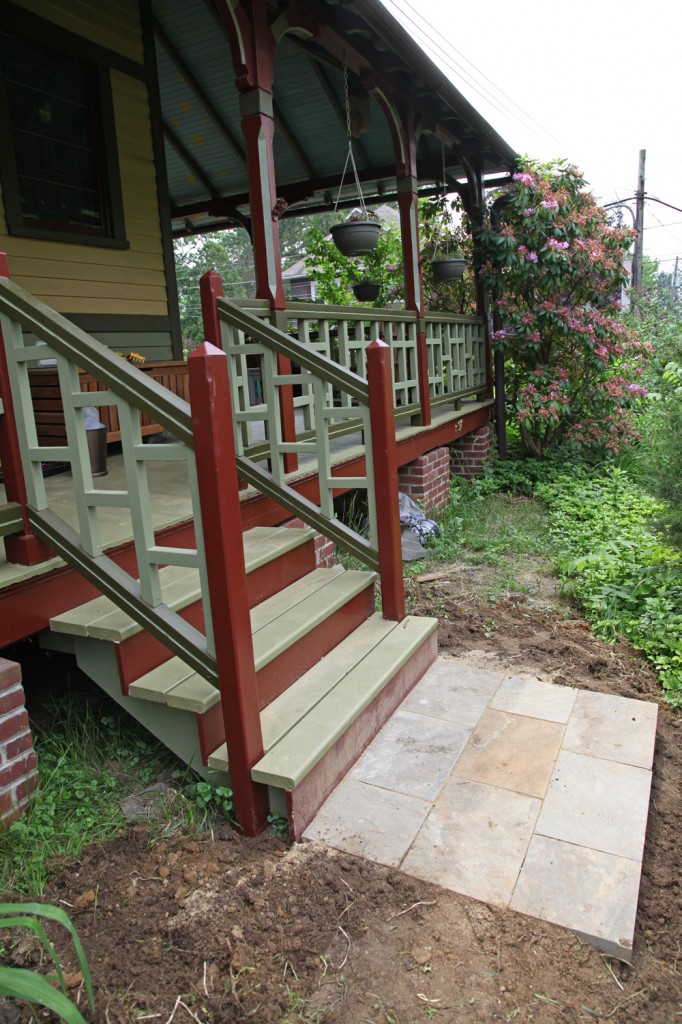
-We finally added a second set of steps to the backyard from the porch. Now we can go from the front to side yard and also from the kitchen to the backyard easily. Why did it take us 11 years to do this. hmmm…

Leave a comment

Porch Progress

May 31, 2011 — Leave a comment

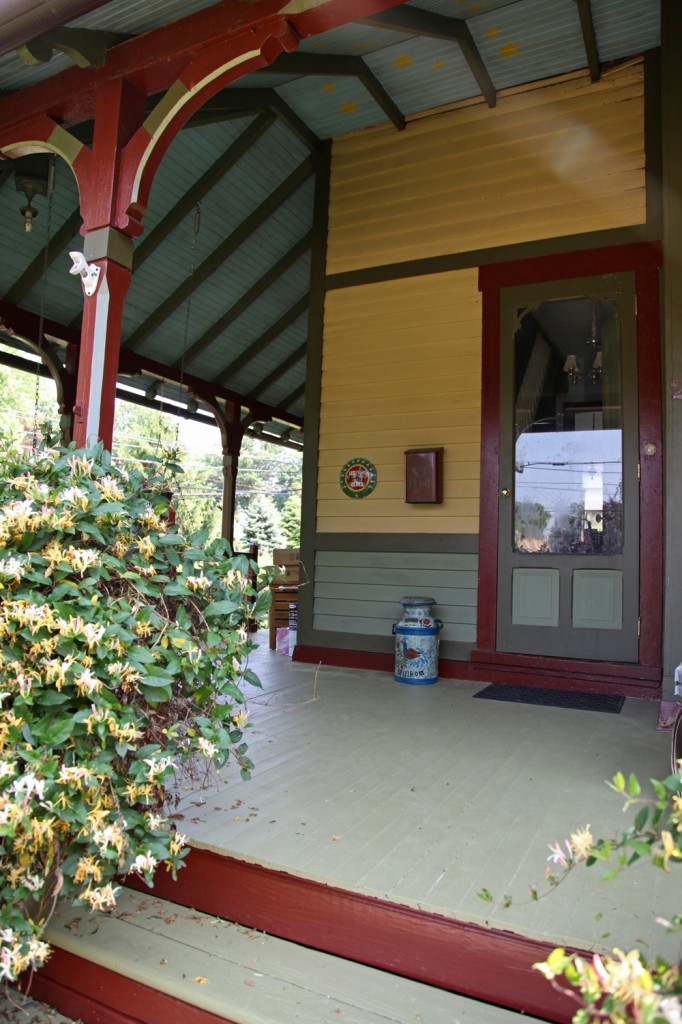
Front Porch w/ Honeysuckle (yes the invasive kind)

I hope everyone enjoyed the three day weekend! We got to do some swimming (okay it was actually more like sitting in the baby pool) and a visit to the zoo. We also managed to get the porch swing hung in its new location. We have already used it too. We hung it on the low side so the kids could get in and out easily. I still need to paint it and get some new pillow. I am also still deciding on the other porch accessories.

Porch Swing hung in its new location (yes, it does still need to be painted)

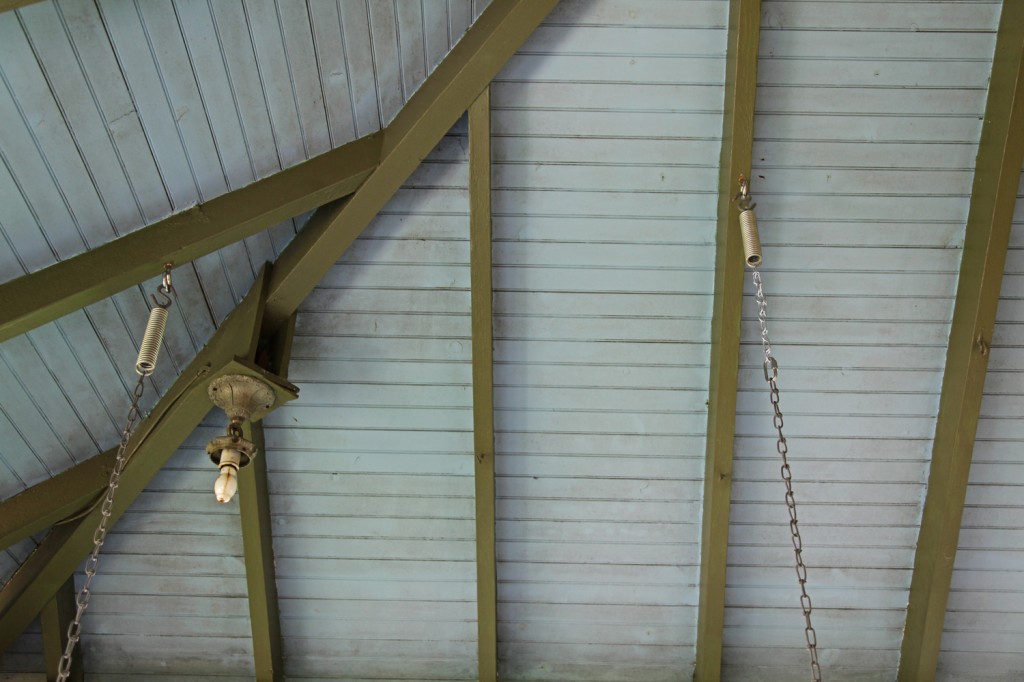
New eye hooks and a chain extension for the porch swing

How to Hang a Porch Swing:

Originally we hung our porch swing on 2 existing hooks (which I’m sure where installed for that very purpose). We decided on a new location, the only problem being that the roof structure is going in 2 directions at this location.

1.Pick up some eye hooks. Note: I went to Home Depot and at first couldn’t find any that would support more than 150 lbs. They all say not to be used for play equipment or for support of people (or something similarly vague and annoying). I managed to find someone who worked there and was actually helpful. He showed me that by the chains (about 20′ further down the aisle) there were some heavy duty eyehooks. I found one that support 350 lbs. It still had the same vague warning but at least looked properly substantial.  I went with 2 of those and 2 connection links that could each support a 1000 lbs. I would strongly recommend eye hooks over regular hooks to minimize the problem with the swing falling off.

2.Decide on rough location.

3. Determine which 2 roof joists to attach swing. The one on the left in the photo was the best location in terms of being out far enough from the rail beyond and avoiding the light. The one on the right was about 48″ to the right (similar to the old location). Our porch swing is about 44″ wide.

4. Pick the first location (in this case the left side). We went ahead and installed this hook. This included pre-drilling with 2 size bits (but nothing too big) and then screwing by hand (it helps to put a big screw driver through the eyehook to give you some leverage). Mr. S’s strong hands installed these pretty quickly. I would probably still be struggling with this step.

5. We hung the chain down and measured out from the chain to the guardrail (yes some good old geometry). Then Mr. S stood on the ladder and moved the other chain around on the other roof joist until the distance the guard rail was the same as the first one.

6. Install second eyehook, the same way as the first.

7. Install the “comfort springs” for our bench on each eyehook. I highly recommend the springs! We ordered them with our swing and they give a nice bounce to the swing when you sit down. The kids also like to bounce on the swing.

8. Hang the higher side of the swing at full length.

9. Adjust the links of the lower side until the swing is level (we just put the level on the seat and moved it up and down until it was level).

10. This arrangement worked, but left the seat quite high.

11. I went back over to Home Depot and got an extra foot of chain. Then using the connection link we adjusted the longer side down until level.

12. Sit and enjoy!


Leave a comment

The Bluestone Landing is Done!


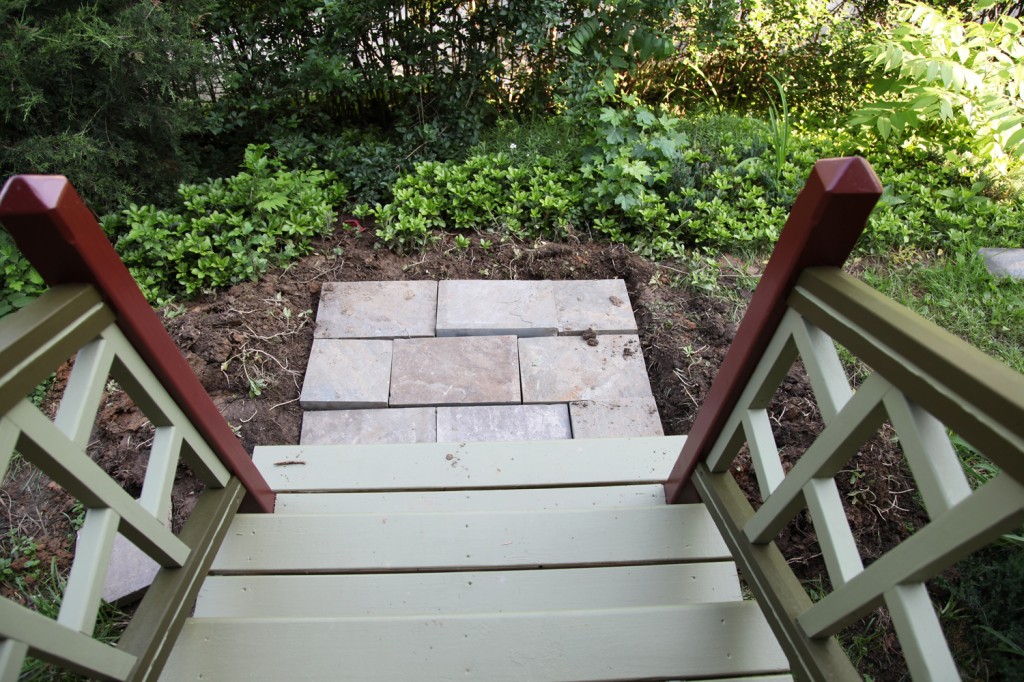
It may not look like much, but I managed to get the bluestone landing finished yesterday! I was determined to get this finished before this weekend. I hope everyone gets to enjoy the 3 day weekend!

It is hard to believe that it took us this long to put these stairs and landing in. This side yard has been wasted space for the past 110 years or so, and now it is a key part of the circulation path for the house. I still need to post a plan of the yard but I have been having trouble converting my autocad into an illustrator file. Hopefully next week I can post up the site plan so you can better understand the flow of the space.

I still need to work on the planting in this area as well. I also want to add a small raised veggie bed in the space just past the new landing (top right in the photo above). It is now a mix of weedy grass and pachysandra.

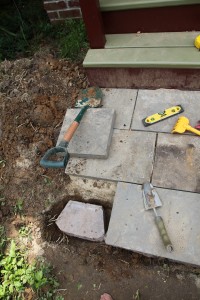
Laying the bluestone was tricker that I thought it would be.

The Install:

1. First I measured down from the wood steps (so that the bottom step to the landing would be the same height as the wood steps).

2. Then I had to account for the differing heights of the stone (they varied from 1 1/2″ to 2 1/4″ thick) to figure out how far down to dig.

3. Because I needed to add some retaining blocks (which are just the standard one from Home Depot, $2.18 a piece) under the sloped side to stabilize it I also needed to dig out for these. And because these would be at a set height I picked the 3 pieces of stone that were the closest in depth and used those on that side.

4. I dug out the dirt which was filled with annoying pachysandra roots. Including for 2 layers of retaining blocks.

5. Then I filled with sand (about 3″ thick) starting at the stairs to make sure the height was correct.

6. I sloped the stones about 1/4″ per foot towards the slope for drainage.

7. After I laid the first row (which took the longest to get just right), I started with the second row. and aligned with the first row while maintaining the slope in 1 direction and level in the other.

8. The third row required getting the 2 layers of retaining blocks at the right height and slope. This took lots of putting them in and out until they were just right.

9. I filled around the retaining blocks and installed the last 3 pieces on top.

10. Finally I filled the joints with sand and pushed it in with a broom.

11. I still need to take a hose to it and try to get some more stand into the joints.

The retaining blocks under the landing

Installing the last retaining block & blueston paver

1 Comment

Garden & Porch Update

May 25, 2011 — 4 Comments

4'x3' Bluestone Landing in progress (it looks so small in this picture)

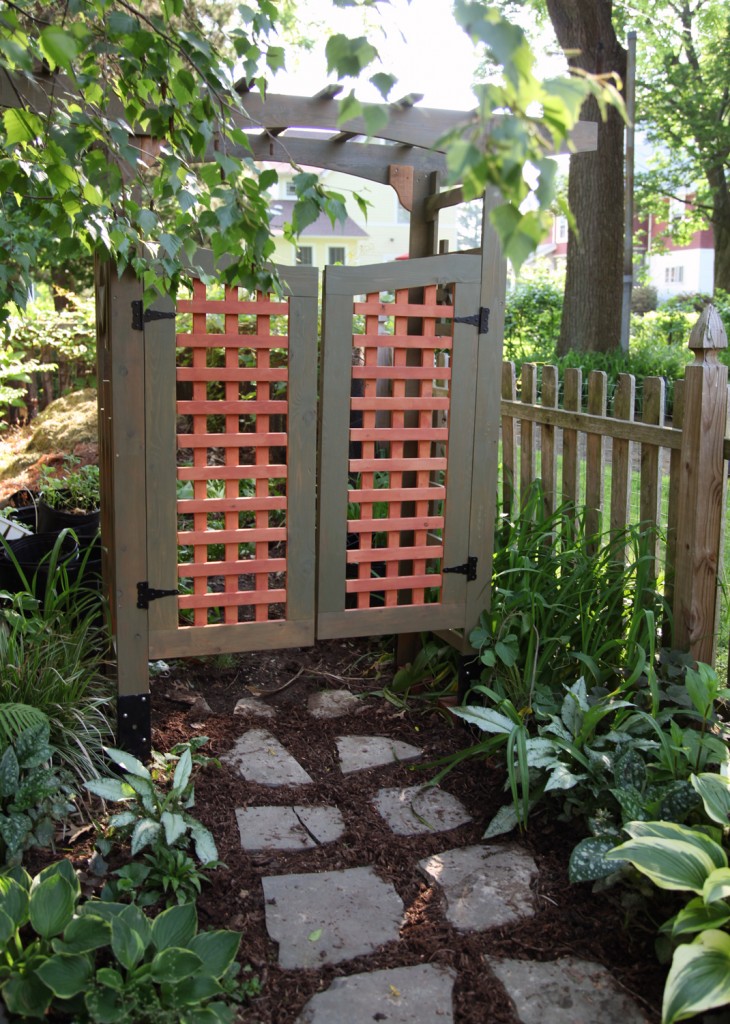
Arbor w/ fresh mulch

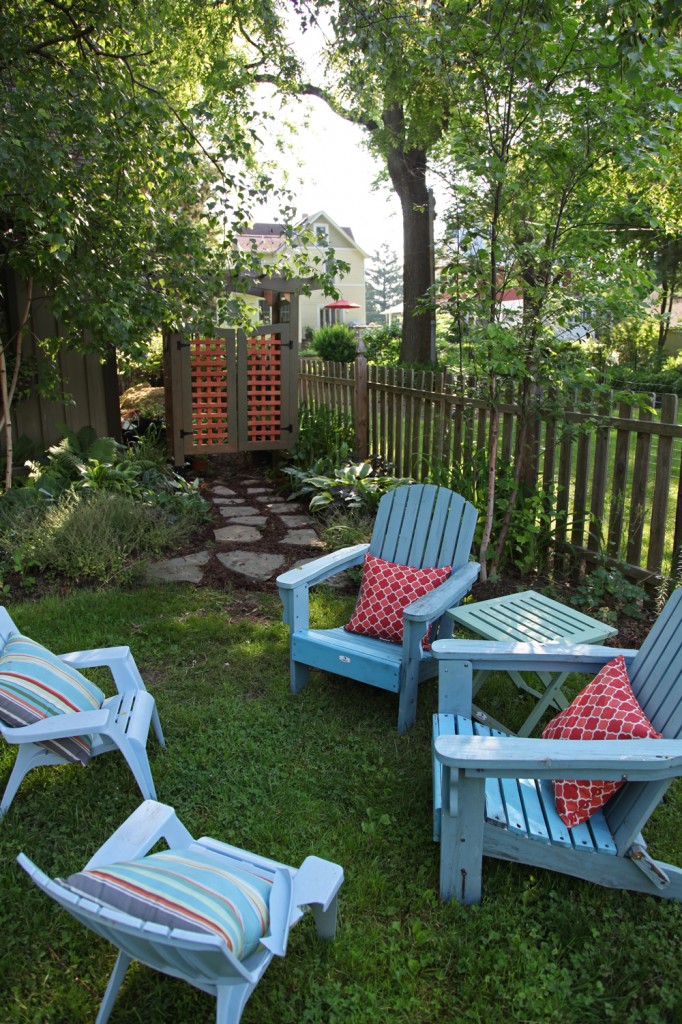
Arbor with our old adirondack chairs

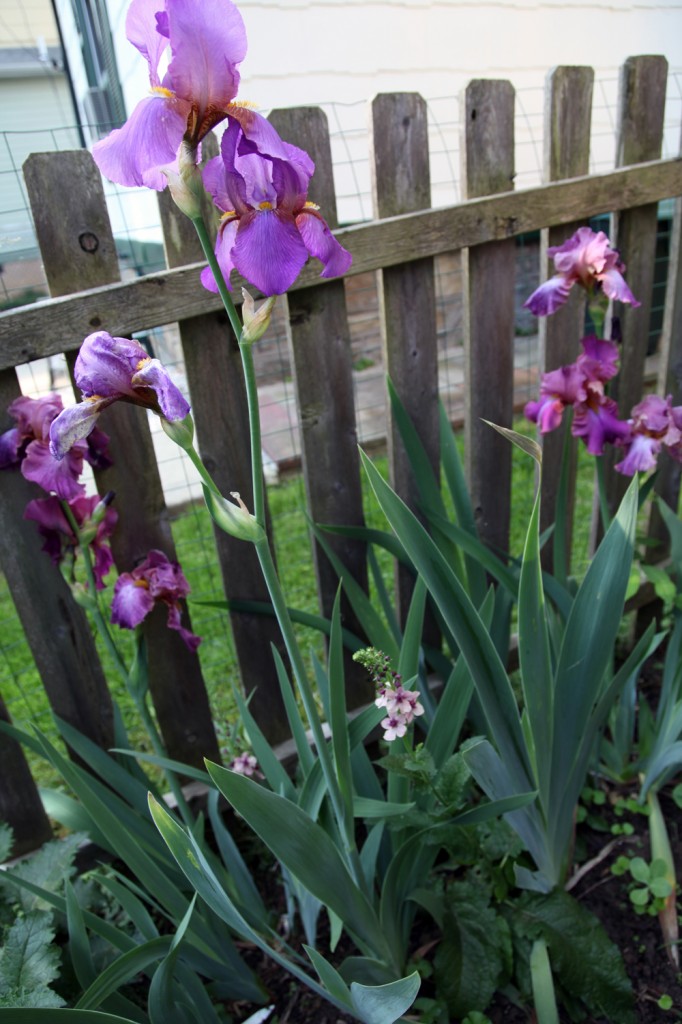
Huge Bearded Irises w/ Verbascum nigrum

Spiderwort (Tradescantia) (I love the tropical looking flowers w/ the bamboo, but it is actually a native prairie plant)

Things have been moving along in the garden and porch, partially thanks to Mother Nature and partially by manual labor. Yesterday I managed to dig out for the bluestone landing at the bottom of the new stairs. I just need to pick up the sand and level. I also managed to adjust the stepping stones to the new arbor and put in some mulch.  In the garden, things are really starting to bloom. It is interesting now that I take more photos of the garden, how many purple flowered perennials I have. Purple is my favorite color, but I didn’t realize how much I favored it. hmmmm…

4 Comments