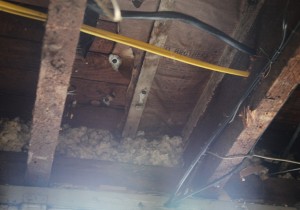
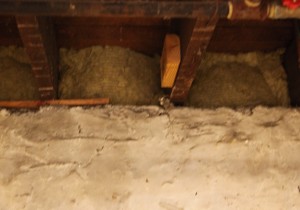
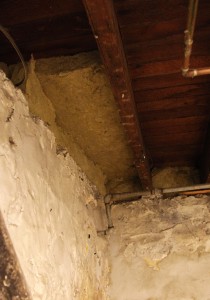
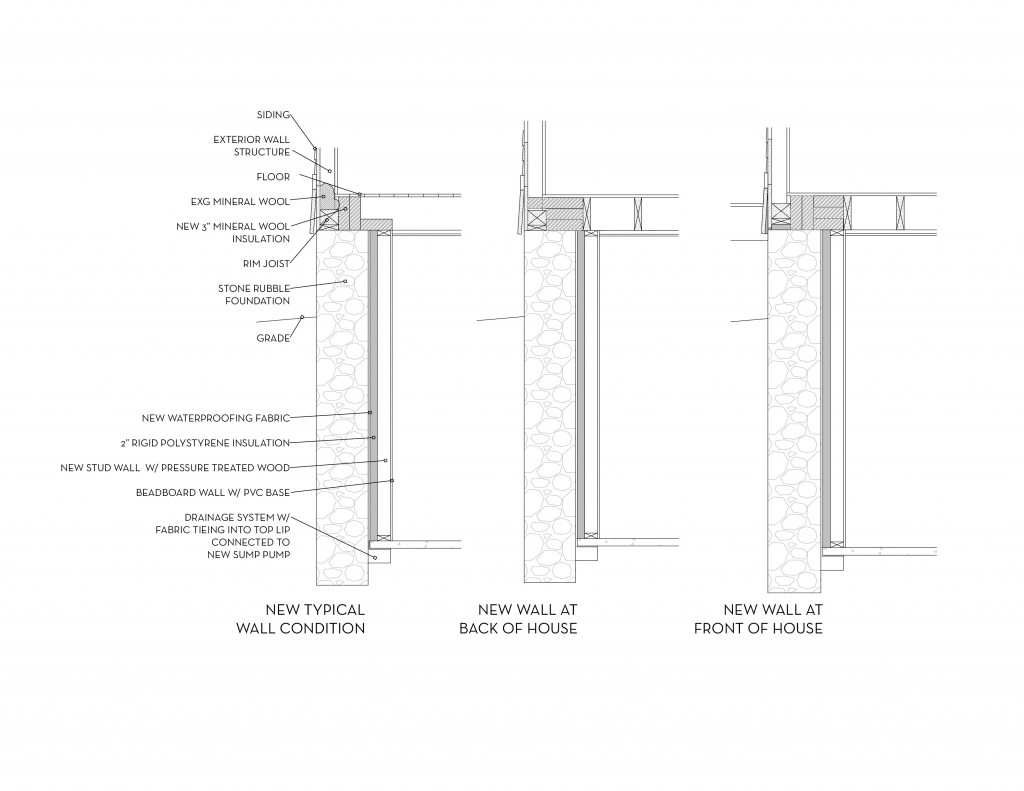
We are getting close to being able to actually start finishing the basement! The drainage system guys are set for next Monday (it has been a long wait)! We also managed to insulate the sill at the back of the house this weekend. It involved Mr. S’s long arms and a yard stick! Part of the area had a little bit of old mineral wool but a large portion didn’t have any insulation. Since the floor joist was running parallel to the foundation at this location the gap we had to work with varied between about 5″ to 1″ (see the middle drawing below). The method we used was the “stuff it as full as possible using small pieces of insulation”. There were a few areas where we could get a little bit of spray foam, but mostly it was a matter of taking the small 9 1/2″ x 16″ pieces that we used elsewhere and shoving them in as best a possible! The only other option would have been to fill it will loose fill, but that would have meant renting a machine and changing to a cellulose insulation, which I didn’t want to introduce.
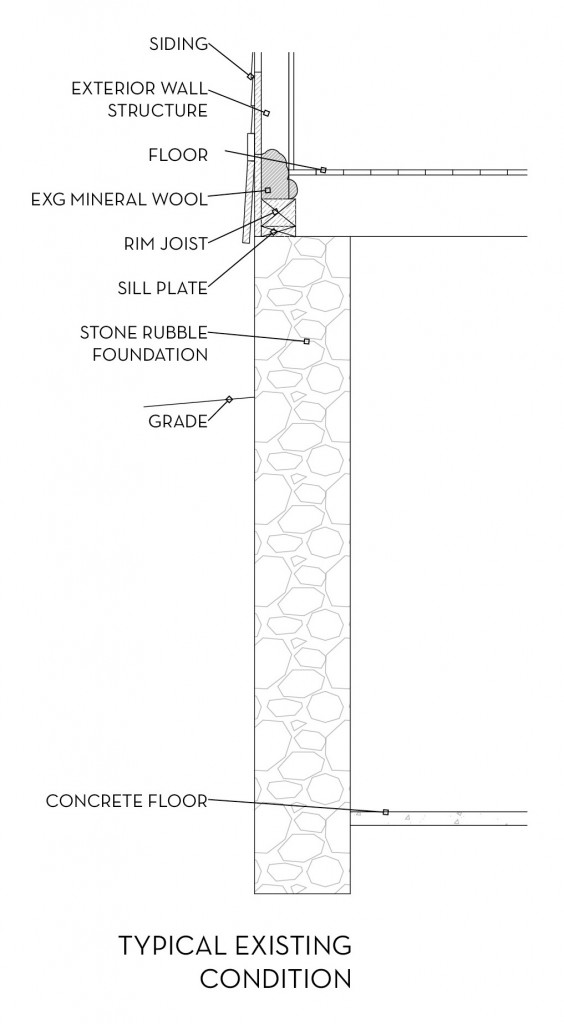
Today I wanted to get into more detail on where we installed the sill insulation and the wall section we will be using for the new finished walls. This first section is the existing typical wall section (after we removed the old stud walls and paneling) (click on the image if you would like to see it larger). You can see that someone a long time ago did there best to seal the condition between the rim joist and balloon framing with loose mineral wool. You will also notice that there are a lot of joints in the wood construction, leaving lots of gaps for air to infiltrate. On most of the house we have tyvek on the outside to help (except at the porch area where the original siding is located).
In the new sections there is a minimum of 2 layers of 3″ mineral wool. We will be adding more to create a continuous thermal section to the bottom of the wall. The walls below will be have 2″ extruded polystyrene (which has a higher r-value per inch) and is rigid and good for basement conditions. Normally you would have to be concerned with the condensation of the foundation walls (which caused mold in our old walls) but because we have the waterproof layer in between that will wick any moisture down to the sump pump we don’t have to worry about that (yeah!). I will post up more about the drainage system next week once they get started. It is definitely a belt and suspenders type of system (which is the way I like it!).
P.S. The boiler has decided to stop working this morning, it is pretty dirty at the moment but we were hoping to wait and get it cleaned out in a couple of weeks once the concrete work was finished. I guess we waited too long! Fingers crossed a good clean out will fix it!
*For all of our Basement progress click here.

