Archives For OUR HOME

Helper #1

Helper #2

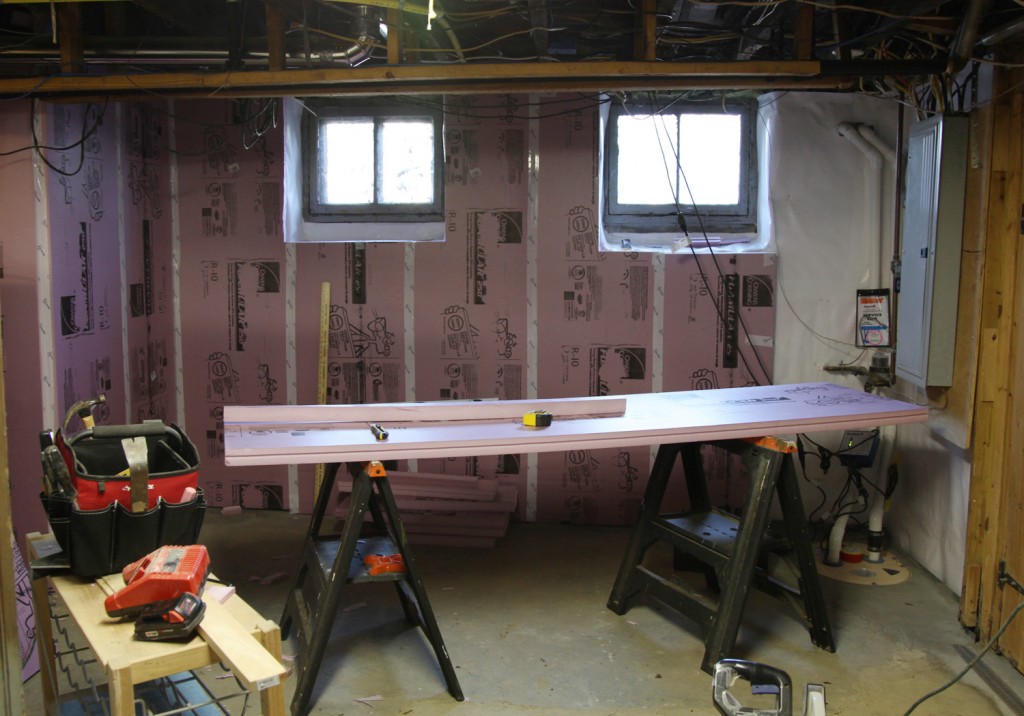
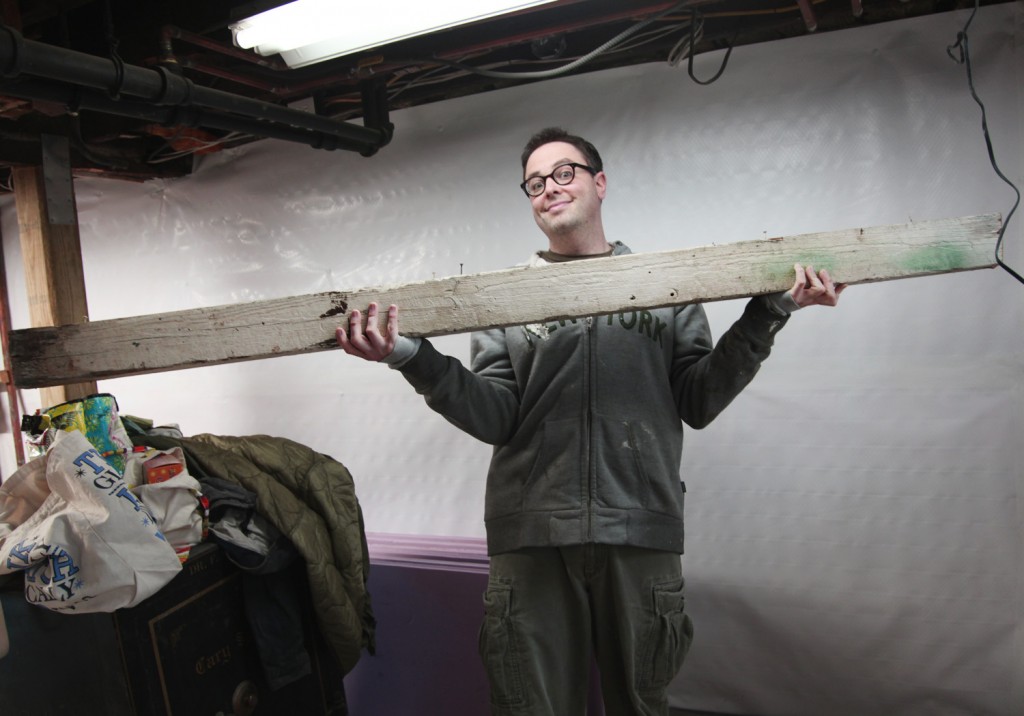
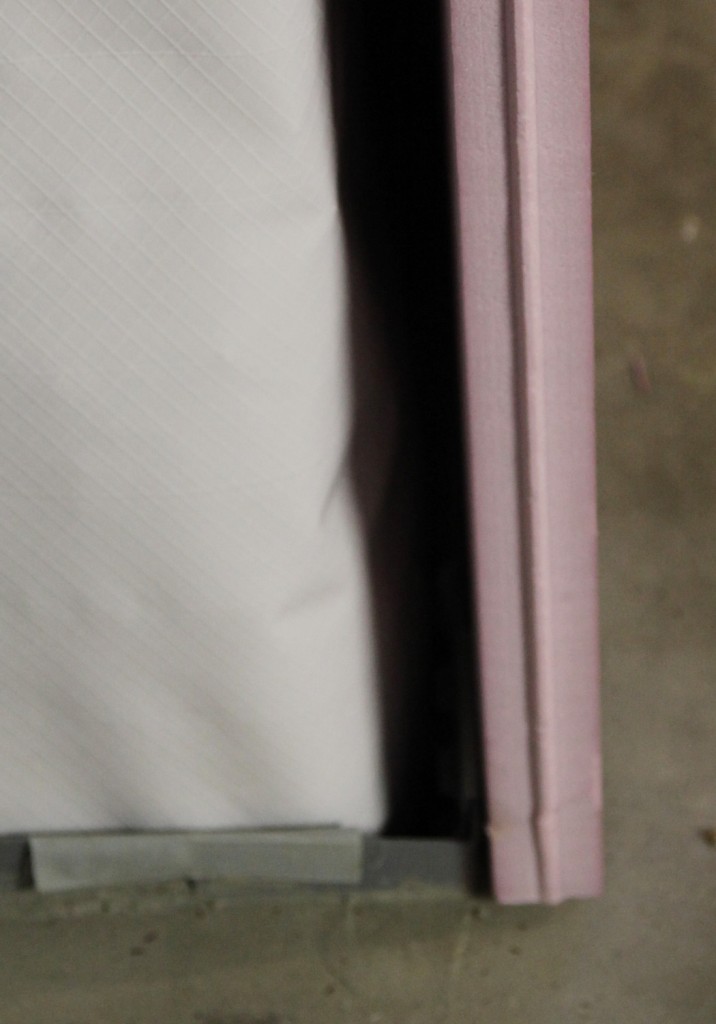
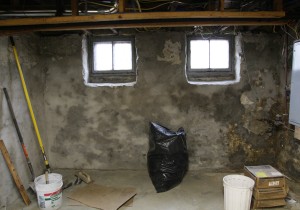
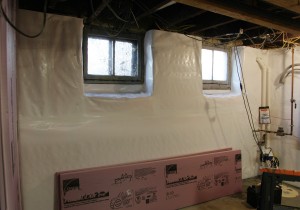
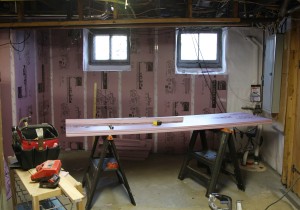
I have Jury Duty today, so I am little behind on things. We did manage to install most of the pink rigid polystyrene insulation in this weekend. There is still a little more to do, but we can’t do that until some more plumbing is run. The contractors now aren’t coming until Wednesday, but hopefully by this weekend they will have installed the concrete on the floor, placed the shower pan and run the plumbing so that we can finish the insulation. Since the pictures are still quite boring I thought I would show you our “helpers” instead. Hope everyone had a good weekend!

* To see all of the posts about our basement click here.

Shower & Tile for the Bathroom

It feels a little like Christmas here with all of the boxes! Quite a few things have arrived and bunch of items will be here soon. I will also have to pick up some stuff over at Home Depot in the next few days. My contractors are scheduled to start on Monday so it is actually time to get moving!

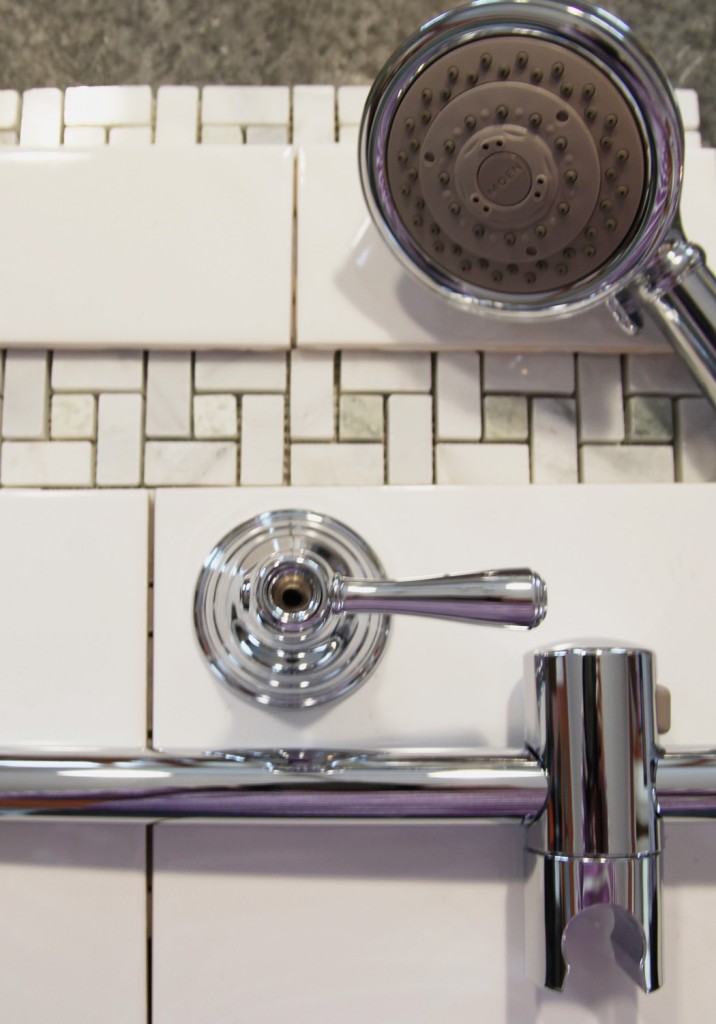
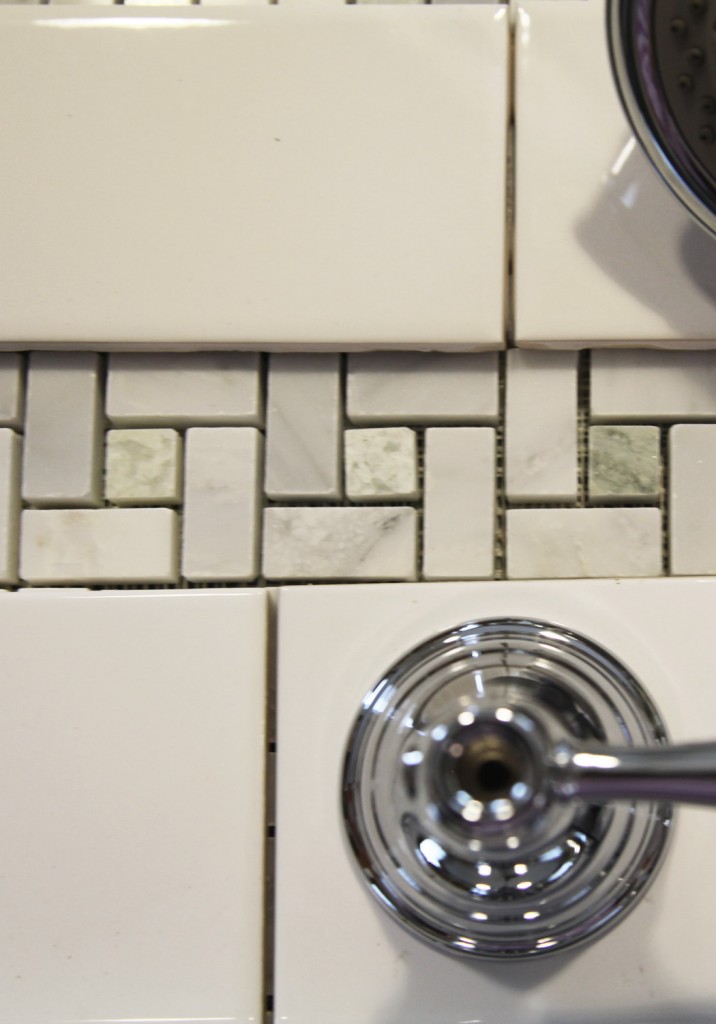
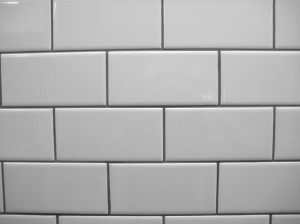
We have also decided on most of the tile. We are going to go with the 3×6 ceramic subway tile at the top of the picture for the field tile. It is available by the piece at Home Depot, which is conveniently located right around the corner (including all of the cove and odd size pieces). The good news is that it comes in at $1.86 a sf. The bad news is that the white is definitely not “bright”.  You can tell when you compare the top tiles to the tiles at the bottom of the picture. The bottom ones are larger 8×10 tiles that my parents had leftover from their shower. They graciously offered to let us have the leftovers. Unfortunately it is not such a good match and if I use it, it will probably bother me! I am still trying to come up with a way to use at the bottom of the shower and then introduce the stone stripe and then switch to the home depot tile. hmmm…stay tuned as I finish laying it out! And of course the shower pan is BRIGHT white. It also looks like I have just enough tile for 4 stripes of the stone accent.

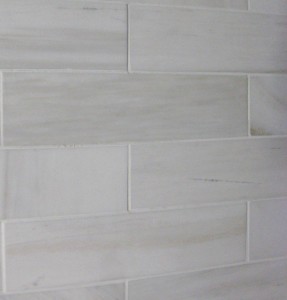
Off White Subway Tile at the Top, "Biltmore" Stone Tile in the Middle and Bright White Large Tile at the Bottom

In the meantime I have been making lots of lists: lists for our contractor, including framing, plumbing, electric and finishing and lists for us. I also have a long list of “to discuss” items. So far it is 3 pages long!

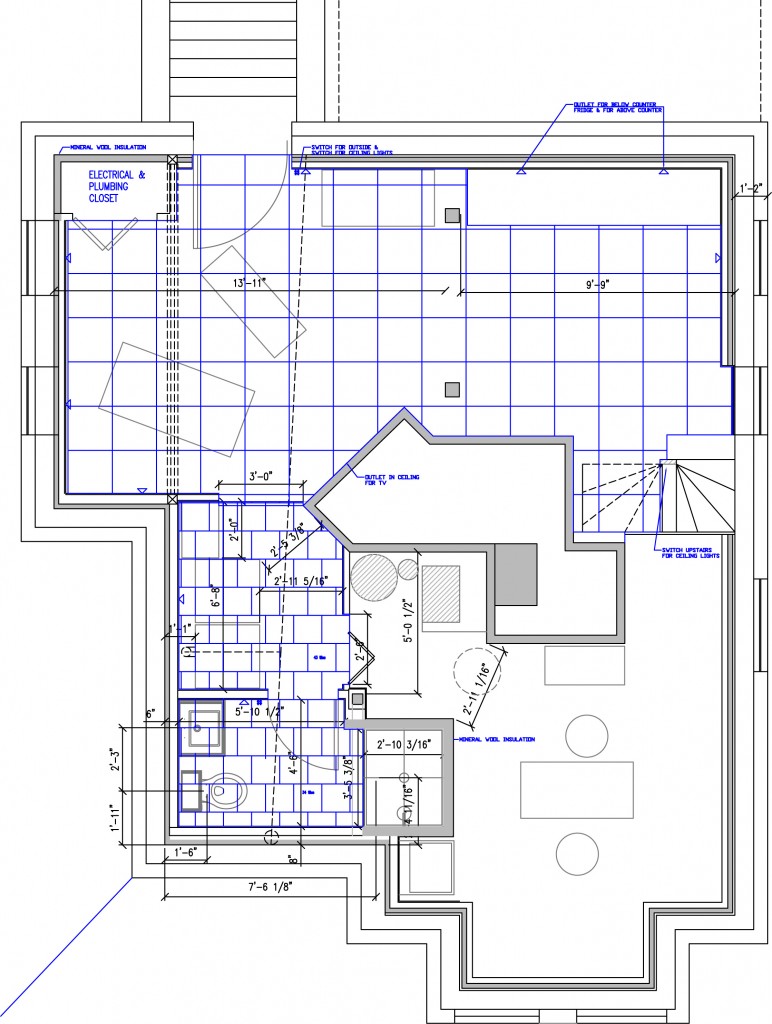
Floor Plans showing tile and carpet tile patterns

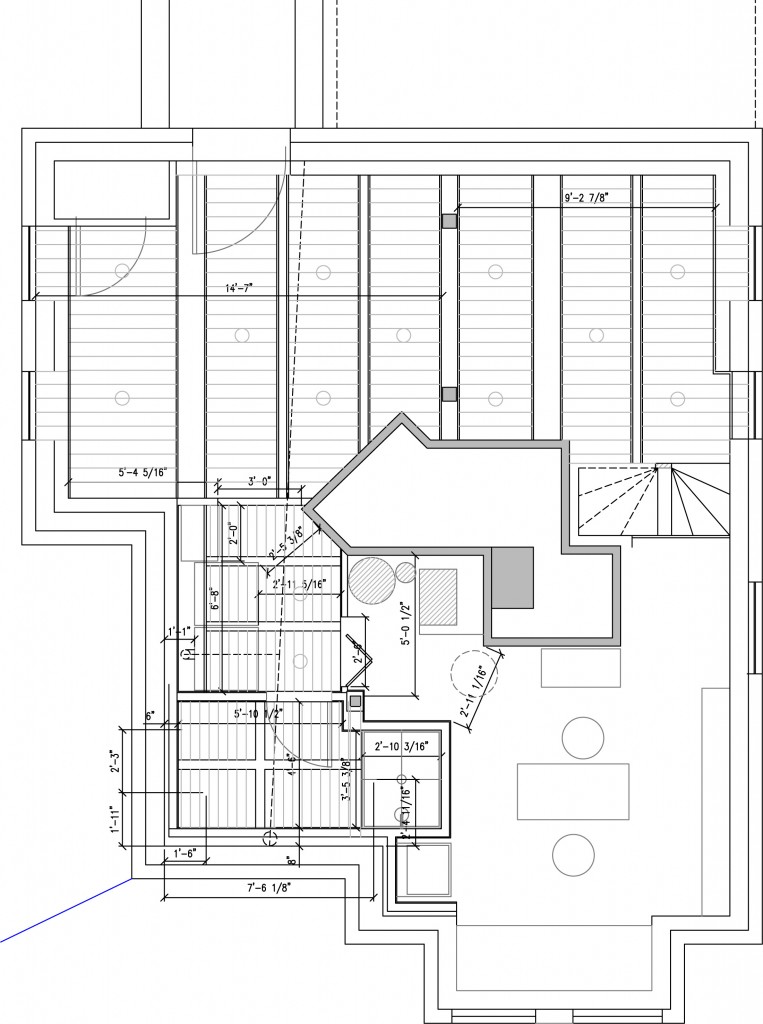
Reflected Ceiling Plan w/ "beams" and lights

I have also been working on my plans and reflected ceiling plans for the space (click on them to see them larger). Sorry they aren’t prettier, but right now it is all about dimensions and figuring everything out! There are several dimensions that are tight and need to be spot on in order for everything to work. I also laid out the flooring, to make sure I was ordering enough. The ceiling is especially tricky because we have all kinds of stuff going on up there, and most of it needs to be accessible. I am trying to find a nice way to achieve a beadboard and beam ceiling without it looking too chopped up.

We have a bunch of insulation to install this weekend before they get here. Wish us luck!

* To see all of the posts about our basement click here.

Basement Main Room Materials and Colors

For the main space of our basement we decided that we wanted something warmer on our feet. We had carpet in the basement previously everywhere, including the bathroom. I guess that shouldn’t be a total surprise since our upstairs bathroom had carpet in it too! Gross! I think I had blocked that out of my memory. Anyway back to the carpet. I have been searching for inexpensive but durable carpet tile to put install down there. I like the idea of carpet tile, because you can replace individual sections and it has a rubber backing on it that will deal with moisture better than broadloom carpet. What I don’t like is the price! Most good carpet tile runs $5+ a sf (i.e. FLOR), which seems like too much to spend for our basement.  So I searched and searched the internet for a good deal. Then I came upon my answer, Carpet Corporation of America based out of Georgia. I mentioned them before but I wasn’t sold on the pattern so I had been waffling.

Here are the options we looked at:

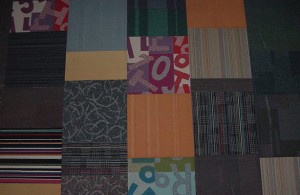
Odd Lots "Bright"

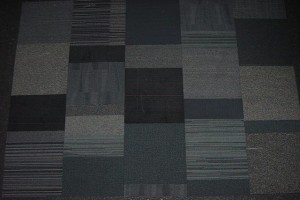
Odd Lots "Grey"

1. Odd Lots: The least expensive are Odd Lots. These are priced in the $.29-.49 sf range (.29 for Class A Seconds and .49 for First Quality). They come in several color families including Grey Family, Earth Family, Bright Family and Blue Family. They look quite fun and under different circumstances I would have used them in a second. Normally that would be right up my alley! I was having issues though with these paired with all of the beadboard. That is a lot to take in! So back to the drawing board!

This was our second choice

Carpet Tile We Selected

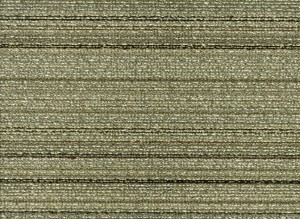
Another Option that was too tan

Another Option that I decided was too light

2. Small Lots (basically leftovers): These are currently on sale for $.69 sf.  They offer small (and sometimes large) amounts of several hundred carpet tile patterns. The images are on the website but I was confused about the quantities. So I called them and they showed me where you could download a pdf  spreadsheet showing the quantities of each (click on the second dog outline down from the top to download from their website). Then you have the long task of sorting out which carpet tiles they have in the quantity you need. We needed 300 sf (for a 250 sf room with extra for cutting and replacement).  It took me a couple of hours to sort through everything, but I managed to narrow it down to a few that I thought would work with our color palette. There are some CRAZY patterns that could be pretty fun if you felt like making a statement.

Shipping: This is often the dealbreaker. Either it is too expensive or too difficult to coordinate. The way that they work is to use freight (which means sitting at your house all day waiting for a truck to pull up and for you to unload it). Fortunately they recommend two options. One is getting it delivered to a business address, so you can unload it from the truck to your car. The second is picking it up at a distribution center. Fortunately we live only a few miles from the distribution center, so I am going with that option. I will still have to load it into my car myself, but I can schedule the time, which is really helpful (especially with 2 kids). The price came in at $99.90 for shipping.

I ordered the carpet yesterday and it is suppose to be at the distribution center by early next week! The total for everything was $306.90 (basically $1 a sf). So stay tuned to see how the quality and installation goes!

What do you think?

* To see all of the posts about our basement click here.

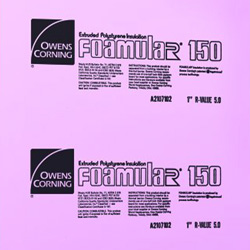
Pink Polystrene Insulation w/ Tyvek Tape

I hope everyone had a good weekend. We were busy in the basement and it is starting to look pink! We started installing the 2″ tongue and groove extruded polystrene insulation against the foundation walls. We had to set them a little bit out from the wall since there is a lip at the ground from the basement waterproofing/drainage system. We also are leveling these so we need about 1/2″ of space anyway to allow for the variation in the old stone rubble foundation and the parging that was troweled on top. We didn’t get quite as much done as we would have liked, but it is relatively east work. Our contractor is due to start next week on actually putting up walls! Yeah! We should be able to get most of the insulation in by the end of this weekend (or at least the areas that he will be starting on).

Mr. S holding the old column

We also took out the old column in the middle of space, which was pretty cool! It is amazing how HEAVY this small column was (I guess that is what happens when you are using virgin pine stock). The smell of pine immediately filled the air! We are going to keep up, not sure what we are going to do with it though. The photo at the top now is also much easier to take since the old column was right in the middle of the space.

Gap between wall and rigid insulation (bottom gray lip is from the drainage system)

Here are a few things we learned installing the rigid polystyrene insulation:

-It is expensive at about $16 for a 2’x8′ sheet. (we estimate that we will need 45 sheets)
-2″ extruded rigid polystyrene insulation comes with a tongue and groove. 1 1/2″ comes shiplapped.
-You want to tape the seams to provide a tight seal. The general recommendation is to use Tvyek tape (which is readily available). Duct tape is not going to cut it here (especially after you shell out all this money for the insulation itself). The point of adding this insulation layer continiously is to maximize the R-value and seal it completely, so this is very important.
-After experimenting with cutting, a long utility blade works best (with a metal guide). We have one made by stanley, but several companies make them. The nice thing about this blade is that it will extend the whole 2″ so you can get a good cut. You do need to change the blades fairly frequently, or it get tougher to cut.
-We had heard several recommendations  for cutting with an electric meat knife. This did  NOT work very well at all, and started to smell pretty quickly.
-We attached the insulation with a screw at each floor joist above. Since the boards are all connected and taped they stay pretty stable with minimal attachments.
-It is important to keep in mind that this stuff is flammable, so the code requires that it does not stay exposed (you must cover it with drywall or other suitable finish material). We will be finishing with a 2×3 stud wall in front and varying finishes for the walls in front to seal it off. We are also going to use mineral wool in our electrical closet area (on the right of the picture at the top) and at the top of the extruded insulation to close it off.
-You want to level each board as you go, since if you are off on one board the issues will compound as you move down the wall.
-We recommend installing them vertically rather than horizontally.
-This is totally doable as a DIY, as long as you have the patience. We estimate that this will save us around $400-500 in labor.

Wall after Parging

Wall after Waterproofing

Wall after Insulation

It is time for me to order the faux slate flooring today! I need to get moving on actually getting materials here! I can’t believe we will actually start to have finish spaces in the near future.

* To see all of the posts about our basement click here.

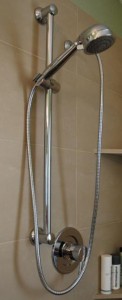
Moen Handshower w/ Slide Bar$134.95

Now that our shower pan is here, it is time to get moving on figuring out all of the details for the shower. Since we are installing all new walls I was able to use a pre-made shower pan, which means no grout cleaning (at least on the shower floor) for me! Next up is the shower itself. The ceiling height is quite short in this area so I wanted to have some flexibility in the shower head height. To maximize the height on the shower head we went with an adjustable shower mounted on a bar. On a normal shower you loose several inches due to the spout angle.  With this set up you can adjust the shower set up to the ceiling, or down low for the kids. My parents have a similar configuration in their shower and they love it.

I went round and round trying to find just the right setup at a reasonable price. It meant actually have to order 4 parts separately (a total pain!) to get what we wanted. I also now understand WAY too much about how a shower works and the different options and parts.

First up was the handshower. I wanted one with several different spray options. This eliminated quite a few of the sets. I also wanted one that included the slide bar. There were several major manufacturers to choose from, and it took me a while to weed through the various configurations to come up with this Moen model (3867), which comes in at $134.95.


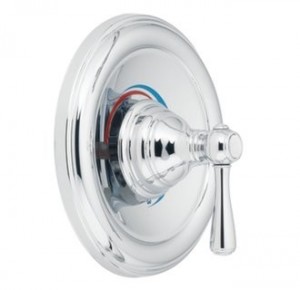
Moen Kingsley Single Lever Handle, $53

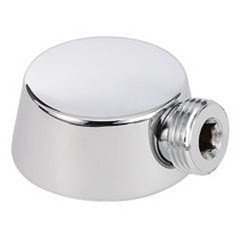
Moen Drop ELL-connector for shower, $26.95

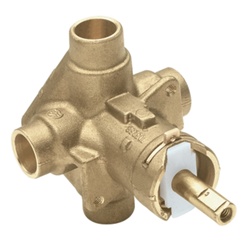
Moen 2520-2T Rough-In Valve, $55

Next up is the connector to the wall (drop Ell). I’m not sure why this wouldn’t come with the handshower system, but it doesn’t. Fortunately I found the right part after a little searching. Another $26.95 down the drain! Although I didn’t buy my shower from FaucetDirect.com I do recommend looking there, because they have very helpful descriptions that usually tell you the extra parts that you need to go with your set.

Finally was the control lever. This doesn’t have to be by the same manufacturer as the shower itself, but I figured I would stick with the same one anyway. When pricing these keep in mind that the actual controller in the wall will need to be bought separately. And these vary in price quite dramatically depending the brand. I also double checked with my plumber on which valve to buy, since it depends on your plumbing situation (copper or pex). It was also interesting to see that Home Depot was definitely not the cheapest place to buy the parts.

The Tile

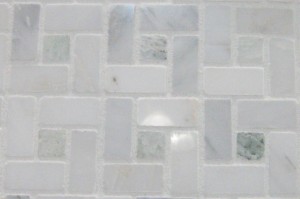
"Biltmore" Tile from The Tile Shop $3.99 sf on clearance

I am still a little bit undecided on the field tile for the shower. I bought some beautiful accent tile on clearance at The Tile Shop a couple of months ago when I was looking at options. I have enough that I can have 3 or 4 stripes in the shower. The “Biltmore” tile I bought (they still carry several other patterns) has a greenish square in the middle and grayer marble surrounding it.

"Royal Satin", $9.99 at The Tile Shop

Whte Subway Tile

For the rest of the field I need to decide on either marble or white ceramic subway tile. The marble subway tile is about $9.99 sf verses about $2 for the white subway tile. The marble tile is quite beautiful, but is it worth the price for the basement?  I need about 65 sf worth so we are looking at a price of $130 verses $650. I think I may have found my answer! Although the satin marble does beg to be touched! What do you think?

Finally for the floor in the bathroom I will be using Faux Slate. Which I think will look great, and makes me think that a gray grout in the shower might be nice to play off the gray of the floor.

I need to make my decision on the wall tile in the next week or so and I also need to order the faux slate floor from Home Depot (they are  the only ones who make it and it is a special order). I would love to hear your opinion on the wall tile.

* To see all of the posts about our basement click here.


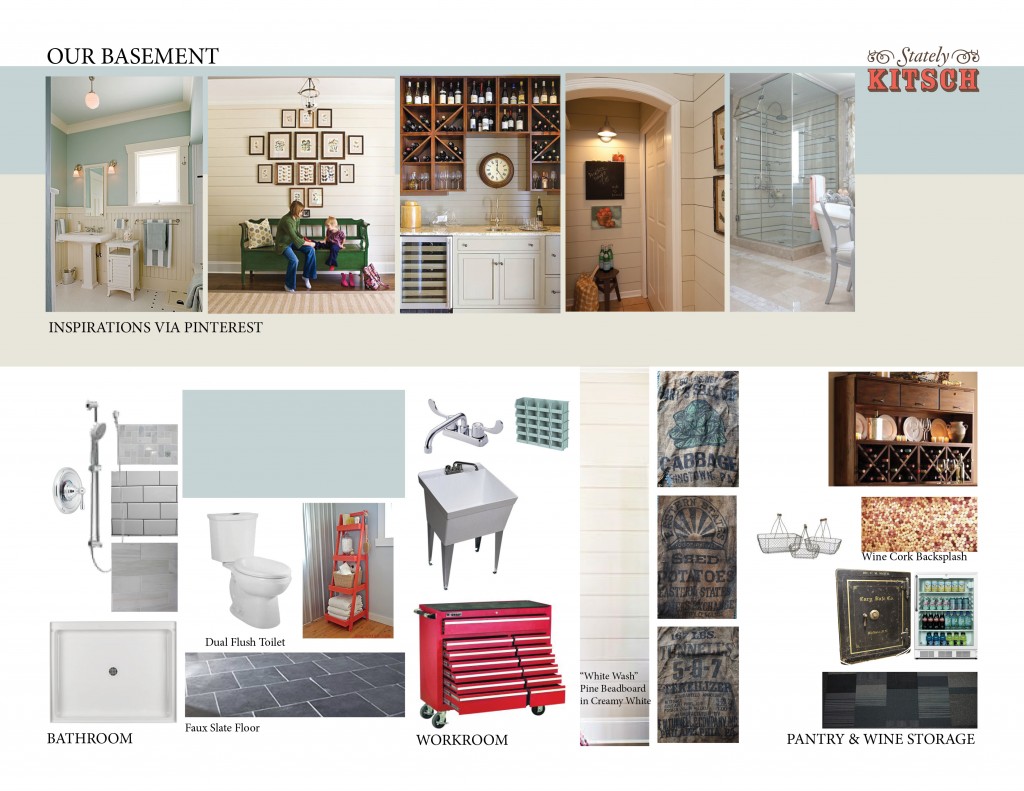
Our Basement Mood Board

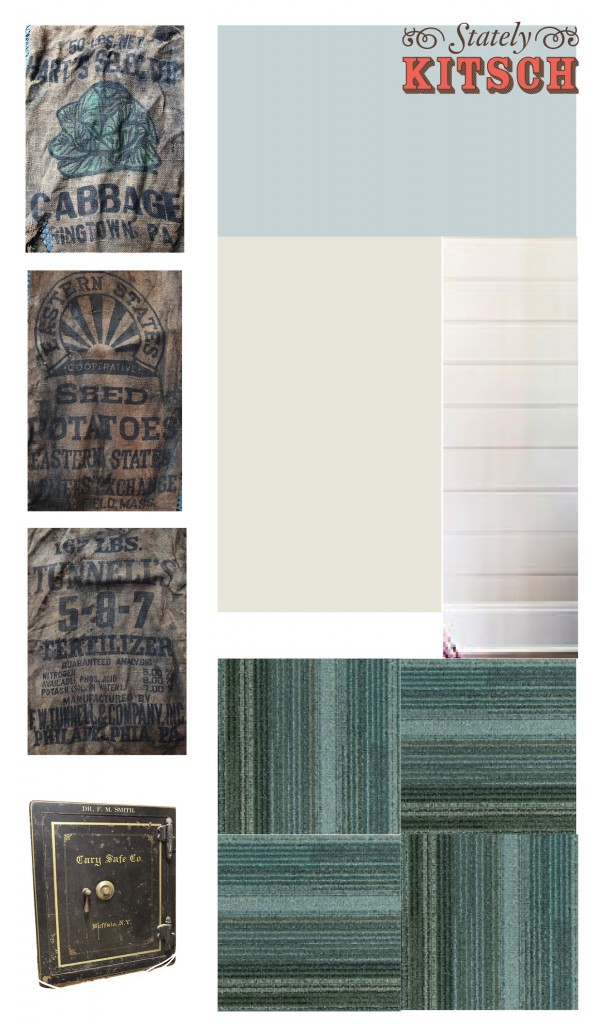
Today I thought it was about time to show you some pretty images! I put together a quick mood board for the basement. Most of this stuff is currently on my Pinterest Board but I thought it was about time to put it all together. In general I am happy with the look. The biggest issue I see at the moment is the carpet tile for the main room/pantry. I’m not sure it looks right with everything else. The good thing is that we will be installing it so it will be one of the last things to go down, so I’ve got a little time.

In basement progress news, our new sump pump and drainage system were put to the test on Monday! The rain combined with the melting snow meant LOTS of water. Our backyard turned into a giant mud pit (Sam was VERY excited!). The good news is that we went down into the basement to see how everything was doing we heard the faint sound of the sump pump. How exciting! And it didn’t feel the slightest bit moist down there (which is a big change). Also the hole for the shower drain had been getting water in it (since it is a good 9″ below the floor line) but it was bone dry, the clay didn’t even change into its bright orangy clay color; it looked dusty! Yeah! Very exciting! So now it is time to get moving on making the space usable!

Shower Pan (ours is white)

There are still a couple of things on our list before the contractor starts. The first is having the shower pan ready to go, since the walls get built around it and we are trying to maximize the ceiling clearance within the shower. The good news is that the shower pan arrived a couple of hours ago! I ordered it online and was disappointed to hear that it was coming freight (the website said it would come UPS), which meant having to be available between the hours of 9-5 and then having to lug it into the house myself. Fortunately the delivery guy came in the middle of day and actually carried it up onto the front porch.  Of course I now have to take it off the front porch and bring it around to the back stairs, but at least it is not sitting on the sidewalk.

2" Tongue and Groove Polystyrene Insulation

The second thing is installing the rigid insulation. We decided that we would save some money and install this ourselves. So we will be installing 2″ tongue and groove rigid polystyrene rigid insulation continuously around the entire foundation wall. We will be putting wood blocking at the top that will be attached to the joists above. This will align with the lip from the drain below. Once this is leveled we will attach the insulation to the blocking at the top and to the ground. We can also use a sanded grout to adhere it to the waterproofing membrane if that becomes necessary. The goal is to install most of the insulation this weekend. Fingers crossed it will go well. I will be making a bunch of trips to Home Depot to pick up enough! Fortunately it is less than 2 miles away.

* To see all of the posts about our basement click here.

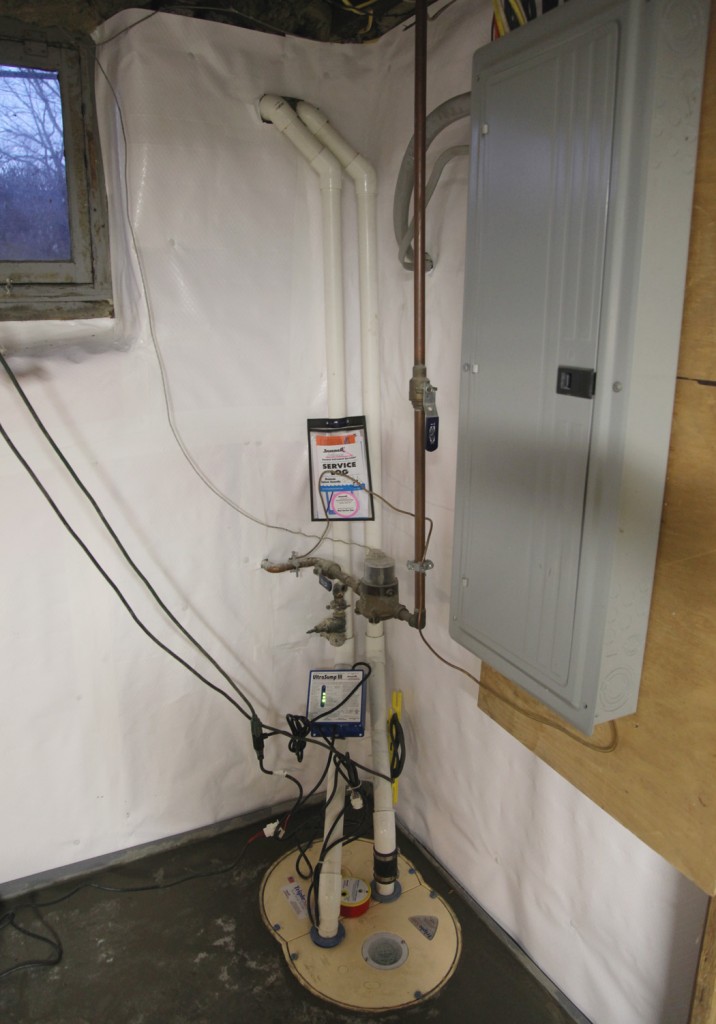
New Triple Sump Pump System w/ Battery Backup (this will all be boxed in a utility closet)

The drainage system is finished! It took 1 3/4 days. Not bad! It was a little crazy at the end since I was trying to leave for a meeting and they forgot to finish taping up one of the windows. But now I can relax for a few days until we get started on finishing the basement in earnest. The concrete is suppose to cure for a couple of weeks, although I need to see if I can get my contractor out to patch the rest of bathroom floor, so we can be all finished with the concrete work (and then I won’t have dirt in front of my washing machine). Once it cures it is time for the basement to turn pink briefly (with insulation) and then it will be time for studs! Yeah!!

I am also excited to start showing the finishes and details for the basement (some of which I still need to pick out). Here are a few more pictures of the progress…

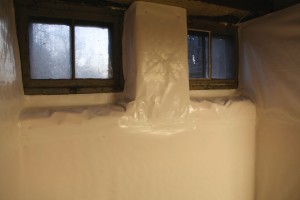
Bay window area (future workshop)

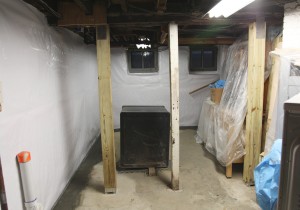
Main space (middle column is going to come out)

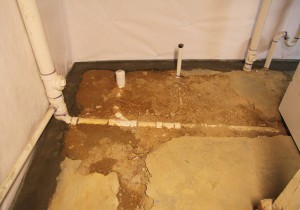
Future Bathroom (still need to be filled in with concrete)

* To see all of the posts about our basement click here.
** I was not paid by BQ Basement Systems in any way, I just think it is a good product.

If I squint real hard I can imagine the space all finished.

Drainage system

We are in Day 2 of our basement waterproofing/drainage system! It is very exciting! Yesterday they trenched all the way around the edge of the foundation, installed about 80% of the wall covering, put in the sump pump system, and ran the drain line out of the house. Today they will be installing finishing the wall covering, grading and installing the drain and putting in the concrete over the drain. They hope to be done by lunchtime! Yeah!!
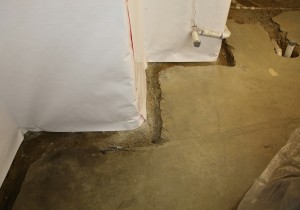
Trench & Wall Covering at Bay Window
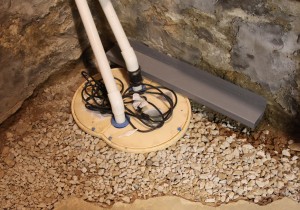
Sump Pump System w/ cover

When it comes to architecture, specifically wall design I tend to be a belt and suspenders kind of girl. Since my background is in designing institutional (mostly university) buildings, where they expect to be using the building for the next 50+ years it makes sense. So when I started to look through all of the options for keeping our basement dry, I ruled out a lot of the options quickly. I definitely wanted a sump pump with a battery backup (especially after all of the crazy weather and power outages in August and September). I also wanted a system that would remove any water from our stone rubble foundation. So I did some research and found BQ Basement Systems. It turns out that they also do masonry work (under a different name) and we had previously used them to repoint the exterior of our foundation.
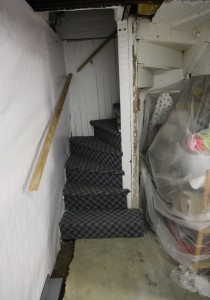
Stairs w/ new wallcovering
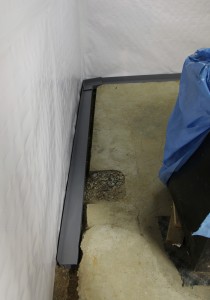
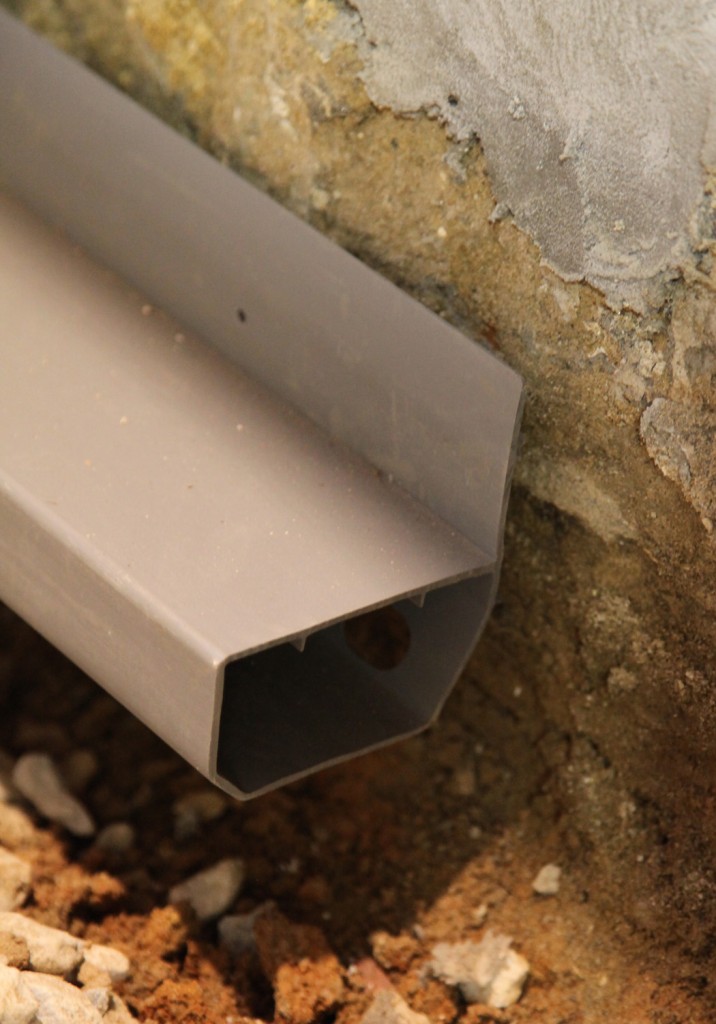
Wallcovering w/ drain laid in for rough placement

The things that I liked about their system:

1. Continuous drain around the exterior sits higher than most french drains. This way you are not trying to drain water away far below the slab. It also means that you are less likely to get dirt clogging the system.

2. Drain system is designed to tie into the wall covering/vapor barrier. The drain has a lip that sticks above the slab and the wall covering it attached directly to it, so any moisture that comes through the wall is diverted to the sump pump and won’t cause moisture problems in the basement.

3. The triple sump pump (okay so this may be a little bit of overkill). There are 3 sump pumps in the pit. The first two are electric, with one sitting slightly above the other (and plugged into 2 different circuits). The idea is that if there is a LOT of water both would be working, or if one circuit tripped the other one would keep going. The third sump pump is battery operated (basically a car battery). It sits above the other 2 and is for in case we loose power). It also has a meter so you can see how well the battery is holding its charge (typically these type of batteries are going to last 3-5 years and then need to be replaced). I also just saw a system on Ask This Old House over the weekend that was a single electric sump pump paired with a battery backup pump packaged as a single unit. They didn’t give the name but I would certainly recommend this over just an electric one.

4. The drain system has a clean out at the high point and because this system sits relatively high you can open the door and take a peak and see if it looks clogged.

5. The wall covering/ vapor barrier is 20 mils thick and is mold resistant (CleanSpace is the name of the product we are using). This will really help minimize the moisture particularly in the summer from coming into the space. It also means that I don’t have to worry about getting mold in the walls. They attach this to the walls with special screws and seal all of the seams with coordinating tape. It is also durable enough to leave exposed if you wanted to. We will be adding insulation to the inside, so that is not a concern for us. The only downside is that the plastic is currently off-gassing and is kind of stinky at the moment. I am hoping this will dissipate in the next few days.

The Downside:

1. It is pretty pricey (although not that different in price from having a regular french drain installed).

2. Getting an appointment! Thanks to the VERY WET summer/fall it took me 5 weeks to get an appointment for them to come out and look at the basement (they called me back right away but couldn’t schedule me for a long time). Then there was about a 3 month wait on actually getting the work done. For us it was okay because we had a lot of demolition and plumbing work to do, but if you were in a hurry you would be out of luck.

Next Steps:

Once they are done it is time to have my contractor over to walk through finishing the basement. I ordered the shower pan over the weekend too. This will be required to set before the walls of the bathroom go in, since it has very specific tolerances. The first thing on the list will be installing the rigid polystyrene insulation around the perimeter. It comes with grooves on the sides so that they can slot together and provide a continuous insulation line. Then will be the stud walls to frame out the spaces. Then electric and plumbing rough ins. Finally will be beadboard walls. We are still deciding what to do for the ceiling, and need to develop a system. I think once we get the walls figured then we will also frame out the required soffits/beams for the miscellaneous piping and electric.

* To see all of the posts about our basement click here.
** I was not paid by BQ Basement Systems in any way, I just think it is a good product.


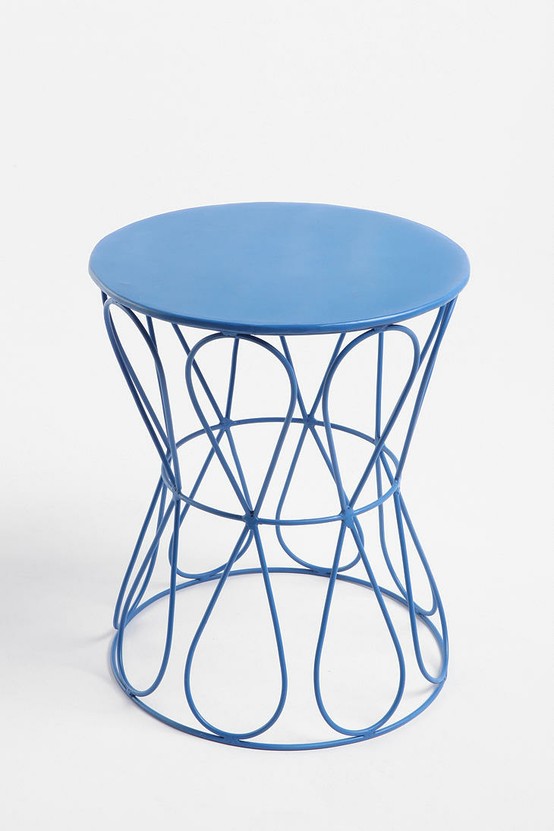
Blue Loop De Loop Side Table from Urban Outfitters, $49.99 + extra shipping charge

I have been looking for a small sidetable for our porch (for next to our swing) for a while.  I have been back and forth on what to buy since the spring for the porch. I was leaning towards a ceramic garden stool, but could never seem to find one that was the right color at the right price. I had given up for now, figuring I would find something in the spring. I have also been looking for a new small table next to our wingback chair in the Living Room. The current one is getting a little unsteady thanks to 2 small children playing with it. So I was looking through the clearance section at Urban Outfitters over the holidays and saw a nice blue table. I was just reading my new Alexander Girard book, so this table really spoke to me! I was thinking it would be good for our Living Room so I decided to order it.

New Table in the Living Room

When I took it out of the package I was surprised at how heavy it was. It is definitely painted steel not aluminum (the description just said “metal”). I was not quite sure if it was suitable for the Living Room (which at the time was full of Christmas stuff). I did immediately think that this would be great for the porch or the backyard. It was also nice and sturdy and seemed like it could take having my kids sit on it (an important feature in our house).

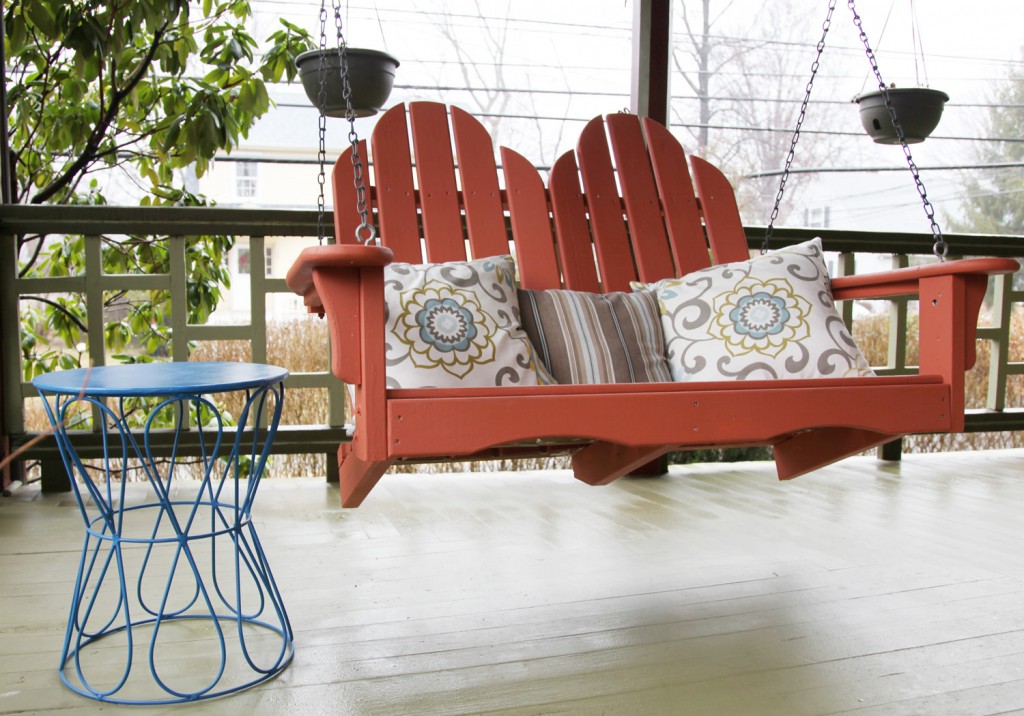
New Table on the Front Porch w/ our Terracotta Colored Swing

So I brought it outside to take a look! And I really liked it. Then I brought it back inside to consider for the Living Room. It has now been living inside for about 2 weeks, and it has grown on me. So I ordered a second one and put it outside! Isn’t it funny how when you give up looking for something, the perfect thing suddenly appears. I also figured if I change my mind about the Living Room I can always use an extra table in the backyard.

What do you think?

P.S. Thanks Mom for the belated Birthday gift!

Existing Condition

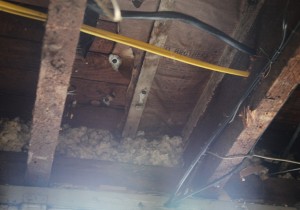
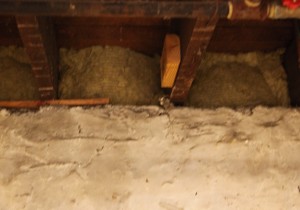
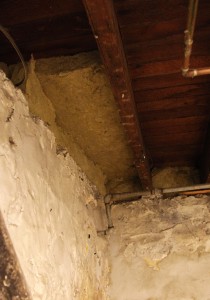
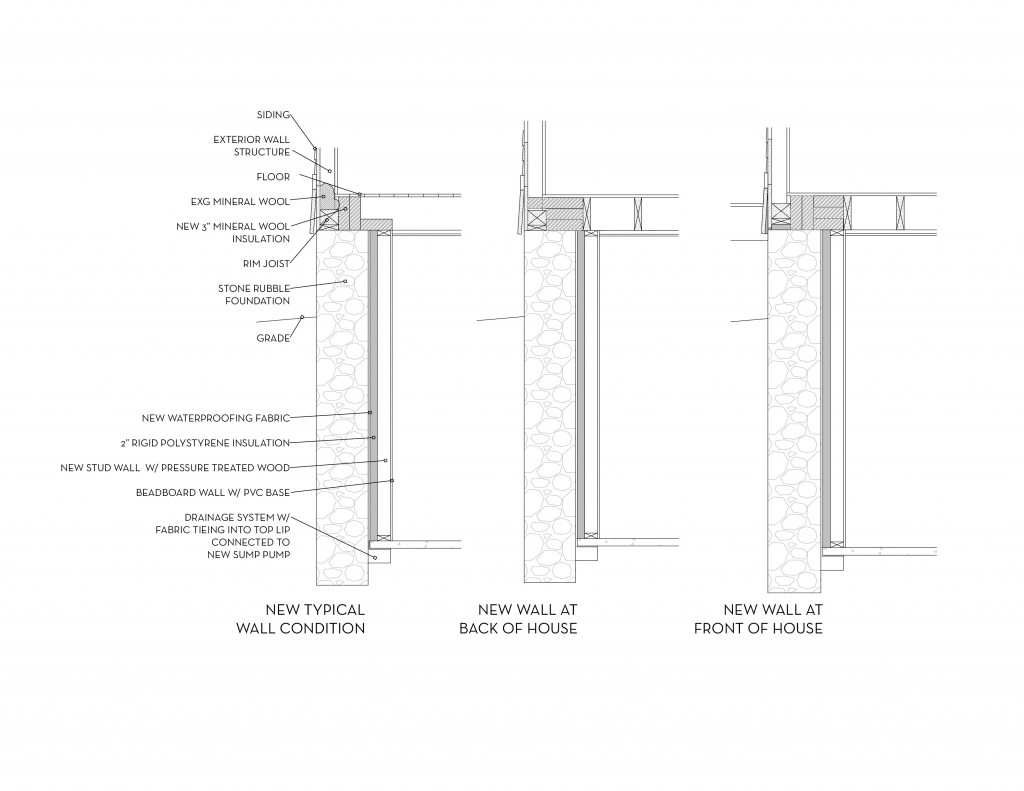
We are getting close to being able to actually start finishing the basement! The drainage system guys are set for next Monday (it has been a long wait)! We also managed to insulate the sill at the back of the house this weekend. It involved Mr. S’s long arms and a yard stick! Part of the area had a little bit of old mineral wool but a large portion didn’t have any insulation. Since the floor joist was running parallel to the foundation at this location the gap we had to work with varied between about 5″ to 1″ (see the middle drawing below). The method we used was the “stuff it as full as possible using small pieces of insulation”. There were a few areas where we could get a little bit of spray foam, but mostly it was a matter of taking the small 9 1/2″ x 16″ pieces that we used elsewhere and shoving them in as best a possible! The only other option would have been to fill it will loose fill, but that would have meant renting a machine and changing to a cellulose insulation, which I didn’t want to introduce.

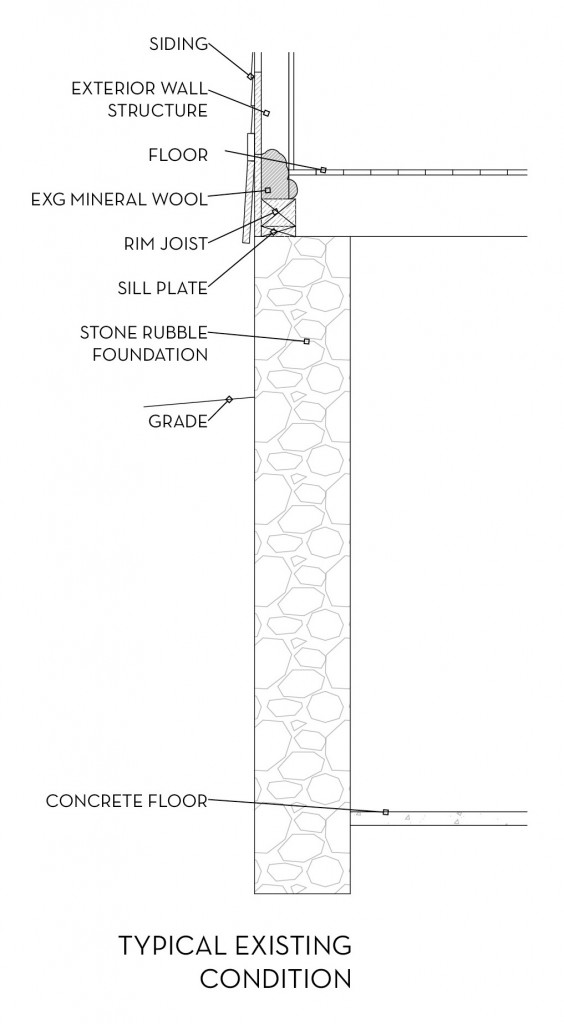
Today I wanted to get into more detail on where we installed the sill insulation and the wall section we will be using for the new finished walls. This first section is the existing typical wall section (after we removed the old stud walls and paneling) (click on the image if you would like to see it larger). You can see that someone a long time ago did there best to seal the condition between the rim joist and balloon framing with loose mineral wool. You will also notice that there are a lot of joints in the wood construction, leaving lots of gaps for air to infiltrate. On most of the house we have tyvek on the outside to help (except at the porch area where the original siding is located).

Typical Condition

Front of House Condition


In the new sections there is a minimum of 2 layers of 3″ mineral wool. We will be adding more to create a continuous thermal section to the bottom of the wall. The walls below will be have 2″ extruded polystyrene (which has a higher r-value per inch) and is rigid and good for basement conditions. Normally you would have to be concerned with the condensation of the foundation walls (which caused mold in our old walls) but because we have the waterproof layer in between that will wick any moisture down to the sump pump we don’t have to worry about that (yeah!). I will post up more about the drainage system next week once they get started. It is definitely a belt and suspenders type of system (which is the way I like it!).

P.S. The boiler has decided to stop working this morning, it is pretty dirty at the moment but we were hoping to wait and get it cleaned out in a couple of weeks once the concrete work was finished. I guess we waited too long! Fingers crossed a good clean out will fix it!

*For all of our Basement progress click here.