Archives For OUR HOME

Backstairs in the Dining Room

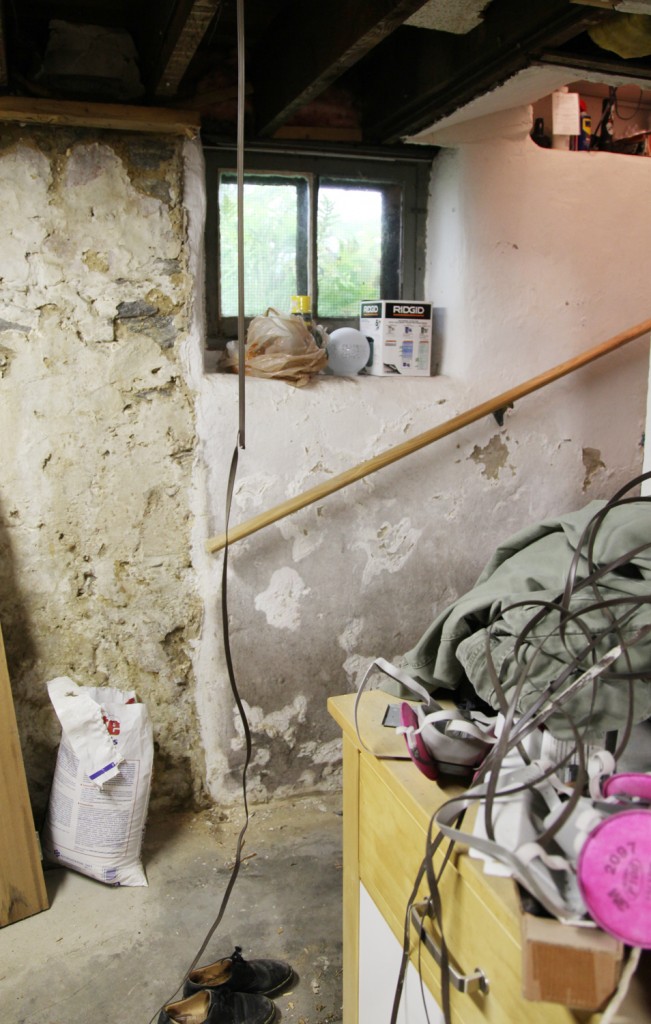
The backstairs (aka the cat stairs) go from the hall upstairs to our Dining Room. Originally our Dining Room was the Kitchen, which theoretically makes these the “servants” stairs. I don’t think our house ever had servants given our house’s location and size, but I suppose maybe these were handy for the kids to go up and down. We have had a baby gate on ours for the last 3+ years (with a hole cut out for the cats). The kids are good about not trying to use the stairs, so we thought it was okay to take down the gate. It has been down for a few weeks and so far so good. Now time to pretty them up! I have put some of my indoor plants on the stairs for the last several years, since it is a nice out of the way spot (and we rarely use the stairs ourselves). The plants go out on the porch in the warmer months, so it is really just for the colder 6 months of the year.

The Backstairs with Babygate (before the walls were repainted)

The random pots were looking pretty sad, and I was way over due in re-potting some of my succulents. So a trip to Ikea was in order to pick up a bunch of white pots (Kardemumma) in several fun patterns to brighten up the corner. I should note that although I have a pretty extensive perennial garden, I am not blessed in the art indoor gardening. My mother has an amazing selection and all seem to thrive, but I have killed more than my fair share of house plants. I now stick to almost all succulents (and a couple of dracaena marginatas), since they enjoy being neglected. I have several aloe plants already (also convenient for burns) and a couple of other random plants. I picked up a few more at Ikea for $1.99 & 2.99 to create a more interesting mix of textures and colors. I also have a couple from the Tropical Sale at Scott Arboretum this spring.

When I stopped by Terrain a couple of weeks ago I admired their pretty collection of succulents. I saw that they had a charcoal product for putting in the bottom of pots that don’t have holes, to help keep the water clean. I prefer not having to deal with saucers with my pots and thought this was worth a try. It does mean you have to be careful not to overwater, otherwise you still risk rotting the roots. I also used a moisture mat which helps keep the extra water in place and slowly releases it back into the soil. For the soil I used standard potting soil amended with peat and sand. Once I got going it didn’t take too long to get everything replanted.

I am still working on the exact placement of the plants, but I am much happier with this corner now! The only thing that I have to remember now is that I have to pull up the roller shade to get more light in every day. The one disadvantage of a solar shade is that it blocks enough of the light that the plants were starting to look pale. We will have to see if I can keep these plants alive!

New Pots and Plants on the Backstairs (and adjacent cow bell)

We will have to see if I can keep these plants alive!

Basement Layouts

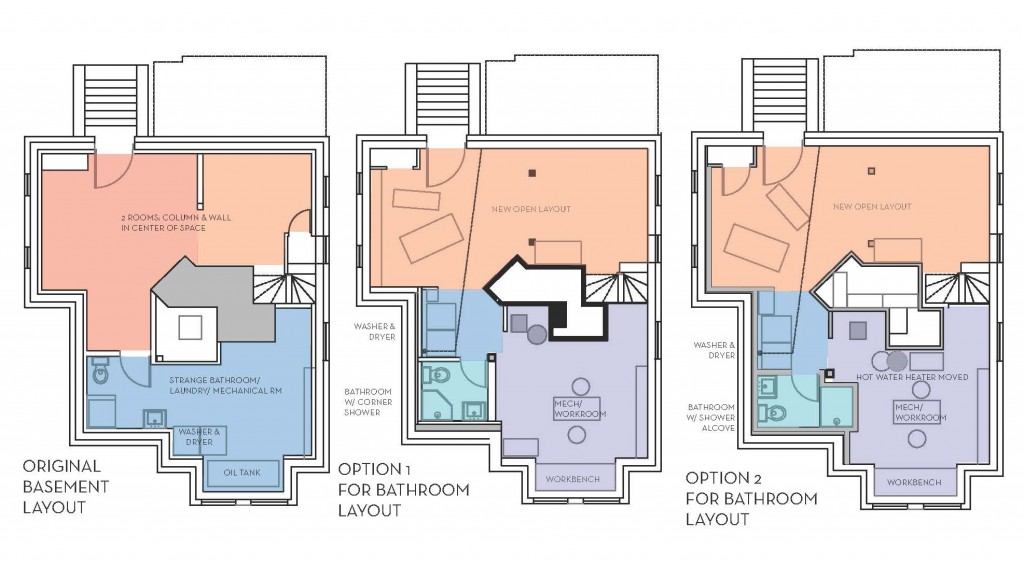
I have been trying to figure out the best layout for our basement bathroom/ overall layout. The old bathroom layout was very strange. It actually opened to the workroom/ laundry room. Yes, that’s right, you could close that room off from the other half of the basement, but you never actually felt like you were in a “bathroom”. Originally it had a shower, all be it a tiny kind of gross fiberglass model with a strange plumbing hookup. Since we only have 1 full bath on the second floor and none on the third floor, we felt that we should really try to put a shower back in down there.  Also we are going to bite the bullet and replace the plumbing under the slab in the space, which then gives us flexibility for a new layout, although we still have plenty of constraints!

Dreamline Corner Shower System

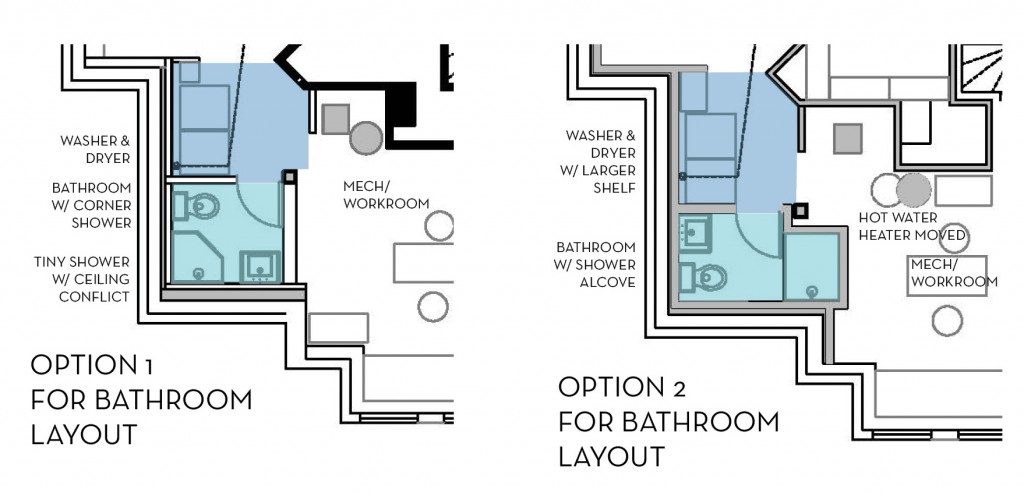
I started out thinking about a corner shower, since that was what was there previously, although I was looking at a corner glass model. The problem with the old location though is that the gas line runs directly above it, significantly limiting the ceiling height, and not allowing for a standard glass door to fit. So I expanded my options and after double checking the dimensions  down there came up with a plan that will give us a comfortably sized shower.

Bathroom Layout Options

The big trick to making this layout work is to move the hot water heater (gray circle in the plan). I know, that seems silly and an unnecessary expense, but the more I thought about it, why should I have a tiny shower due to the hot water heater. Eventually we plan on upgrading the hot water heater anyway with a tankless model (which would need to be mounted on the wall we are moving it to).

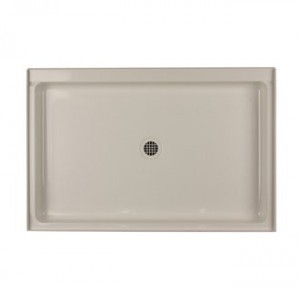
32x42 Shower Pan, we will use white

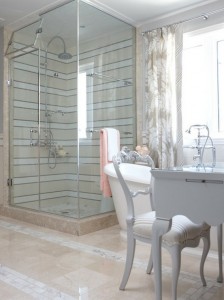
Sarah Richardson Tile Shower

I found this nice shower pan that will fit the space. I also like the striped tile in this shower by Sarah Richardson from her Sarah 101 show on HGTV. I actually picked up some accent tile for the striping on clearance, but am still deciding on some of the other tile and the floor tile. So stay tuned!

Overgrown Yew in our Front Garden Bed

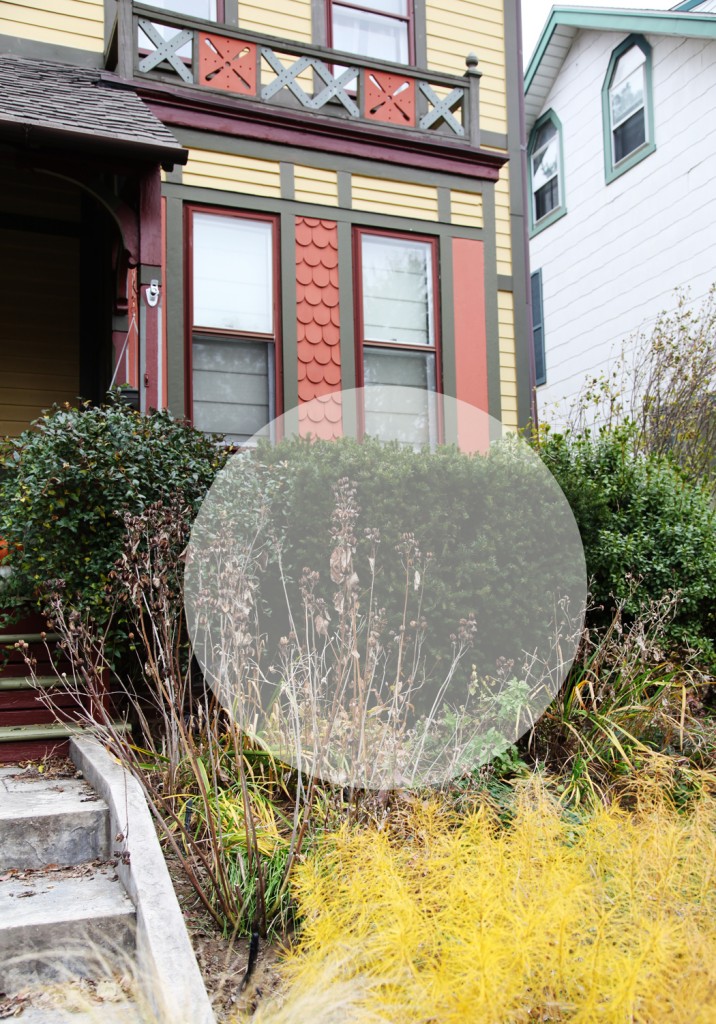
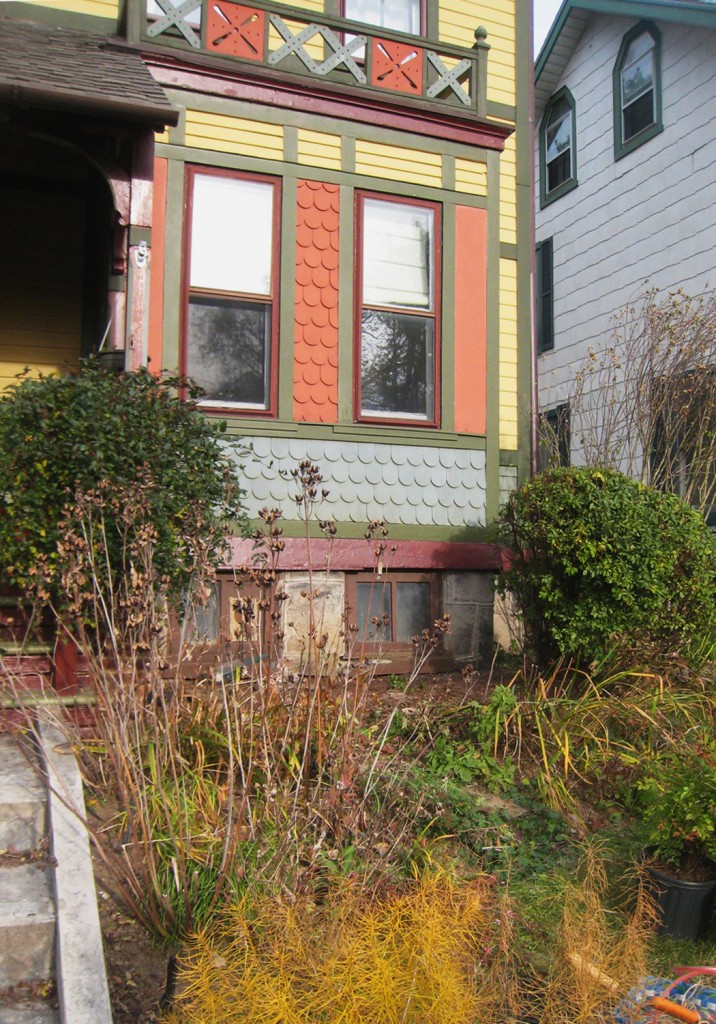
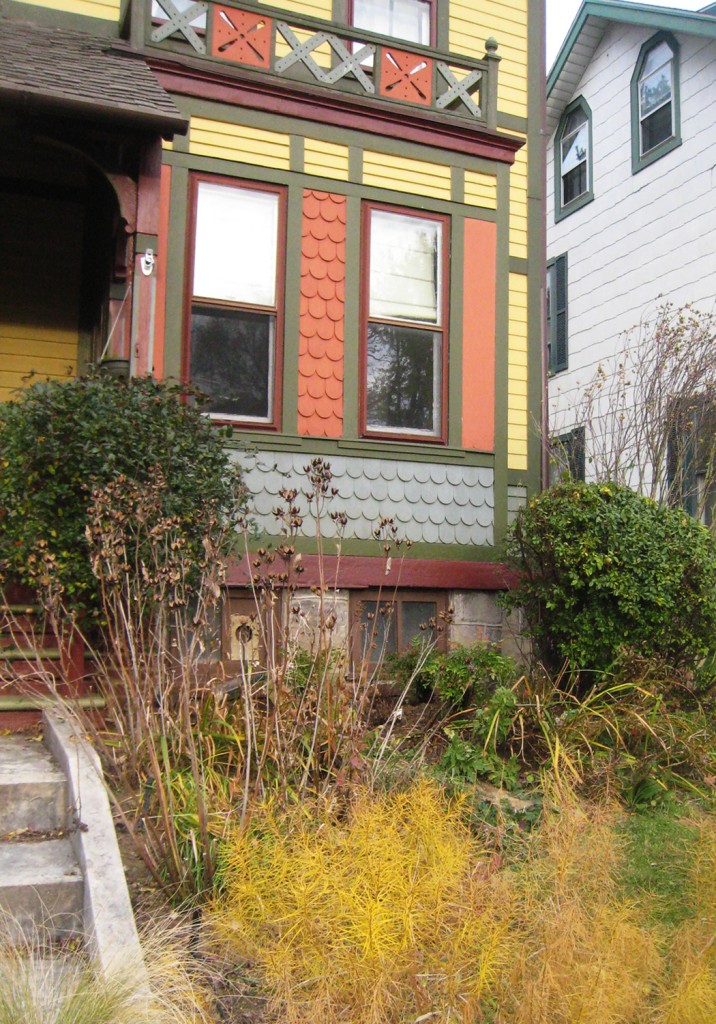
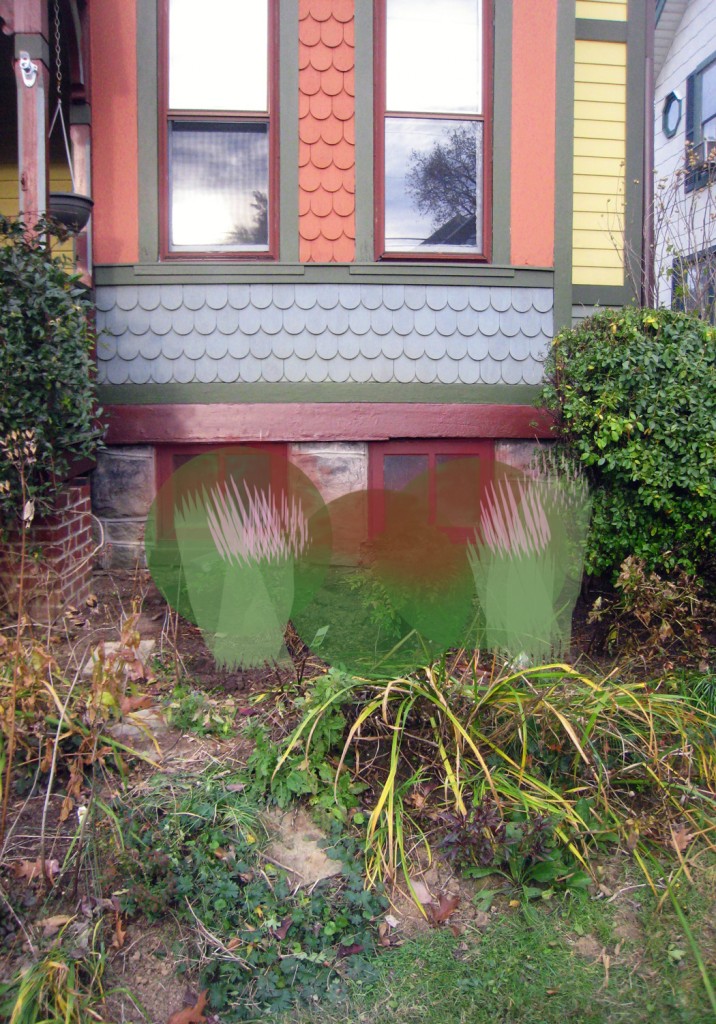
Hope everyone had a good weekend! With the relatively warm weather I decided to take a break from the basement this weekend and do some long overdue work this weekend on the front yard. I have been meaning to take out the overgrown yew in the front yard for about 5 years, it just never seemed like a priority. This shrub was there when we bought the house, although it was about 1/4 the size. It was a bad choice for the front (although there were a lot of crazy shrubs in the front back then). Although a yew can make a fine plant in other locations (nice dense evergreen), I find that in this location it is constantly trying to outgrow its space and block the pretty half round cedar shingles on the bay window. It was also blocking the light to the area that will be the workshop in the basement. So out came the sawzall! Which is becoming one of my favorite tools! It took a while and we had a GIANT pile of branches but I was able to cut it down the ground.

Front Planting Bed after removing the yew and trimming the azelea. Look at the pretty shingles!

Fortunately after the shrub was cut back and a few weeds were pulled out the soil was in good condition and ready to go. So what to replace it with? I was looking for something that offers better coloring and year around interest (especially winter color). I was also looking for something with red highlights to work with the coloring on the house.

New Nandina 'Gulf Stream' and Pink Muhly Grass

What finally sealed the deal for me was the clearance sale at Home Depot. They had several varieties of Nandina (Heavenly Bamboo) for $9.97 a piece. I have admired one in my neighbors yard for the past couple of years. In the end I went with Nandina Domestica ‘Gulf Stream’. This plant only grows to about 2 1/2′ tall (yeah no pruning!). It won’t get berries like the typical domestica (which grows up to about 7′ tall) but the leaves stay on the plant year around and they have a lovey reddish tinge to them. I bought 3 and decided to pair them with a couple of the pink muhly grasses that I bought earlier this fall and hadn’t found a home yet.

Nandina 'Gulf Stream'

Pink Muhly Grass

Rendering of Plants once the plants reach full size (imagine the adjacent azalea cut back to a similar height)

Why did I live with that boring overgrown shrub there for so long? Of course now I need to paint (and fix) the basement windows soon! Did anyone else get anything done in the yard this weekend? I’ve still got several more shrubs to get in the ground before it freezes.

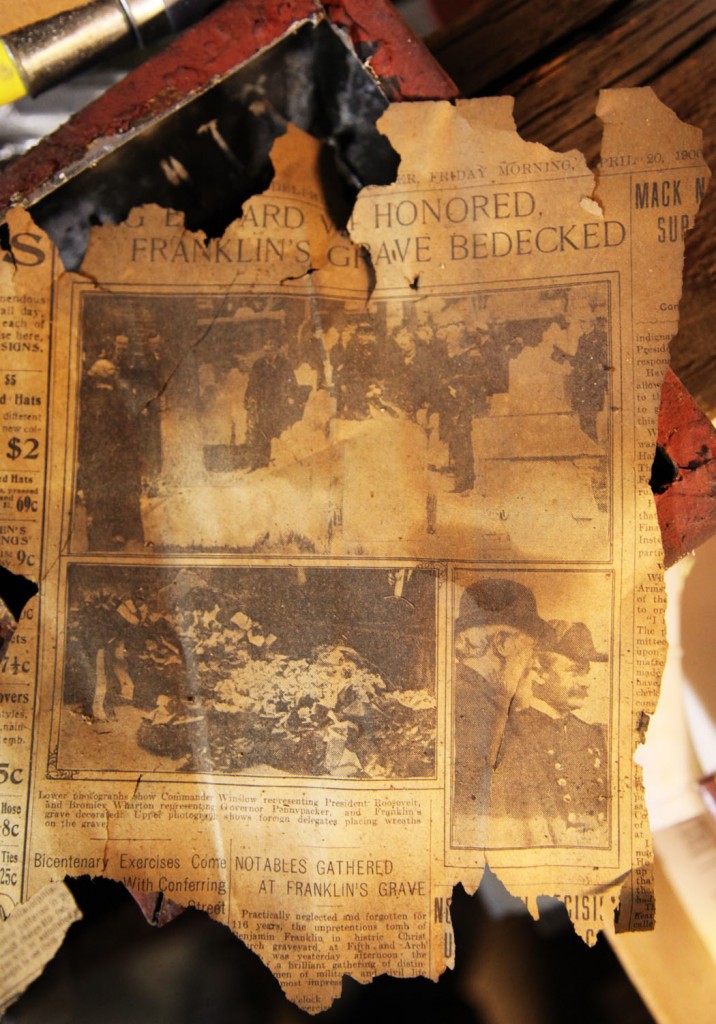
In an old house there is a certain amount of excitement when you do demolition because you never know what you are going to find. We have a box of “finds” and have even framed a few up. The underside of our first floor was “insulated” with newspaper in 1900 (in our case the Philadelphia Inquirer). The pieces are pretty fragile but mostly still legible. Here are a couple of our favorites from this weekend:

"Talk-O-Phone" Ad Circa 1900

This photos is of an article about Ben Franklin’s grave. “Practically neglected and forgotten for 116 years, the unpretentious tomb of Benjamin Franklin” at Christ Church graveyard in Philadelphia was redone and “bedecked” (what a good word). I find this very interesting as Ben’s tomb is still a favorite site for visitors today.

Article about 100 year old Ben Franklin Burial Site

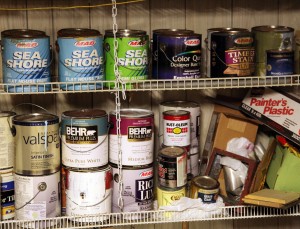
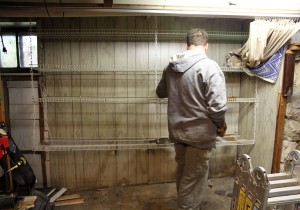
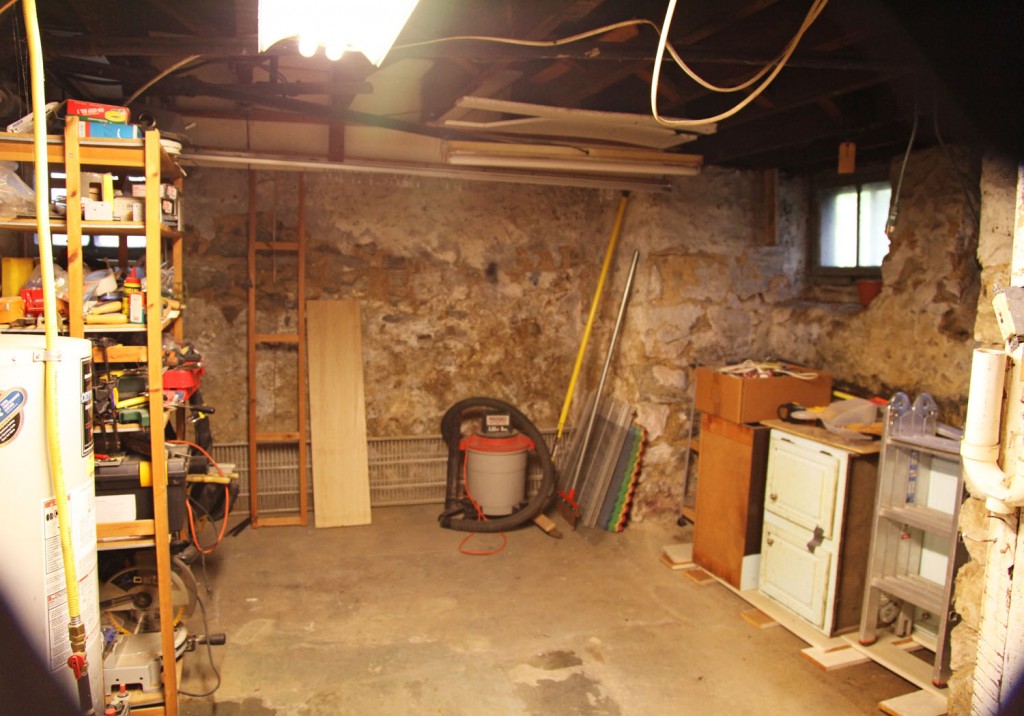
This weekend we made our way to the front of the basement (under the Living Room) on our ongoing project to remove all the old 1970s paneling and walls and we (mostly Mr. S.) removed the last major walls in our demolition project. This meant that we had to get a second Bagster for the debris, but it was totally worth it because the satisfaction of getting all the old walls out is hard to beat.

Paint Cans on Old Shelving from September (after removing a LOT of old cans)

Basement wall before Demolition

Demolition All DONE in this area!

We also signed the contract with the company who is going to install a new french drain around the entire perimeter of the basement a special “fabric” over the walls (BQ Basement Systems). They have a pretty long wait list, so it looks like we won’t be able to get this done until January, but in the meantime we still have lots to do. On the current list is:

1. Have our contractor grout the damaged areas on the old stone ruble foundation walls and remove the last wall (behind the washer and dryer)
2. Decide on the shower unit for the bathroom.
3. Rough in for the new bathroom
4. Patch the concrete floor
5. Make some decisions about the locations for future walls for the space.

We also have this crazy idea of creating an opening in one of the brick walls below our brick fireplaces and making a wine cave. I have to talk to my structural engineer about that one (it might cause issues with the shear load on the house).

May 2011 Image w/ Bulb Rendering Including Allium 'Karataviense' (forground) and Nectaroscordum (background)

I spend a lot of time thinking of ways to add more color and a longer growing season to my garden.  My back shade garden (mostly part shade with some part sun towards the front) is the planting bed that I am the most satisfied with right now. It has a pretty long season of interest and changes throughout the season, but I  have not used bulbs in this area except for some snow drops that I have moved to this area over the years (from the lawn and other planting beds). I thought this year was a good time to try and some additional pops of color! I was originally inspired by this photo from Tovah at Plantswise.

Allium 'Karataviense' mixed w/ heuchera (coral bells)

I thought the combination of the shorter allium ‘karataviense; and coral bells was quite beautiful and unexpected! So when I ordered my bulbs this year I tried to think through this area is some detail. I’ve created several renderings over pictures of this garden to help highlight my new additions (since they are just bulbs in the ground right now).

Close Up of Allium 'Karataviense' in front and Nectaroscordum in the middle

To contrast the shorter allium I have also added some taller nectaroscordum to the middle of the bed. These have long stalks and the buds look interesting as well. The little nodding pinky flowers are quite unique.

Nectaroscordum from Brent and Becky's Bulbs

Allium 'Karataviense' from Brent and Becky's Bulbs

Also to add some interest to the planting bed earlier in the spring I have been working on adding more hellebores. Also I have added a bunch of Barr’s Purple Crocus (which the squirrels are not suppose to like). Here is a rendering of the garden earlier in March.

March 2011 w/ addition of Crocuses front and Hellebores middle

Barr's Purple Crocus

New Helleborus 'Golden Lotus' Strain of Winter Jewels (planted in Sept.)

This area is now all planted with the bulbs. Now I just need to finish planting my other bulbs in the front yard. Fingers crossed for a few more nice days!

Fall in the Garden

November 3, 2011

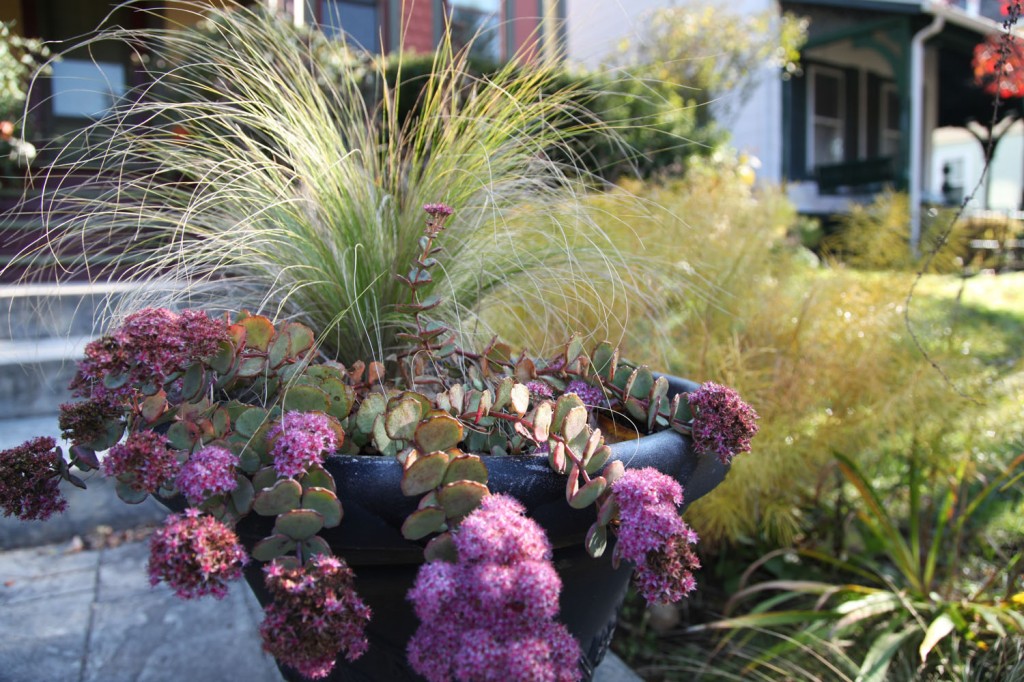
Front Planter, with October Daphne Sedum and a small grass called Feather Grass Ponytails. This sedum just looked okay during the summer but in the last month it has really started to shine (I guess it is living up to its name)! Also behind the plant see the Amsonia tabernaemontana, which has turned the most beautiful golden yellow.

I am always looking for ways to extend the season in the garden.  So today I thought it would be helpful to show you a few of the plants that do well in my garden after the first frost. We went from no frost here, to a couple of inches of sleet followed the next night be a hard frost. I took these pictures yesterday, so I think it is a good indicator of which plants will add some nice fall interest after a lot of the summer plants have faded. Don’t get me wrong, I have plenty of plants that are looking well past their prime, but I think it is important to have a mix of plants to last extend the season. On the opposite end of the spectrum I am in process of adding more spring bulbs to try and get the season started earlier before a lot of the perennials have fully leafed out. I have about 2/3 of my bulb in the ground now but I also need to put a few last perennials and shrubs in before it gets much colder. Fingers crossed the weather this weekend will hold out for me!
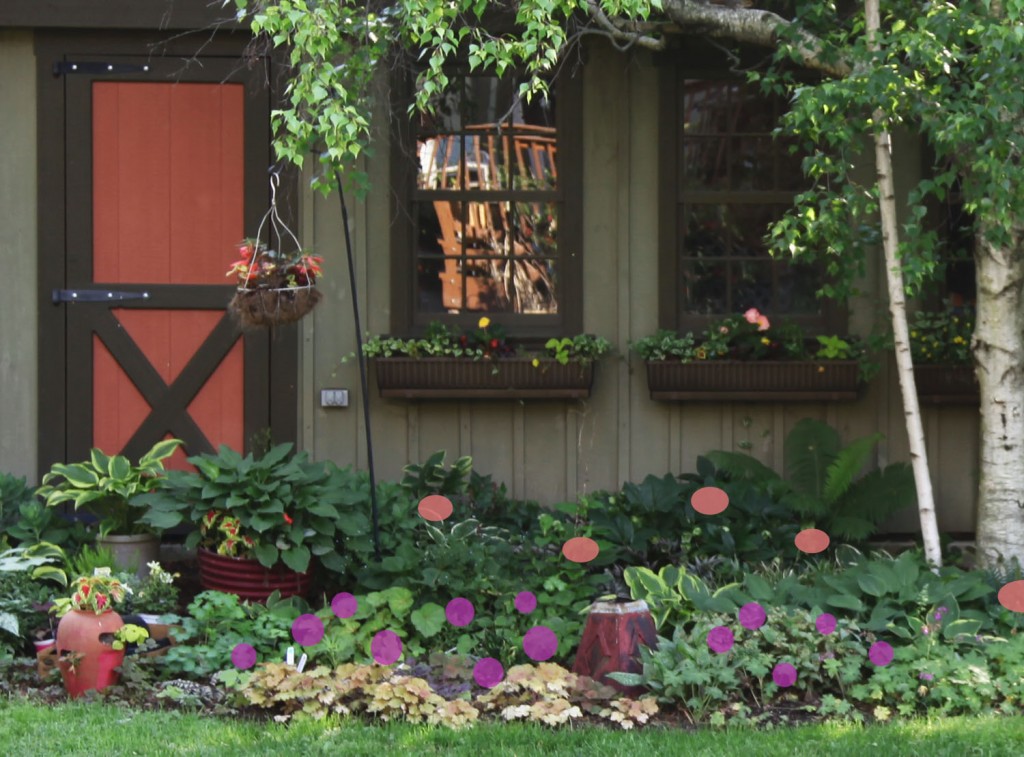
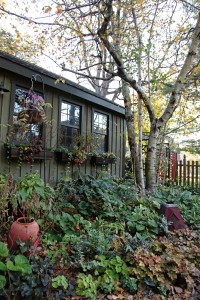
My shade planting bed: all of the annual coleus are DEAD but a number of the perennials are hanging in there. The coral bells, painted Japanese ferns, hosta and brunnera are all doing quite well.

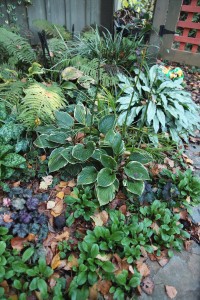
Close up under the Birch Tree: I find that some of the ferns come back this time of year after looking quite burned in the middle of the summer. At the bottom are the forget me nots mixed with coral bells.

Toad Lily looking amazing!
Lambs Ear 'Big Ear' Looking great, especially when the morning dew sits on it

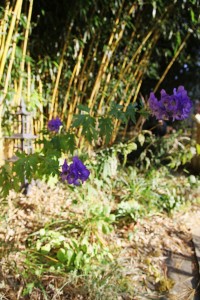
Monks Head, looking a little droopy

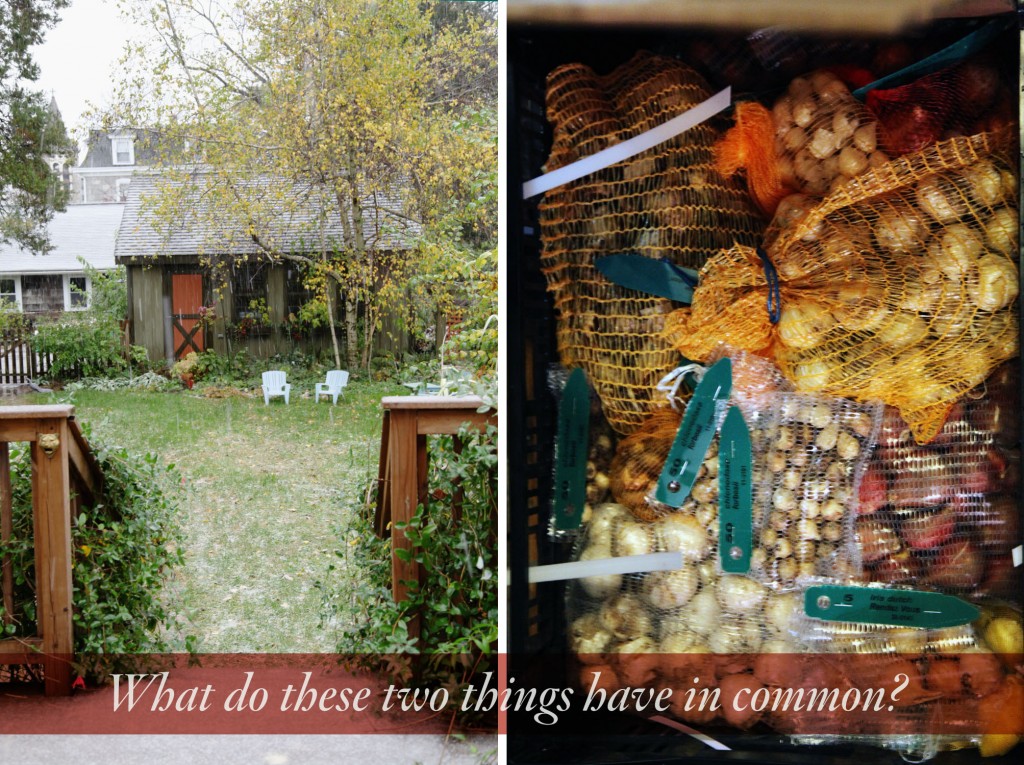
If you answered they both arrived here on Saturday morning, you are correct! I ordered a ridiculously giant quantity of bulbs (only about half are mine, the other half belong to several neighbors) and stupidly let the bulb grower decide on a delivery date. Then, my neighbor politely asked last weekend about the status of the bulbs. I thought, well they should be here by now, it is now the second half of October. I now know that the problem is that we technically fall into Zone 7 (but in a lot of ways are closer to Zone 6), which means that we aren’t scheduled until the first week in November, rather than the second half of October. So I called last week and had the bulbs sent right away. In the meantime we missed 2 beautiful weekends of planting and got a weekend that felt more like December than October. The grower I’m sure would argue that you don’t want to be putting the bulbs in the ground until after it cools, but now the ground is frozen! If all goes well the ground will soften up a bit so we can get these in (fingers crossed). I think it is time to pull out my secret weapon; I have a little auger that attached to my drill and helps speed up the process (assuming the ground is not frozen solid!).

We did not get much done this weekend, we needed some down time hibernating! Did anyone have a productive weekend?

P.S. I hope all of my more northerly friends are fairing okay with the snow! My parents are without power and have a bigger tree and branch pile then after the hurricane. Fingers crossed they will get some relief today. Love to all!

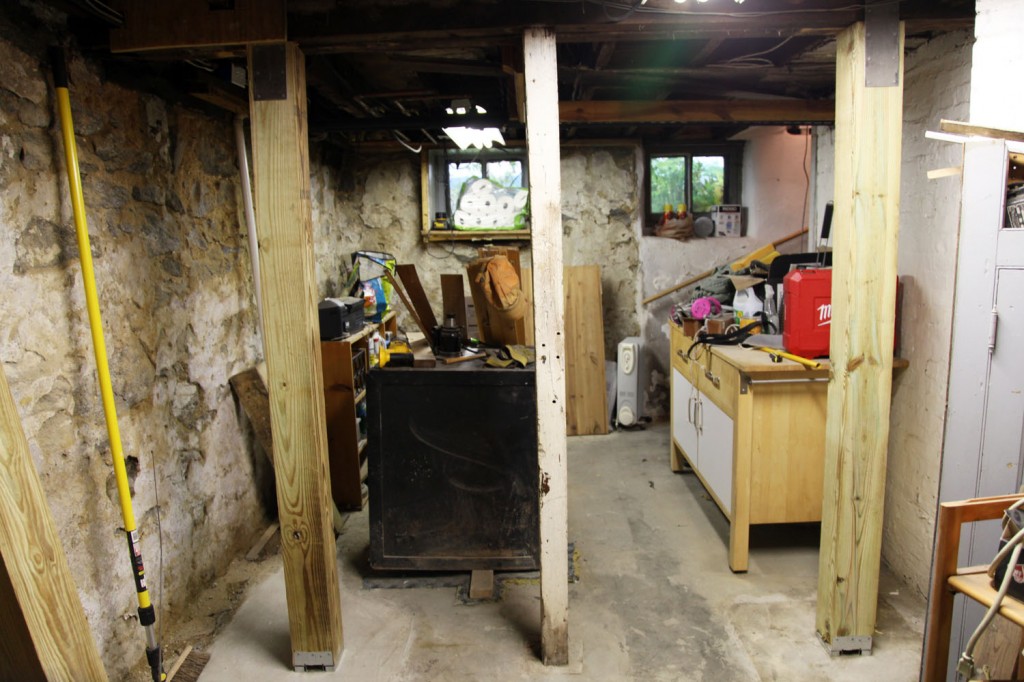
New 6x6 pressure treated columns with new concrete reinforced footings. The old post is still in the middle waiting for the concrete to cure.

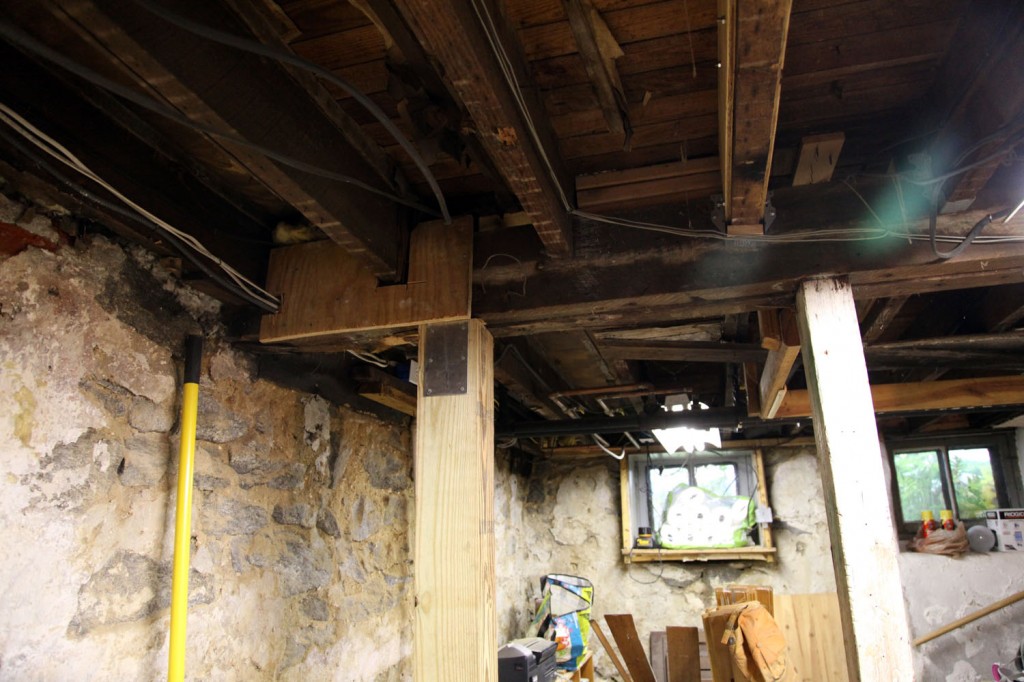
Cracked Beam w/ new plywood support and upper column w/ plate connecting it to the old beam.

Visually this is not the most exciting post, but I thought I would show you my new columns. It is a big relief to have these two 6″x6″ columns installed with their new footings. The kitchen floor officially has less bounce and I can feel better about the structural stability of the house. This will also allow for the 2 “rooms” in the basement to be open to each other, which I didn’t think would be possible before my structural engineer came out. I would like to add that I had the sizing and the spaces of the columns and footings designed by a structural engineer. For this type of work it is ESSENTIAL to call the big guns in!  It is well worth the relatively little cost. Below is my mark up of this are before. Even though the basement still looks like a disaster, look at how much has been cleared out! We also had some of crazy electric taken out and our drainage contractor finally came out to take measurements for a quote. It doesn’t look like this will be done by the end of the year, but if all goes well at least by the end of winter.

Beam and wall at the beginning of demolition

I hope everyone has a great weekend! We will be busy between continuing to work on the basement and Halloween!

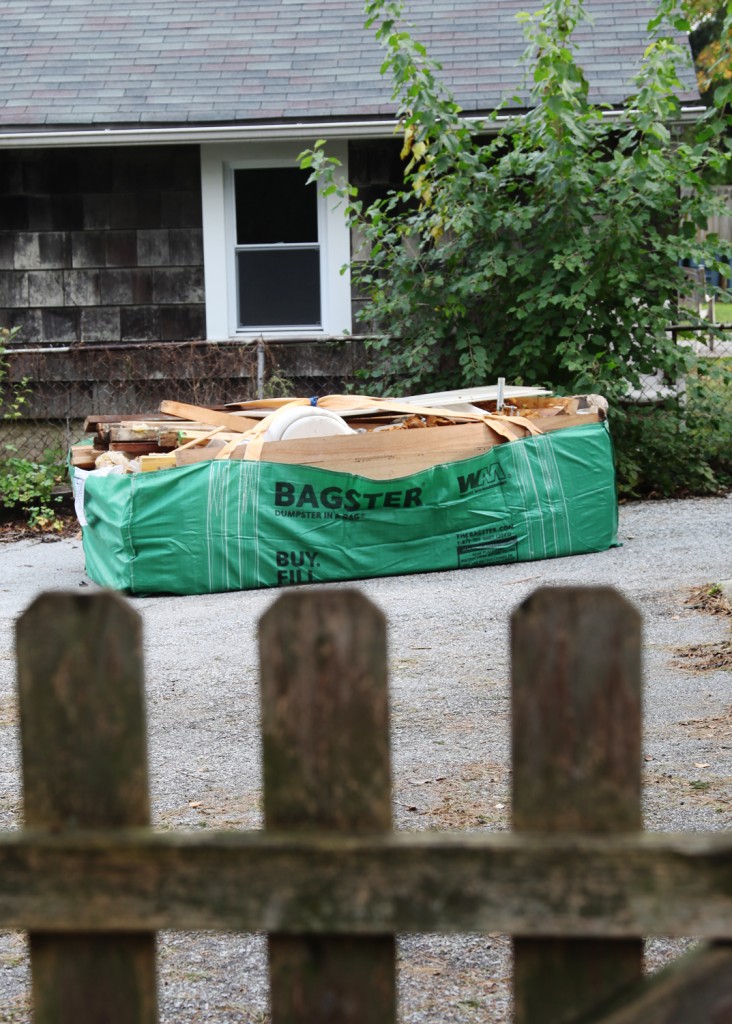
The Bagster: All filled!

It may not look like much progress was made over the last few days, but we have actually done quite a bit. Our contractor was over on Friday to put in the footings for our 2 new columns to support one of the main beams in the house. Now the concrete needs to cure for a while before the final posts can go in. He also added a second temporary column for the time being. We also demoed the bathroom and picked up a Bagster. 

What is the Bagster you ask? It is a giant bag that acts like a mini-dumpster (imagine a super giant Ikea bag). It is less expensive than a dumpster and best of all you can pick it up at your local hardware or big box store. We picked ours up on Saturday morning and laid it out on the driveway and by Saturday afternoon it was full of all the big and awkward stuff we hadn’t put out in the garbage: paneling, studs, the shower stall (broken down thanks to the sawsall), the toilet and sink. I also filled in with some of the clay and concrete that the contractor dug up for the footings. It is just over 8′ long and 4′ wide (to fit a standard sheet of plywood or drywall). And the cost? The bag itself will run you about $30. The pick up cost varies by zipcode. For us it is $139. This is less than a dumpster (which normally start in the $300-400 range) but obviously doesn’t hold as much. It also takes some work to organize your junk since the sides are soft. It won’t stand up until it is about half full. We also tied the handles together, since it is a requirement that the handles have to be able to touch for the crane/truck to pick it up. Now I just need to schedule a pick up. Yeah!

The Gutted Bathroom w/ exposed stack vent/ waste pipe.

The gross unused bathroom (well except for cleaning paint brushes) before demolition

The bathroom demolition went pretty well. Thanks to the sawsall we took the shower out without much difficulty. And fortunately the walls were quite willing to fall down. It was really nice to see this corner emptied out (well except for the big hole under the shower. When the previous owner aka “Tony the cheap”, put in the shower drain he didn’t bother to pour concrete around the drain. No wonder we had some ground water from this area during the hurricane! It was also interesting to see the main wastepipe/stack vent. It was unfortunate to see that the washer drain was so poorly connected to it!

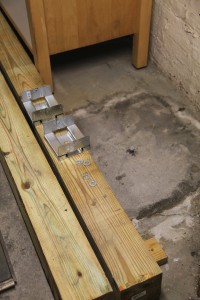
New footings w/ temporary columns. I know it is really hard to see with all of the mess!

New Footing w/ pressure treated columns drying out.

The new reinforced concrete footings are all in! One of the oddities of digging up the floor was that on one side we found clay (as expected) but on the other side we found ash, so they had to dig deeper on that side to find undisturbed earth. Can’t wait until they can get the new columns in!

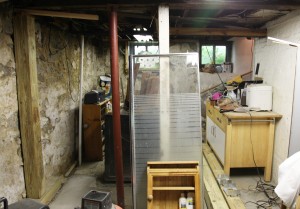
Basement stairs now that the weird enclosure is gone! On the right is the parging that was never covered up.

Because we had the bagster, we also decided to remove the strange “vestibule” at the bottom of the stairs. Before you would go down the stairs and then open a door to get into the basement. I am not sure what the logic on that one was, I think maybe to keep the cold air from coming up the stairs. I hope to remedy this in other ways.

New Desk Chairs

October 19, 2011

Our old Ikea Office Chair, it has provided many hours of comfort!

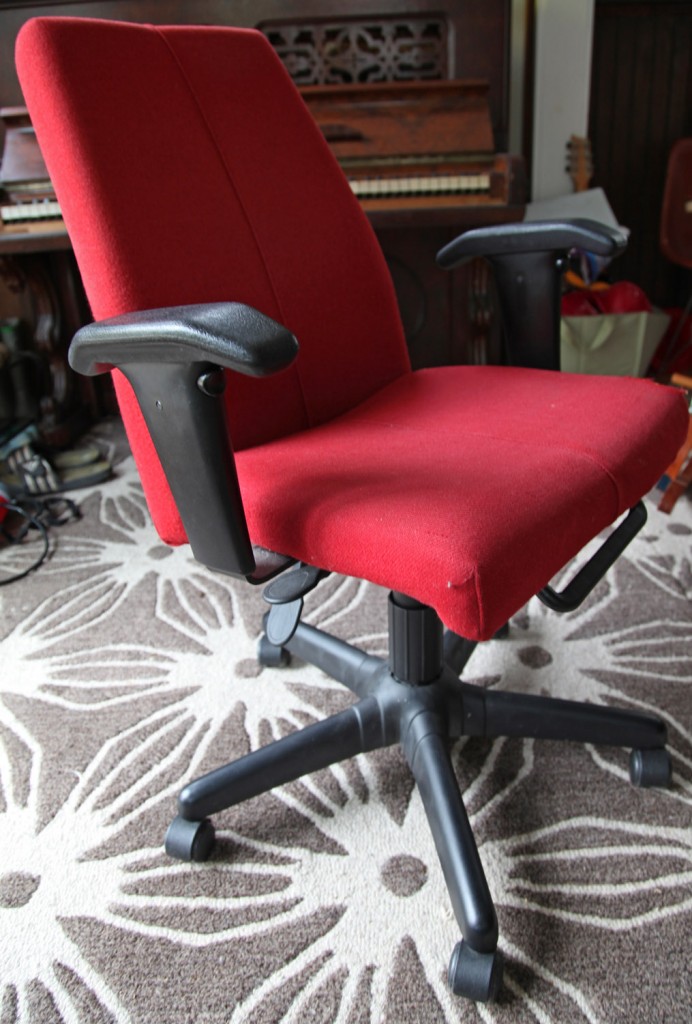
The desk chairs that we use at our desk in our alcove off of the Dining Room are showing some (okay a LOT of wear). The main chair has had a hole in the front corner for a couple of months but now the foam has started disintegrating at the front, leaving a not so attractive pile of dust underneath it. Yuck! We have had them for quite some time (at least 8 years) and we bought them on sale at Ikea, so I feel like we have gotten a good return on investment and it is time to retire the most well loved chair and move the other one upstairs to my “someday” office. Of course when we bought them we actually had an “office” set up in one of the bedrooms, so comfort trumped style. Now a days our desk is right out in the open, so we need something that is still comfortable, but also has some style! I did some searching on the internet to see what my options were and was surprised at how little I found that met my parameters, and how expensive most of them were. I didn’t think this would be so difficult and if I am going to spend a few hundred dollars on one, it better look great and be comfortable!

Desk Chair Requirements

1. Comfortable (i.e must have upholstered seat and back and ideally adjustable)
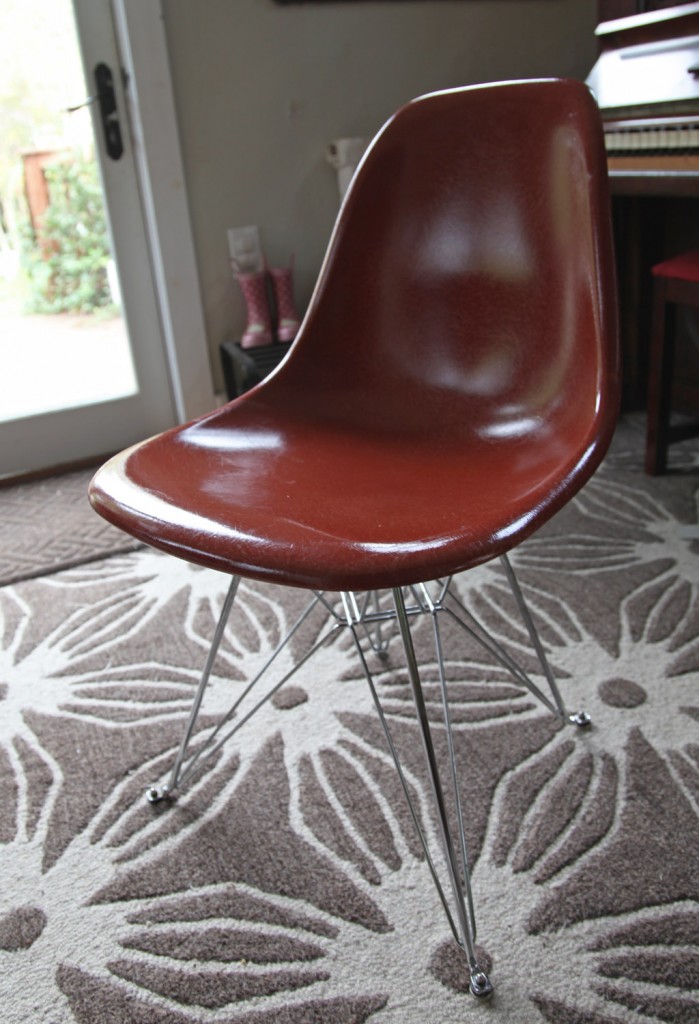
2. Stylish! Something vaguely retro that can coexist with our fiberglass shell chairs.
3. On wheels!
4. Arms that aren’t too big (or none at all) so that at least part of the chair would fit under the desk.
5. Durable enough fabric for 2 kids and someone who has a habit of spilling coffee (that would be me).
6. A matching pair.

So far there is only 1 in the running, and it will require reupholstery!

Vintage Saarinen Executive Chair by Knoll

So after a brief search on my normal go to shops (overstock, pottery barn, ballard design, west elm, crate and barrel, cb2…) I decided to look on ebay. Pretty quickly I found the above chair and I was in love. This is a vintage Saarinen “Executive Chair” by Knoll. They still make these with a slightly different base (at a price of about $1600!). The vintage ones vary drastically in price and some are knock-offs. I am actually finding it very difficult to tell the difference between the real ones and the fake ones. I think this is partially due to most of them being reupholstered and there does not appear to be a good permanent tag. They vary between about $200-800 depending on condition and whether they are claiming that they are original. I think I will probably want to reupholster anything we get with a durable fabric, so I am thinking about buying them as cheap as possible with the goal of reupholstering them. Of course then I will need to find a durable but cool fabric (because with this shape it deserves an awesome fabric!). Maybe even possibly a retro Knoll fabric in an interesting color.  I think it will play nicely with our Dining Room Fiberglass Shell Chairs (by Modernica)…

Modernica Fiberglass Shell Chair (based on the original Eames Chairs)

What do you think?