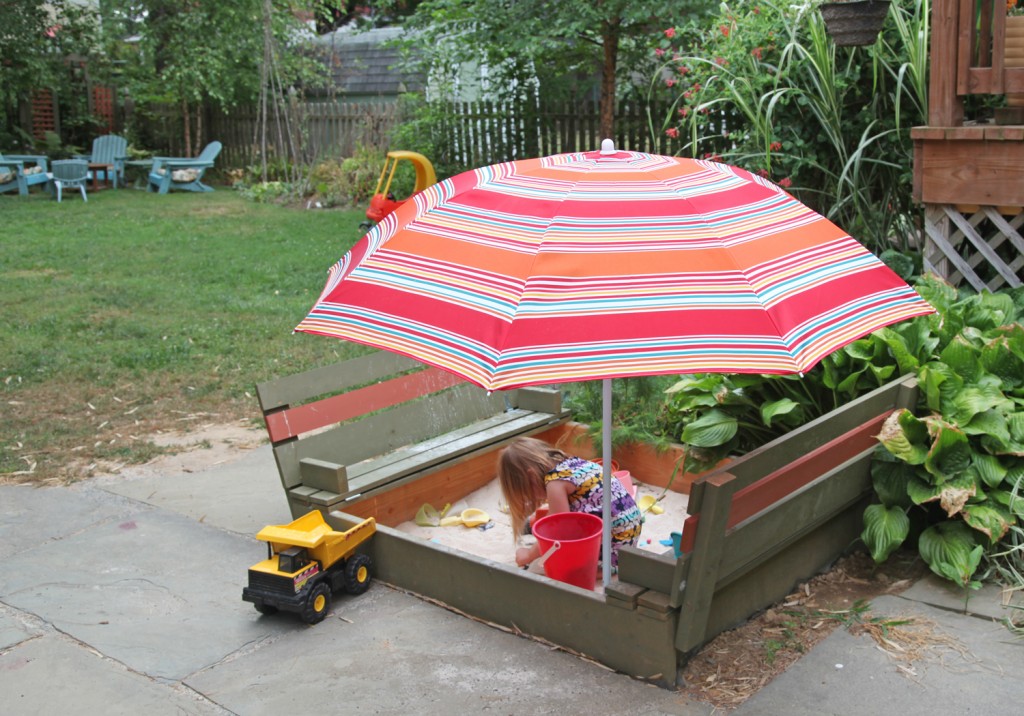
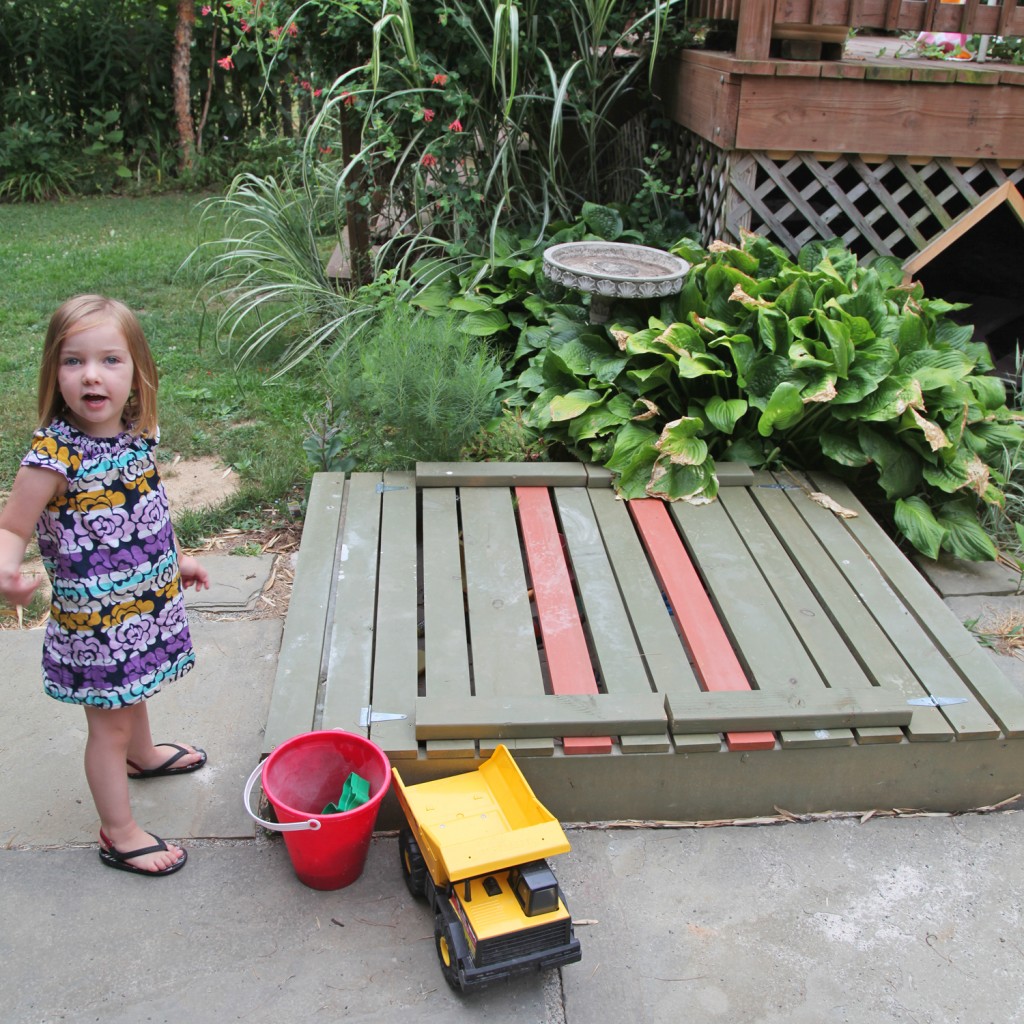
Today is my long overdue instructions on building our new sandbox! It seems like as soon as we had it finished the weather was too hot to use it. And now the mosquitoes are in rare form making it uncomfortable to be outside. Fortunately, I convinced Maisie that a little time out there this morning would be nice.
I wrote about the first part of the installation a while ago. I thought I would show Part 1 again so that everything was in one place.
We decided to go with the plans from Ana White’s website based on this design. Of course I had to tweak it a bit (when have I ever gone the easy way). The design is for a 4′x4′ model. We decided to go with a 5′x4′ design so that the kids would have a little bit more space for playing and to fill out the space. We also decided to use 2x10s for the sides. The design calls for 1x8s but since we wanted it deeper and we were widening it, I decided to increase the depth (plus a 1×10 and 2×10 are pretty much the same price). The nice thing about the plans is that they are designed to use standard length lumber, so all I needed to do was adjust a few pieces from 8′ lengths to 10′ lengths to make it work. I also added an extra piece to the back of the bench on each side to accommodate the extra foot (so there are 3 boards instead of two).
Step 1: Locate the Sandbox and Prepare the Site
First on the list was moving the big piece of slate over to accommodate the sandbox. For this I used a spade and all of my arm strength to push it over the 5′. It was a pain and took me an embarrassing amount of time, but I managed to do it myself. Of course it wasn’t level! So it took last weekend with the help of Mr. S. holding it up to actually level it out. Then we leveled out the ground under the sandbox, moved/cut back a few plants and we were set. We also added the landscape/weed blocker fabric to the bottom, to help keep the sand separated from the dirt.
Step 2: Pick Up the Wood & Cut to Length
I went over to Home Depot and picked up the pine boards (I didn’t want to use pressure treated in an area with kids). I had the guy at HD cut the 2×10 boards for me, since my saw only cuts up to a 2×8 in one pass. Of course I hadn’t double checked my measurements so I still ended up having to cut the shorter pieces again at home. All told I spent about $96 for the wood, screws, glue and hinges. I spent about an hour measuring and cutting all of the wood.
 Step 3: Finish the Wood
This is by far the longest step. We are staining our wood green to match our garage and shed. We had some already, which was nice. The downside is that it is oil and takes a while to dry. Since almost all the wood will be visible depending on whether it is open or closed we need to finish all of the sides. I am using a small roller with the stain. I am still NOT finished with this. It needs 2 coats and so far only the bottom has 2 full coats. Everything else only has one coat right now. Unfortunately the weather has not been cooperating with us. I am hoping to have all of the staining done by the weekend so I can get this finished!
Step 4: Installing the Base/Sides:
Mr. S. stained the base 2x10s first, so those were ready to go in (we are leaving the side that will be exposed to the sand unfinished because I am concerned with it wearing off with the sand against it). We used nice long 3″ screws (3 per corner). I use almost exclusively screws with star bits. Home Depot now sells them (I use to have to hunt them down) in the deck screw area. I LOVE these! No slipping or stripped screws. Plus they are meant for exterior use, so they will hold up well. The Home Depot ones are tanish yellow in color and blend in pretty well with the wood.
Step 5: Putting in the Sand
I bought six 50 lbs bags of play sand to get started (I think we will need another 6 or so to fill the 18 sf). I looked for play sand that had been “prewashed” to minimize any contaminants.
Step 6: Making the Lid
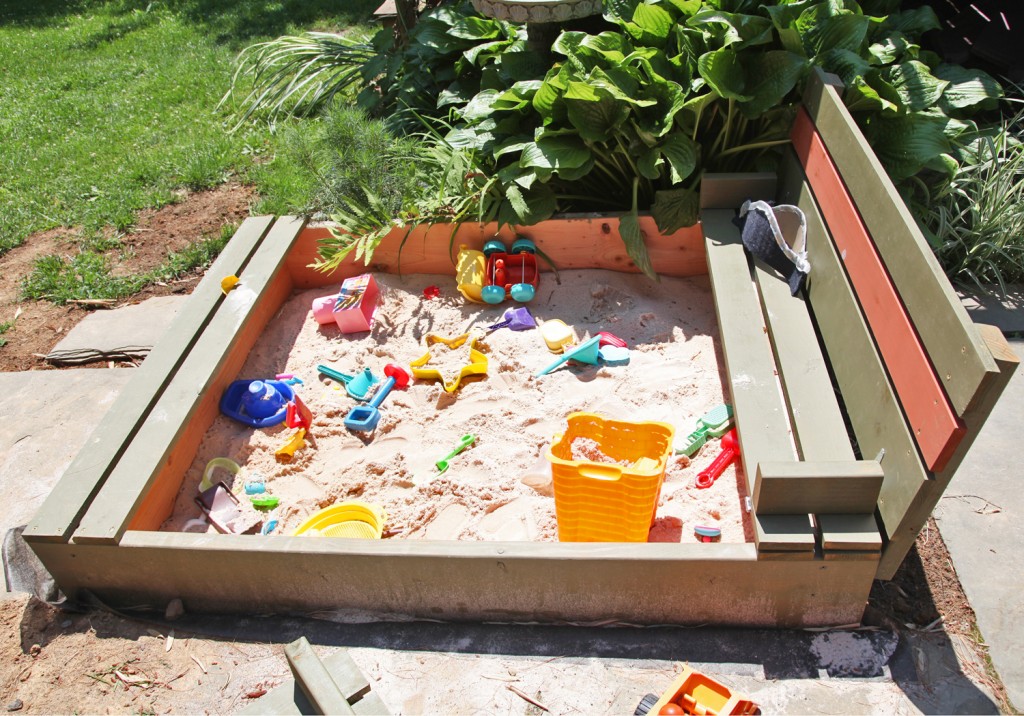
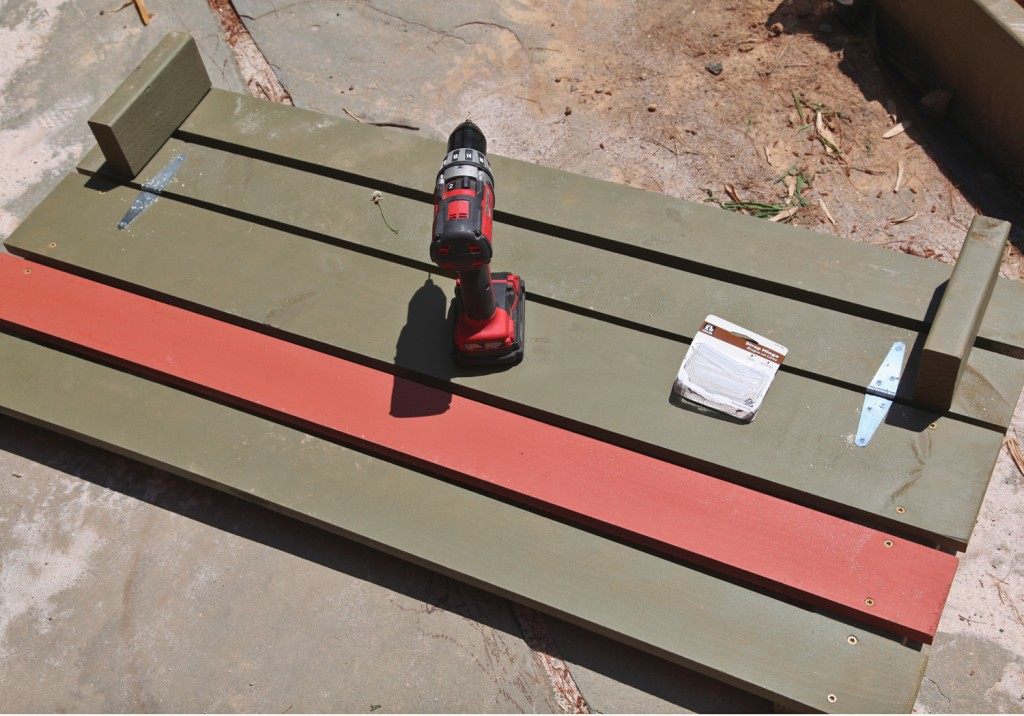
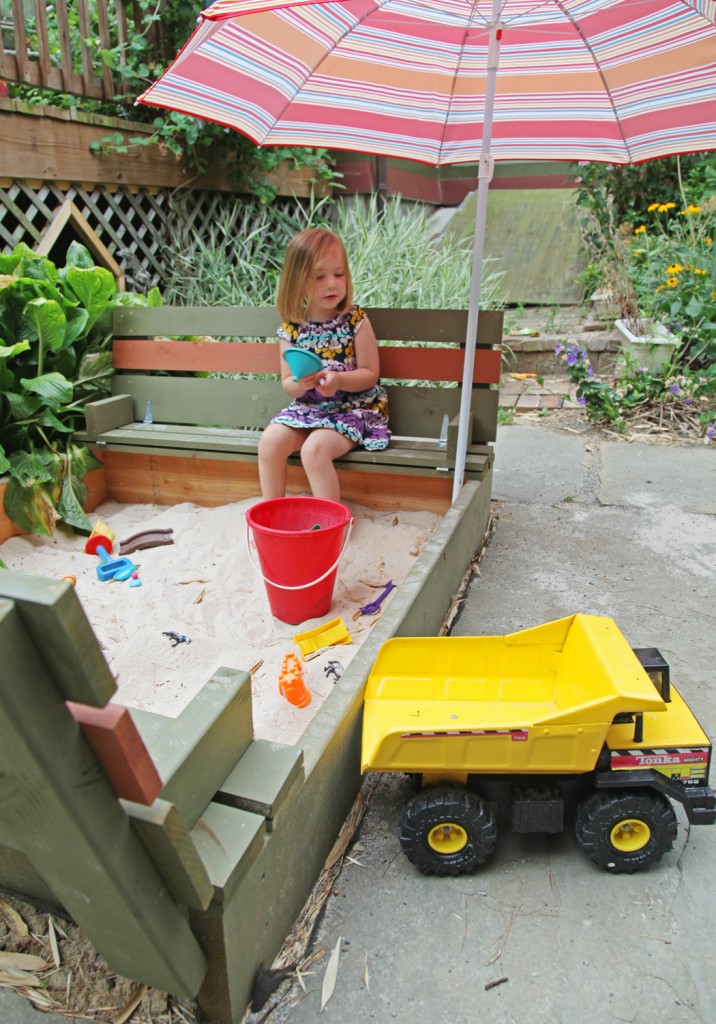
This is the most intimidating part of the project, but really isn’t that hard. We used 14 boards all together for this (+4 armrests & 4 back supports)
-2 1x4s on each side as the base for the seat (see left side of picture above). These are permanently screwed to the frame
-2 1x4s on each side for the seat (this part flips over and has the armrests on the inside)
-3 on each side for the back of the bench (2 1x4s and 1 1×6). On Ana White’s instructions they only use 2 1x4s but since we are a 1′ wider I need to add a 1×6 to each back.
A. The first thing you want to do is layout all of the boards to double check the spacing. We were in between 1/4″ and 1/2″ in between the boards. If you have a piece of scrap wood or cardboard and the right thickness this will help keep the joints even. I ended up using a piece of scrap Styrofoam that i had on hand from some packaging.
B. Screw in the permanently attached pieces on each side.
C. Screw the arm rests on to the seats (making sure that the spacing matches the pieces that you installed previously
D. Screw the back supports on to the back pieces.
E. Test fit the pieces to make sure everything is going to fit properly.
F. I found it was easiest to attach the back and seat together first. This allows you to install these in a flat position instead of at an angle (since these hinges are on the inside when the sandbox is closed). I used 3″ strap hinges that are galvanized.
G. Attach the seat and back to the box with hinges while everything is flat.
H. Attach handles if you are using them (we chose not to since it is pretty easy to lift the way it is).
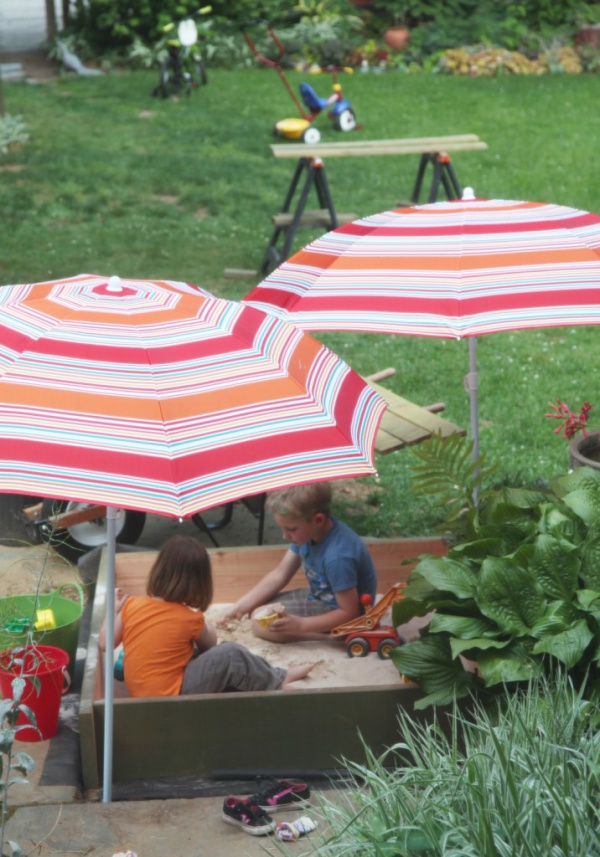
Step 7: Test out the new sandbox!
I hope everyone has a great weekend! We have a summer cold going through the house and are hoping a quiet weekend will give everyone the rest that they need.






Ok, so I’m a novice can you please confirm the actual cut list. I like this larger version better but I am getting confused. This is what I am thinking:
2 2x10x60
2 2x10x47.5
12 1x4x47.5
4 2x4x7.5
4 2x4x12
Thanks.
Sharon,
Thanks for the question! I realized that I never gave a full cut sheet.
Here it is:
(a) 2 – 2 x 10 @ 59 1/2″ – long sides of box
(b) 2 – 2 x 10 @ 44 1/2″ – short sides of box (shorter due to thicker wood)
(C1) 12 – 1 x 4 @ 47 1/2″ – top planks
(C2) 2 – 1 x 6 @ 47 ½†– extra top planks for longer length and higher back
(d) 4 – 2 x 4 @ 7 1/2″ – arm rests
(e) 4 – 2 x 4 @ 18 1/2″ – back support/handle (longer to allow for higher back)
Good luck!
Thank you so much for posting this awesome project. My dad used this design for the basis for the box he built for our three little boys, ages 2,3 and 6. He increased the size to 6×8 and added a center support down the middle, realizing our boys will jump on the lid when closed. He also used 2x4s for extra strength and cost savings. The benches are incredibly comfortable too! We are in love with our new sandbox!
Dereth,
Glad to hear that the sandbox design worked for you! I totally understand about the center support! I have to tell my kids NOT to jump on it quite often.
How did Yall add the center support?
I was wondering if the arm rests were necessary or just preference? I was wanting to do it without them, but don’t want to weaken it if they are necessary for support.
Totally Awesome!! Have saved all the info and photos and cannot wait to begin construction! Tytytyty SO much for sharing! God bless you richly!!
does anyone know the approximate cost on this? Absolutely love it, and thank you for posting all directions 😊
What was your total cost?
Can you please give an estimate of cost? Just wondering if spending $150 at Walmart would be better, and save my hubby his sanity lol
I’m getting this sandbox for my kids either way, just wondering what route to go. An estimate of cost would be much appreciated 🙂
I’m getting ready to build one of these for my kids. This will be fun to build plus it will be home made instead of store bought. My wife sent this to me. Great idea.
I’m not really understanding how the back folds down in place. If the first 2 boards are permanently in place, how does the back fold up and the armrest in place? I’ll prolly figure it out when I start building. I will also try to get a price together for everyone.
How do you put in center support? Does painted untreated pine work outside?
can you leave the wood plain without staining it?