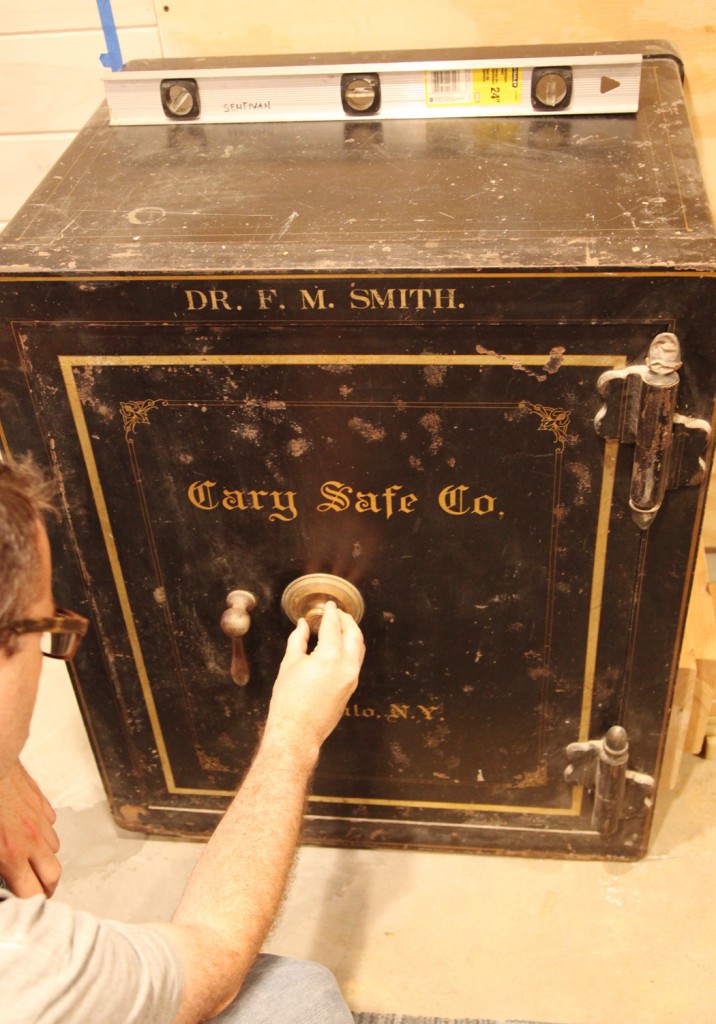
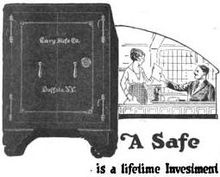
Our giant Victorian safe is really a beast! Interestingly, we looked up photos of similar safes from Cary Safe Company over the weekend and we discovered that it should have wheels at the bottom, which must have broken off before it made its way into our basement in the 1970s. Wheels sure would have made it easier to move!
Since we have had the house we have only moved it a few feet. Once to allow the waterproofing contractors to get behind it, and secondly up against the wall. When the contractors moved it to its current resting place, I hadn’t finalized the size of the fridge and freezer so I told them to put it about 8′ off of the side wall. It ended up a little bit less than that, and now that I have my dimensions, we needed to move it about 3 1/2″ to make our panty/ wine storage area work and in preparation for the wood countertop. I was originally planning on having my contractor (3 of them) move it over, but I have been holding off calling them, since I want to give them a complete list of work to finish off the basement rather than having them come out repeatedly. So what to do?
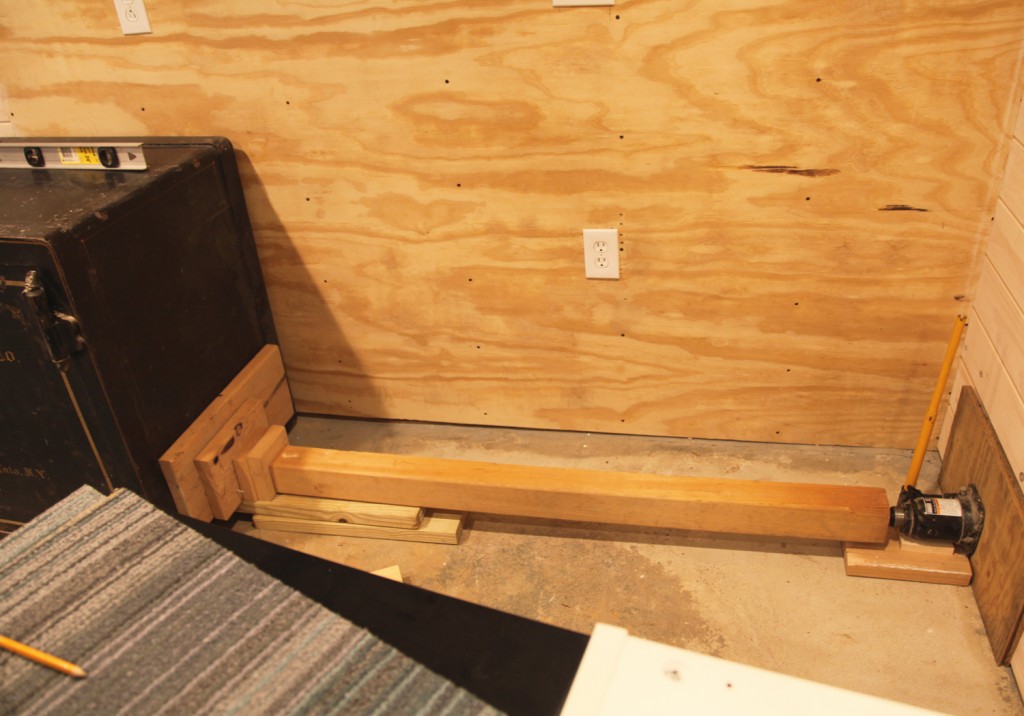
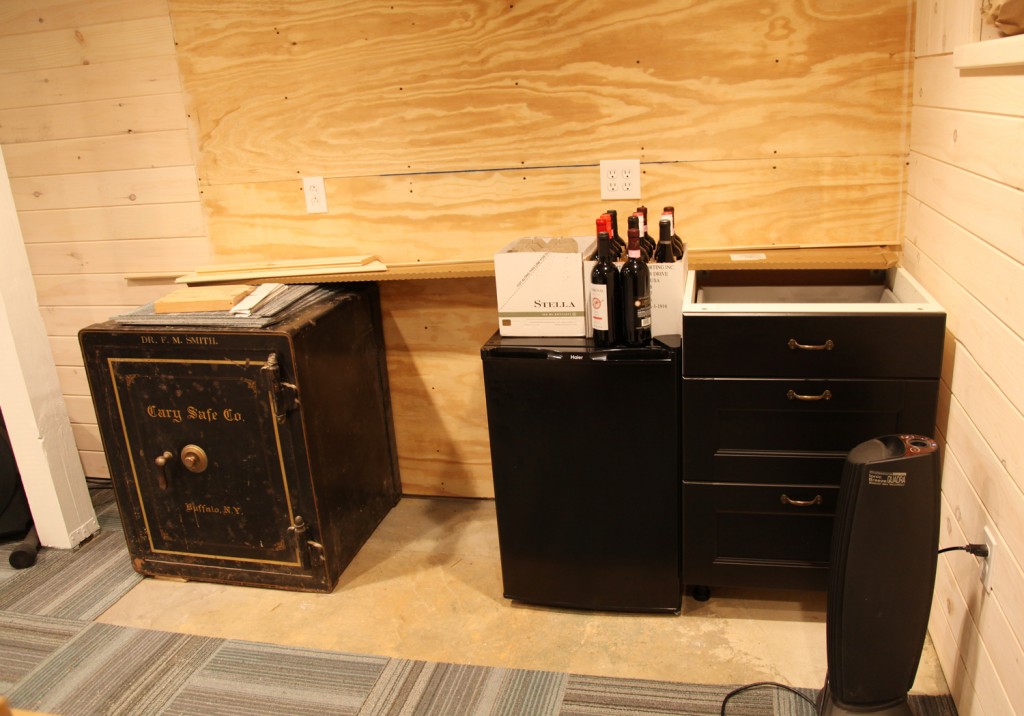
Mr. S. had tried shoving it with a hand truck with no success (it weighs about 1000 lbs). It also has almost no clearance below to make it that much trickier. I was getting ready to reluctantly call the contractor when Mr. S. mentioned it my brother-in-law Matt, who had a brilliant idea. Why not use a jack to push it? hmm….that sounds plausible and we own several hydraulic jacks. So on Sunday we pulled out the drawer unit and fridge and used a bunch of scrap wood and pushed it along! Starting from the right, we used plywood to protect the wall and help even out the load, the hydraulic jack (lifted up with some scrap wood). Then we used a 4×4 post cut to length. On the safe side we used some more scrap underneath to keep the pushing point up a few inches and a longer piece of scrap across the side of the safe. And the verdict? It was slow but it totally worked. First the wall pushed in about 1/4″ (as I was keeping my fingers crossed). Then the safe starting moving. We could move it between 1/2 and 3/4″ per session. Then we would loosen the jack and add an extra piece of scrap and do it again. So all in all I think we moved it in 4 pushes to its new resting place. The picture above is after we finished pushing it so there are 2 extra pieces of scrap on the left side.
Now we have the space left for the freezer and we are ready for the counter (which should be here in about 1 1/2 weeks).
Thanks Matt!
Tomorrow I will post up the design and installation of our new beadboard doors for the workroom, which I think came out quite well.
* To see all of the posts about our basement click here.


Ingenious! It is exciting to see so much progress being made in the basement. I’ve got a small collection of bottle caps for you for to contribute to the back splash; I’m very excited to see that entire area come together!