Archives For CARS

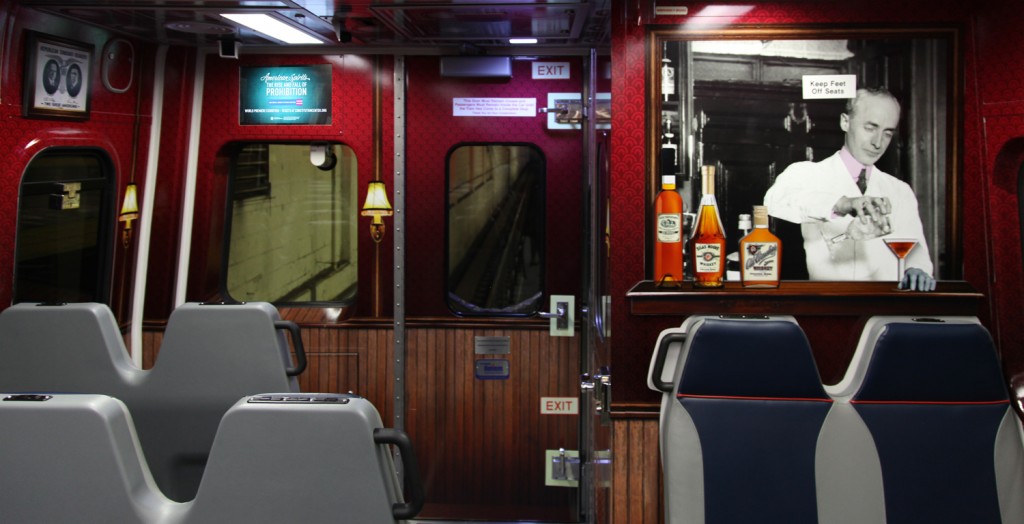
Speak Easy Train Car on SEPTA

Last week we went to the Bootlegger’s Ball for the opening of the Prohibition Exhibit at the Constitution Center. Mr. S. has worked very hard for the past 2 years on some of the interactive and short film portions of the exhibit (I’m very proud!). His firm was also in charge of designing a SEPTA train car to look like a speakeasy! Well it premiered yesterday, complete with dancers, and it is pretty cool!

Anything look familiar?

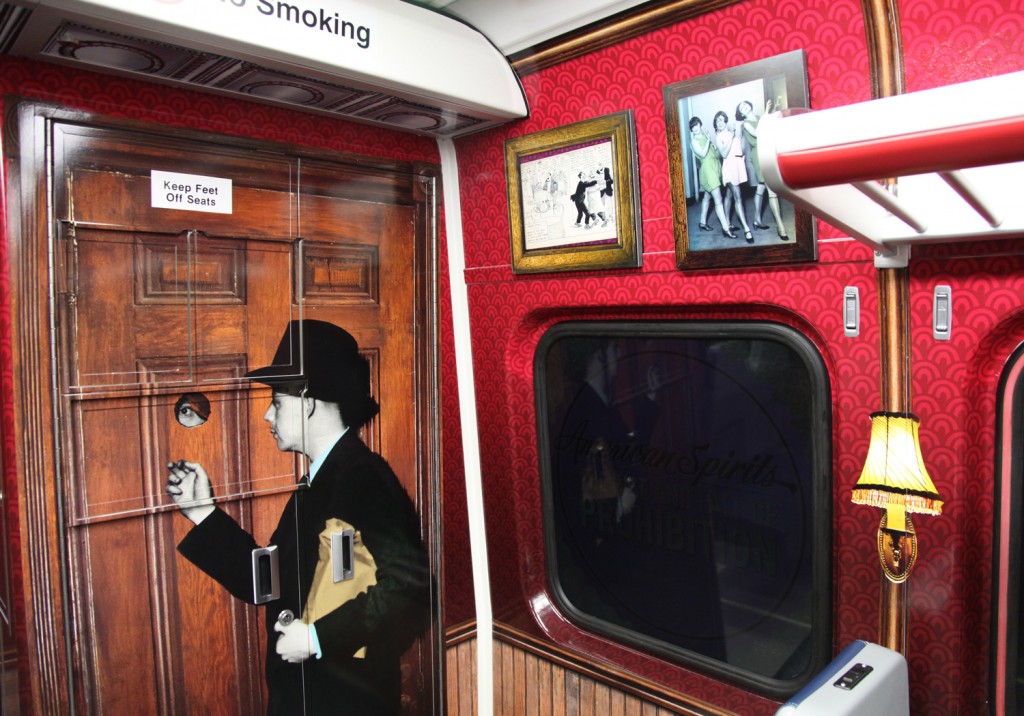
When he was designing it he needed some accurate building bits to manipulate in Photoshop. So he turned to our house for a number of house parts. Can you see them?

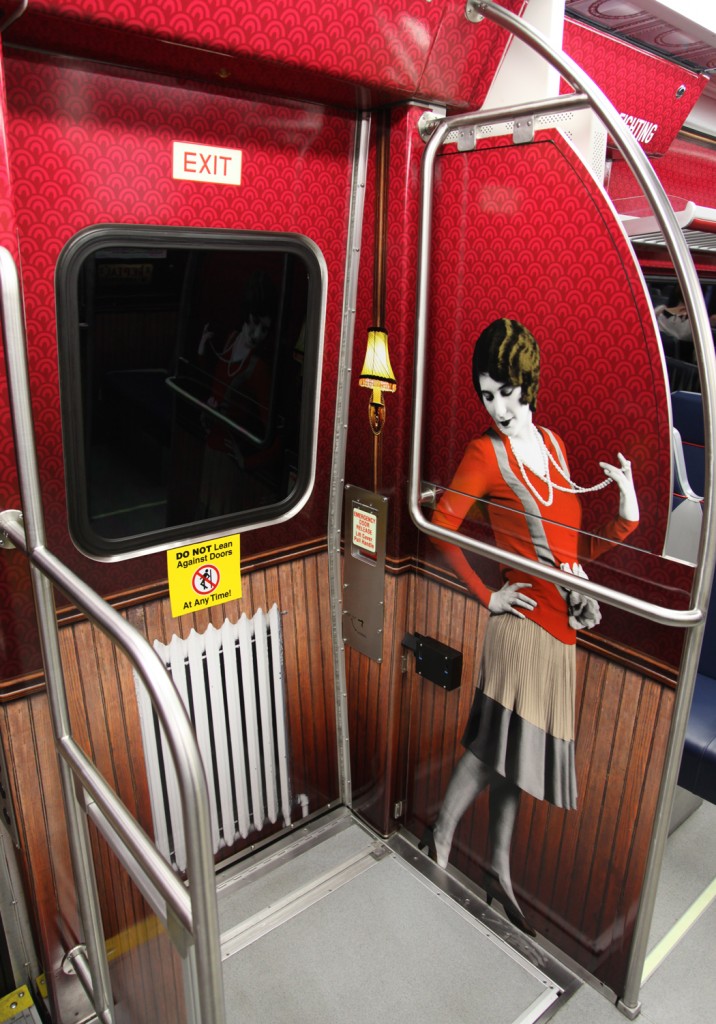
Stylish lady

The wainscot is from our Dining Room, the door is our front door and that radiator, that is ours too. Pretty cool, huh?

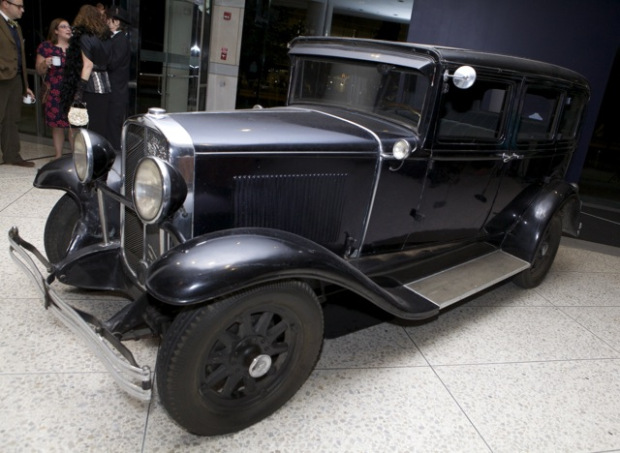
Picture from the Bootlegger’s Ball at the Constitution Center (we are hiding in the back) via CBS

I thought I would show you a picture from the Bootlegger’s Ball. Above is a vintage car in the lobby (with us in the background).

Mr S. & I All Dressed Up

And for a special treat, a self portrait of Mr. S. and me with Independence Mall in the background before the party last week.

Now we are off to prepare for Frankenstorm! I am hoping that we don’t get too pummeled. It sounds like our sump pump will be getting a workout and I hope that the house and trees are feeling strong!

Leave a comment

Sam's Car Bed & Room Before

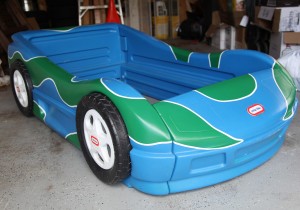
My daughter has been requesting a car bed for quite a while now, so we thought it was time to get on that. This is not a surprise of course since we come from a long line of car people. Fortunately we are a couple steps closer to giving my littlest one the bed of her dreams. Sam has had a car bed for a while and they both love it. I am not usually in favor of giant pieces of plastic decorating the house, but this is an area where I have given in to make the kids and my inner child happy. The two are sharing a room now (it was their idea) so we needed a strategy that would still leave some space in there for moving around.

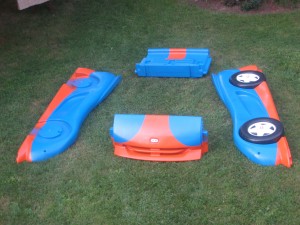
I measured and re-measured and decided that another twin size version was out of the question if we wanted to be able to open and close the door. Good thing Little Tykes makes a toddler size (it uses a crib size mattress). So like Sam’s bed I started scoping out toddler car beds on Craig’s List. It took a little while to find one not too far away and at a good price but we finally have it, assembled and all.

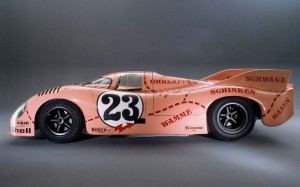
Option 1: Pink Pig Le Mans Porsche 917

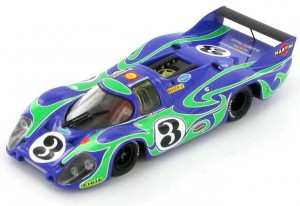
Option 2: Hippie Le Mans Porsche 917

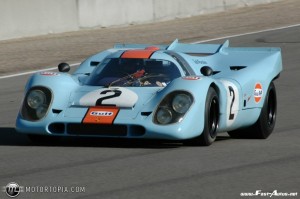
Sam’s car is based on the Gulf Livery Design for the LeMans Porsche 917, probably the most famous race car paint scheme. We originally really wanted to use the Pink Pig design but that would require painting the entire car bed pink first. Little Tykes does actually make a pink version, but only in a twin size. I was a little sad when we had to give up on this option. However we thought we could work with the Hippie design. We decided that we would leave the car blue and add the green pattern with white pin striping. We thought it was a fitting choice since it lives just down the road at the Simeone Automotive Museum (which by the way is an amazing place and well worth the trip).

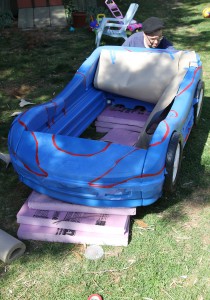
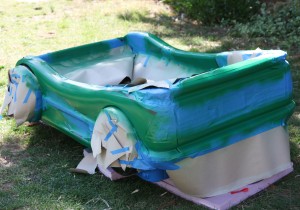
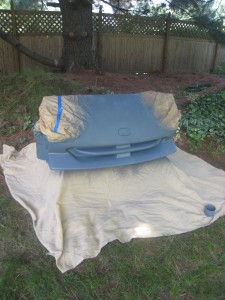
Partially Masked

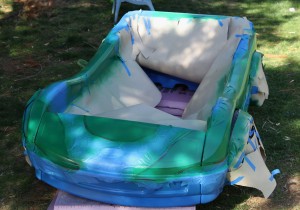
First Coat of Paint

First Coat of Paint

The process of painting involves lots of masking and some spray paint that is suitable for plastic. For masking tape we actually used electrical tape because it is more flexible for making curves. It worked really well! Unfortunately we didn’t have any newsprint so we used some rosin paper that we had in the basement. It was too thick and a pain to work with. Otherwise it is pretty straight forward. 2 coats of paint later and it was done. We then took off the tape and let it dry for 24 hours in the garage.

Hippie Car Bed w/ Pin-Striping

Rear of Car Bed

Next we decided that it definitely needed the white pin-striping between the two colors. We ended up using regular vinyl pin striping from the auto parts store (1/4″ wide to be exact). We used almost 2 40′ rolls, but at about $5 a roll, it was a good investment. It took Mr. S. about 1 1/2 hours to carefully place it and burnish it.

So far we have spent about $60 for the project, $40 for the car bed, $10 for the pin-striping and $6 for the spray paint (one can is plenty for the small bed) and $4 for the electrical tape.

There is still quite a lot to do. We need to do some rearranging of furniture in the bedroom and move some stuff into the playroom (Maisie’s old room).  I also need to make a bedspread with a big #3 on it and some interesting green patterning to match the frame. Not sure when it will be finished, but the girl is getting pretty impatient for her bed, so stay tuned.


2 Comments

F1 Cake (Jensen Button's McLaren)

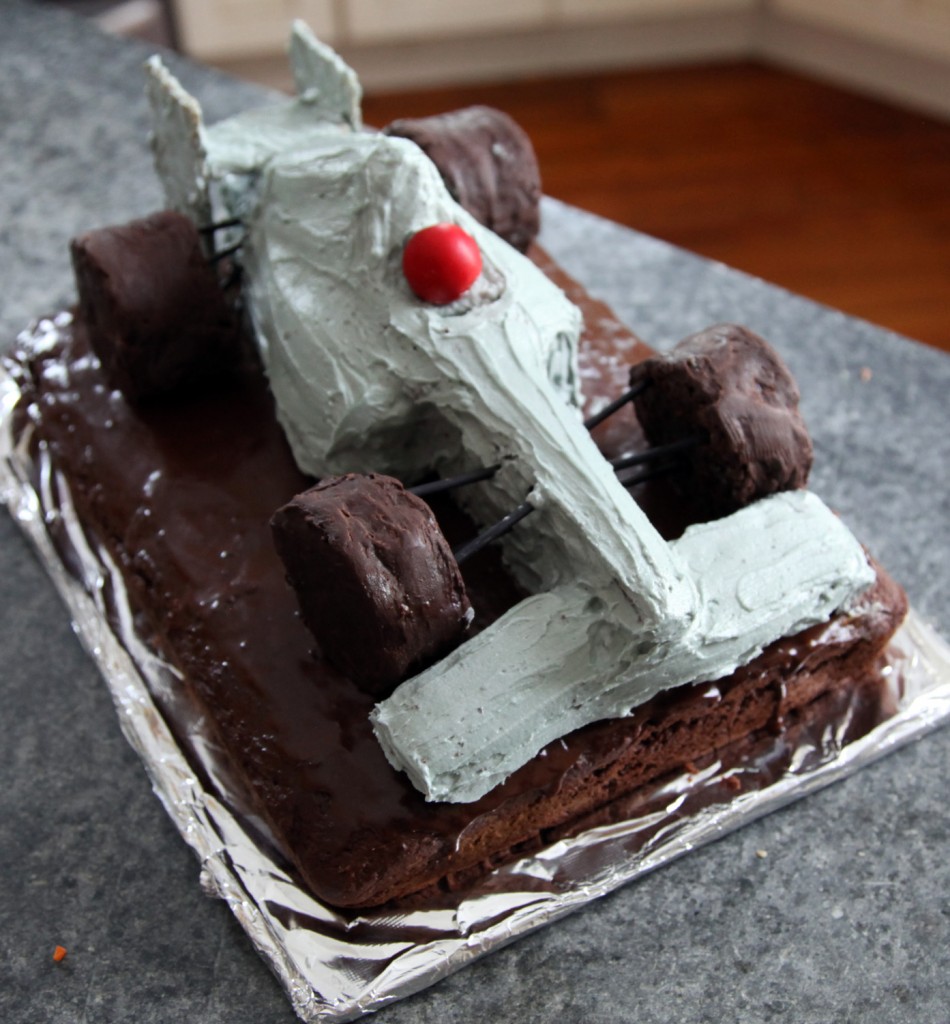
Okay, still a little off topic but I thought I would show you how we put Sam’s F1 Race Car Cake Together. We are not cake experts and are not even normally bakers (although I do like to make the kids’ birthday cakes). Sam requested Jensen Button’s F1 McLaren race car in cake form for his birthday (this from a boy who already has a race car bed).  We made him a Mini  Cooper cake last year, so the boy has expectations! We looked online and found several photos and instructions. I thought that this youtube video showing the making of a Ferrari F1 cake to be the most helpful.  Our rule is that everything (not including toothpicks) needs to be edible. We also prefer the cake to be tasty so homemade frosting trumps stiff plastic fondant or lots of sugared pieces. It took 3 days to finish (lots of cooling and setting in between) and we think it came out great. Not Cake Boss worthy but Sam was happy (which is what counts) and it was very tasty.

Step 1: Bake a firm rectangular cake (we used a 9×13 pan). We used this firm chocolate cake recipe. A second rectangular cake will also be needed later. Cool (we baked ours the night before and put it in the fridge).

Step 2: Making sure the cake is cold, cut the body of the F1 cake (we found an overhead shot of the car to use as a template) and cut the wheels (we used a biscuit cutter but you could use a glass as well). Try to leave as large of pieces as possible for the rest of the cake (including the front wing and the top of the body)

Cut shape for the Main Body of Car and the wheels using photo for reference

Bottom layer of body of car with wheels

Step 3: Cut and sculpt the second layer of the car body using a knife. If the cake starts getting warm, put it back in the fridge to keep it cool. This is the most difficult step. Keep referring back to the picture. The cockpit is made with 3 small rectangles separate from the back. The front wing is made of 2 triangular pieces.

Car with second layer of cake on body and wing on the front

Step 4: Make frosting. I used a buttercream frosting recipe and added a little bit of black food dye (from Wilton designed for cake frosting). Unfortunately it had a green hue. I added a little red to try and make it more neutral. I also put the frosting in the fridge for a little while to allow it to cool.

Step 5: Put on first layer of frosting (starting with gluing the layers of cake together). This is the crumb coat. It will help minimize the crumbs from the cake showing in the end. I never use to bother with this step, but it made a big difference (especially when you have a dark cake like this with light frosting). Put in fridge to set (we did this overnight).

Coating Cake with 1st Layer of Frosting (the crumb coat)

Step 6: Make Second Cake (if you haven’t already). Make chocolate frosting (I use my mom’s secret recipe which involves butter, unsweetened chocolate, an egg and lots of powdered sugar). Cool both.

Step 7: Frost lower cake with chocolate frosting. Frost wheels with same frosting. We actually tried frosting the wheels with chocolate candy melt. We didn’t have very good luck with this and wouldn’t recommend it.

Step 8: Carefully move the car using large spatulas (we used our grill spatulas). This works best with 2 people (i.e. why we don’t have a photo of this). We put the wings on separately to ease in the move.

Car just after being placed on second cake

Step 9: Carefully frost the car with the second layer of frosting. I used a baby spoon and butter knife.

Step 10: Using toothpicks or bbq skewers make the connections from the car to the wheels (the only non-edible part of the cake). We also painted these black.

Step 11: Carefully attach the wheels to the body. We attached the the toothpicks to the wheels first and then inserted them into the car and carefully placed them on the lower cake. This is also much easier with 2 people.

Cake after 2nd Layer of Frosting has been added along with the wheels

Step 12: Clean up the frosting.

Step 13: Install wing. We used a butter crisp cookie wafer and frosted it. The two sides sit on the bottom cake and are glued to the middle part with frosting. The middle piece sits on the back of the body of the car.

Step 14: Add gumball for helmut.

F1 Cake (Jensen Button McLaren) all ready to go!

Step 15: You could add more details to the car like some red accents. In the end we decided that it was more likely to screw up the cake. Fondant would be the easiest way to do this. Roll thin and trace the pattern and logos from the car and carefully put on the cake.

Step 16: Enjoy! This cake feed 11 of us with lots of extras. I would say this would feed 16-20 people. I highly recommend vanilla ice cream with this dense chocolate cake. mmmm…

Sam blowing out the candle!

Sam giving up on the spoon in favor of his hands.

Maisie enjoying her brother's cake.
2 Comments

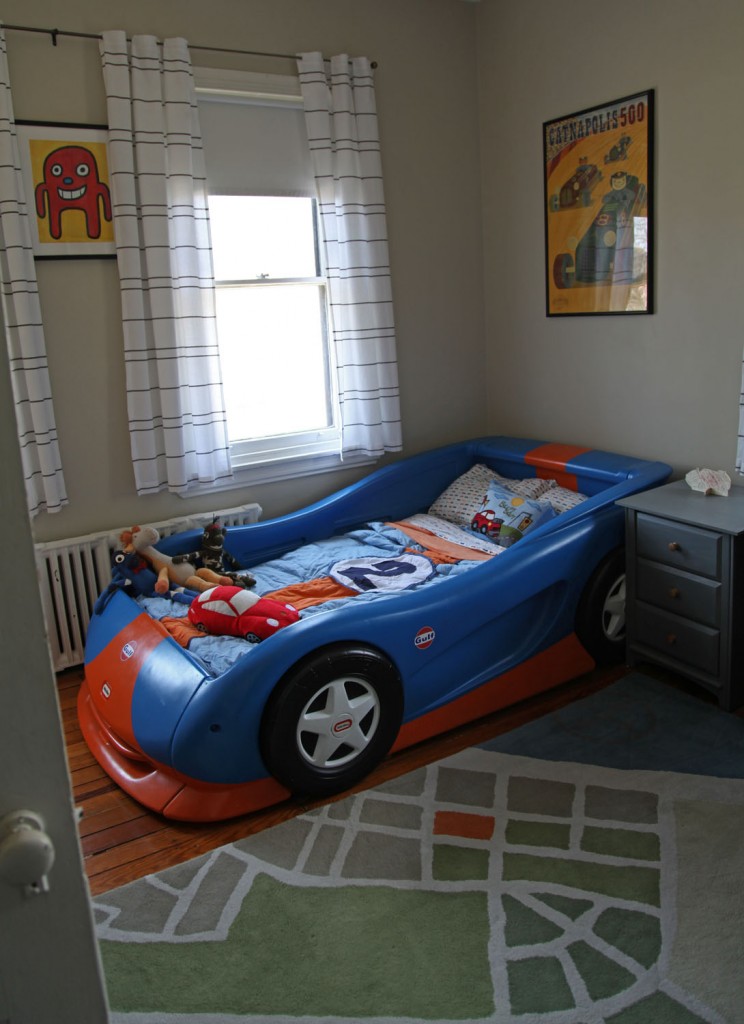
Welcome to Sam's Room


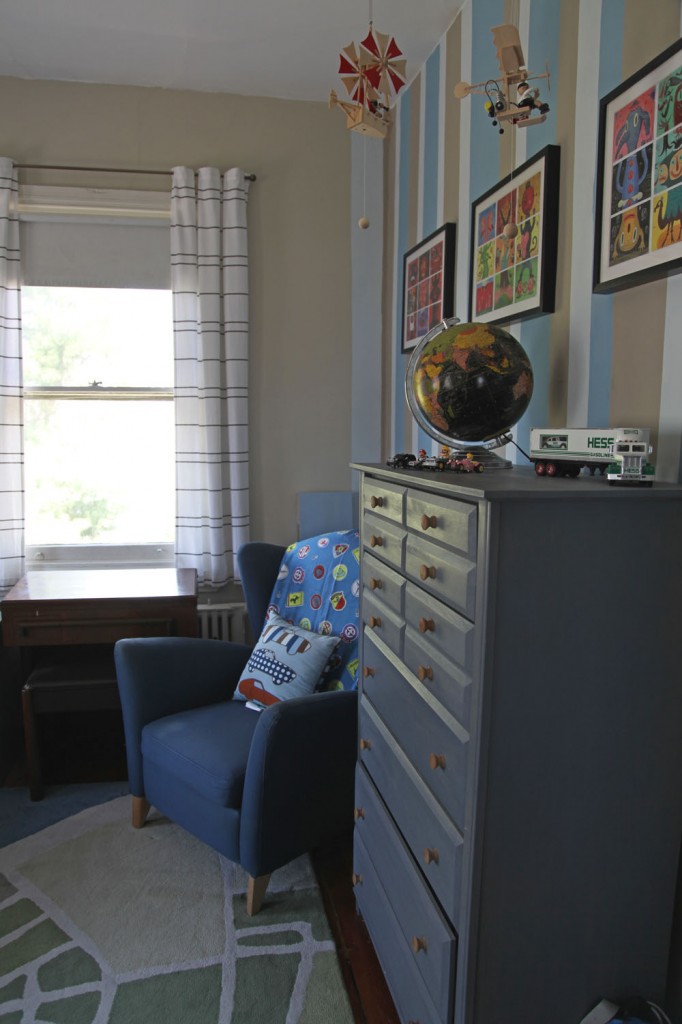
New Stained Dresser & Old Ikea Chair


The LeMans Car Bed

Car Bed with "Aerial" Carpet


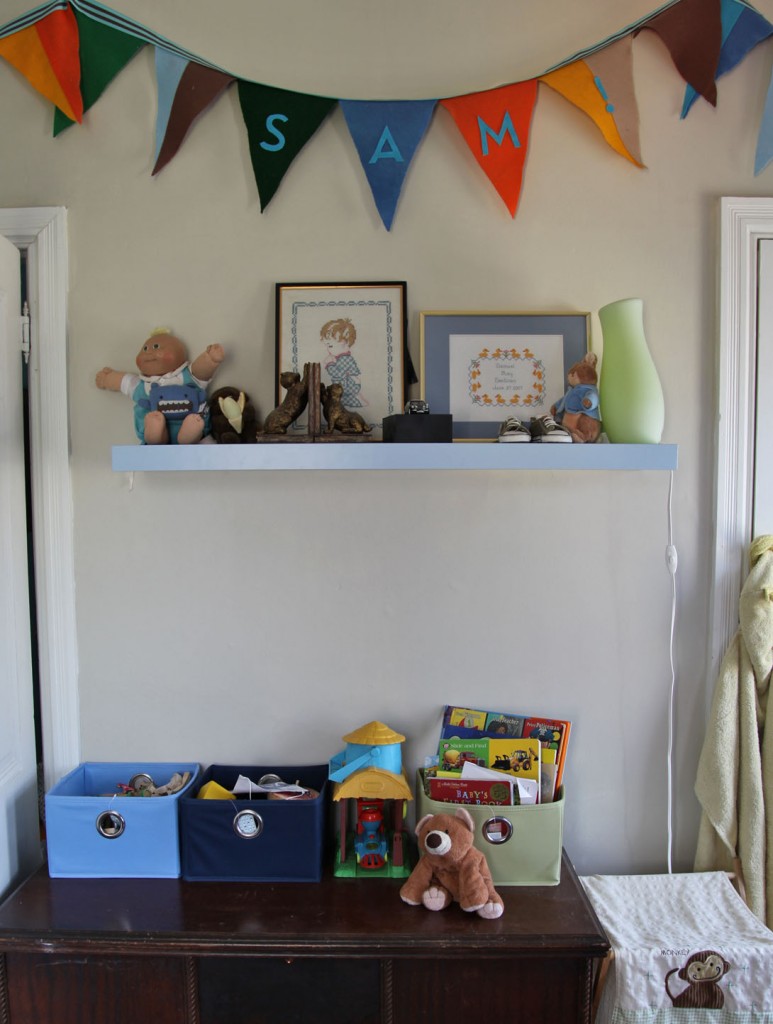
Old Chest with Toy Storage (use to be the changing area)

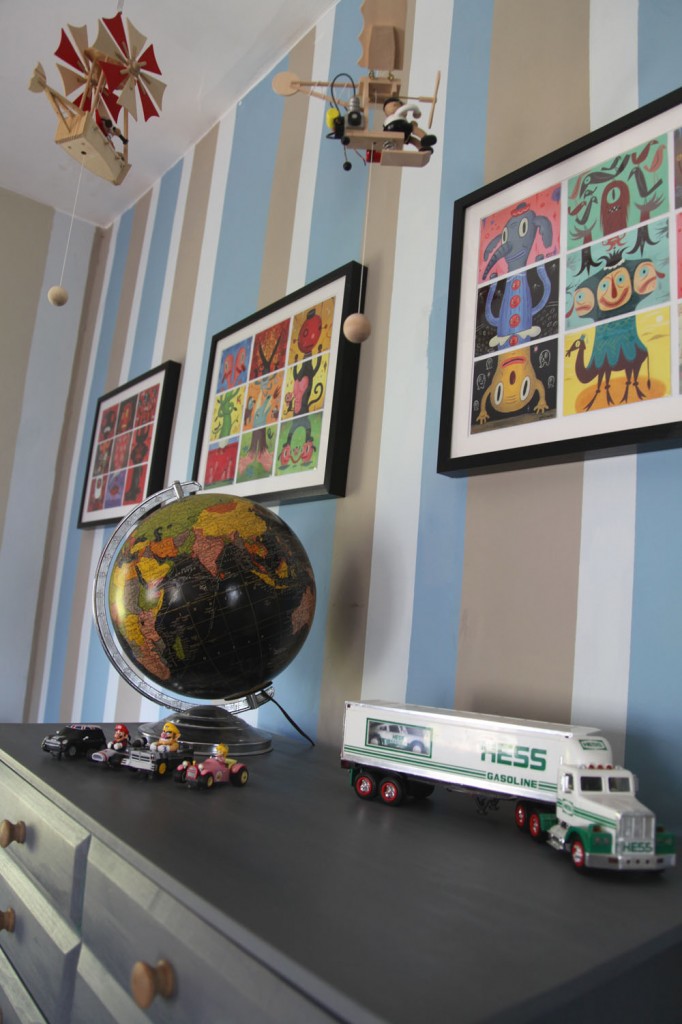
Vintage Globe, Hess Truck, Framed Tim Biskup/Gary Baseman Postcards and Hanging German Pull Toys

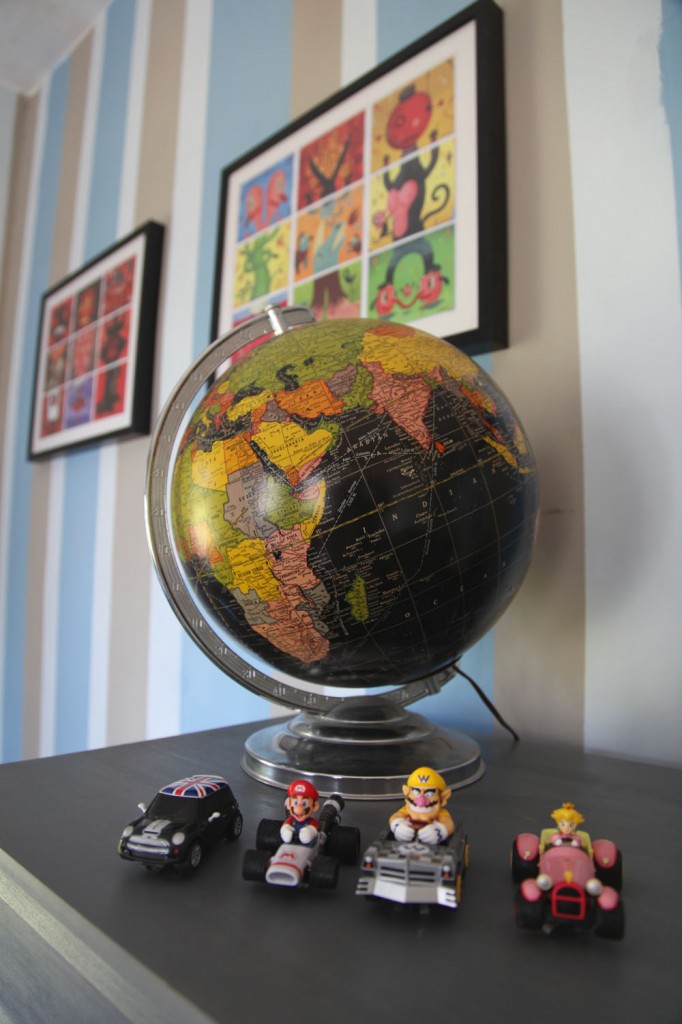
Vintage globe with Slot Cars (track is stored under the chest)

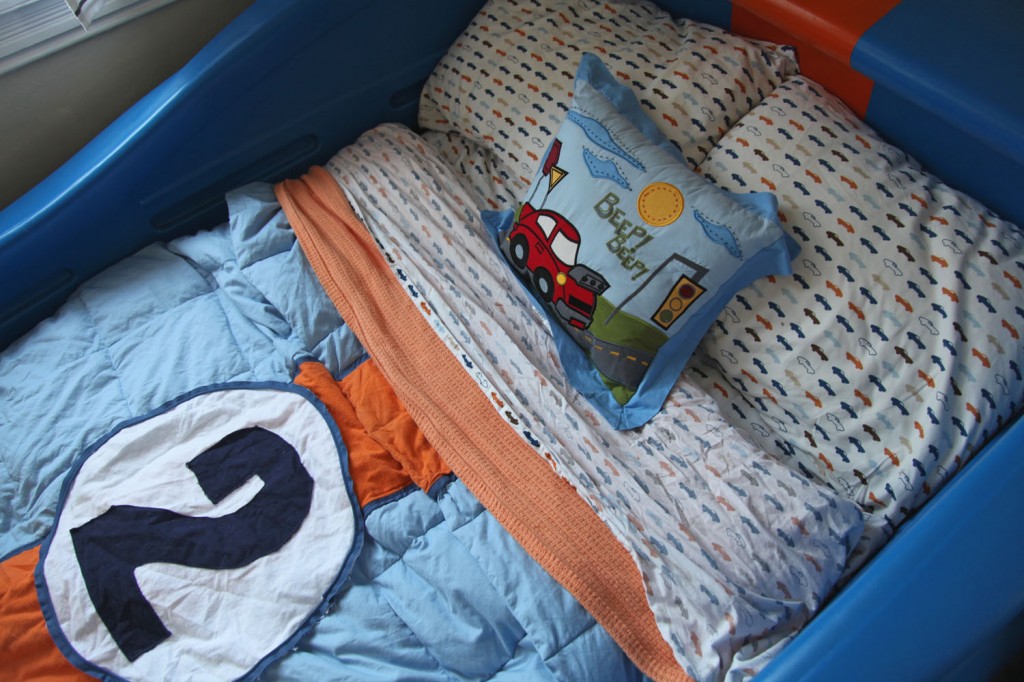
Close up of Dwell Kids for Target Sheets and Custom Comforter

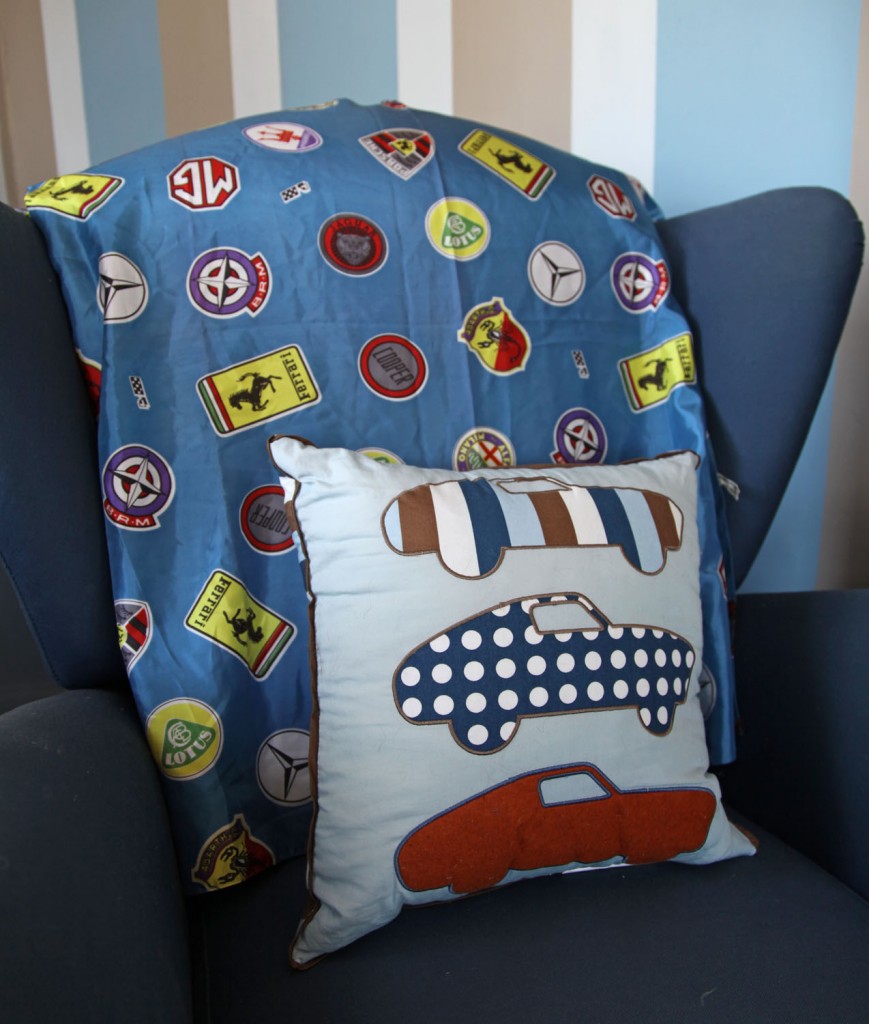
Vintage Scarf with Dwell Kids for Target Pillow

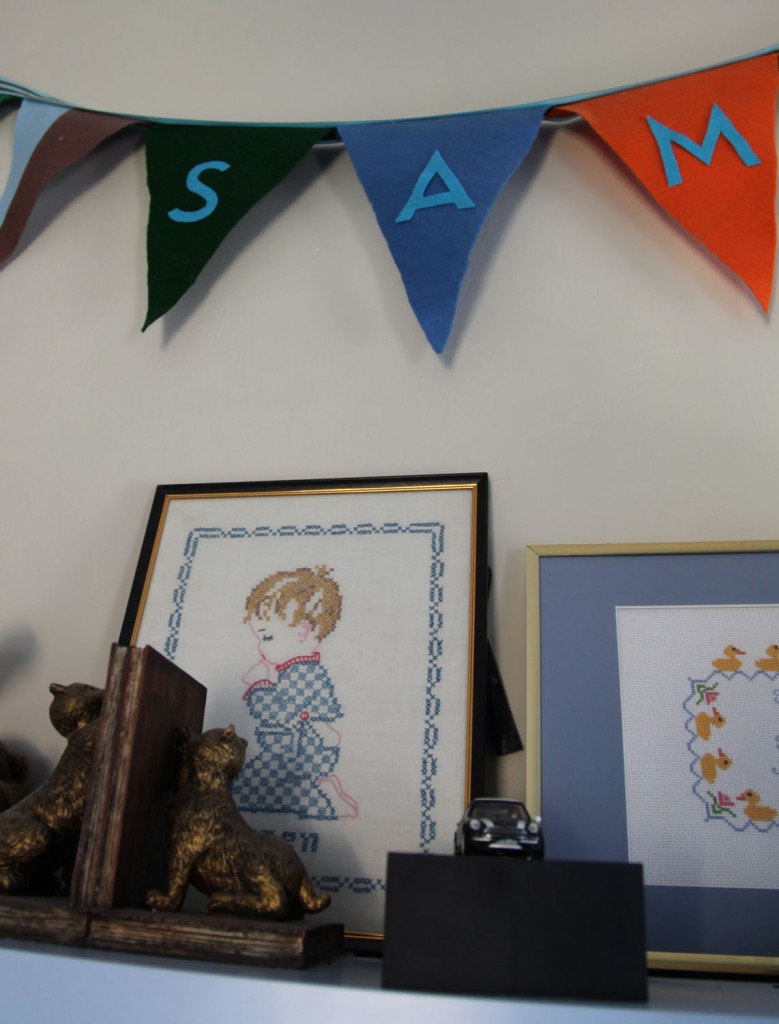
Felt Banner (originally in his baby room) & a needlepoint originally made for my brother

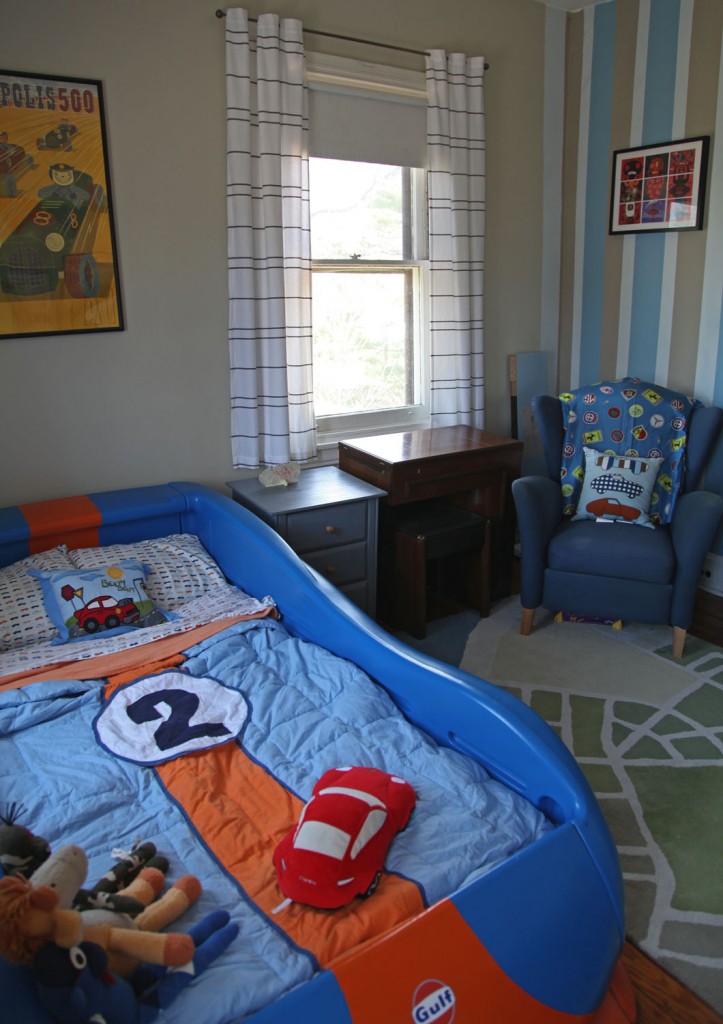
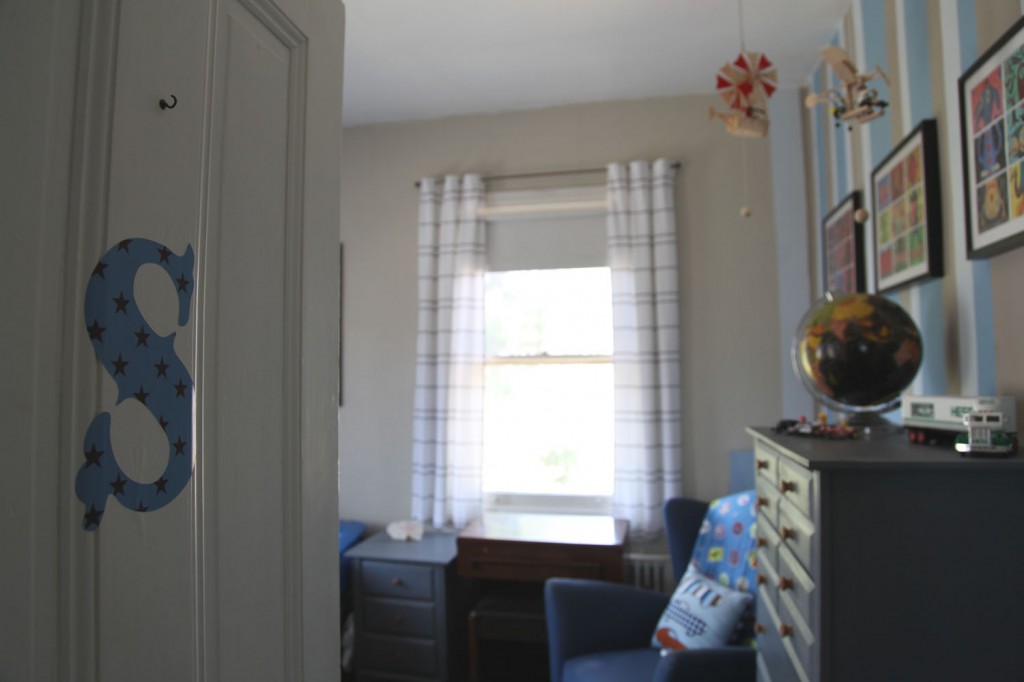
When my son turned 2 we turned our guest room into his new big boy room (his new sister also needed the baby room). When it came to choosing a theme, it was easy! My husband and I both come from car families (we met at Watkins Glen) and as a child I always wanted a car bed (yes me, not my husband). A lot of the other things we already had and just re-purposed. Furniture placement was tricky because we have 2 radiators, 3 windows and 2 doors. And we also wanted to give Sam some floor space. The room still could use some small touches, but Sam loves it (after all Jenson Button is his idol)! I will be sad when he outgrows it.

The Stats:

The Car Bed:

The Inspiration: The LeMans 917 Porsche in Gulf Livery

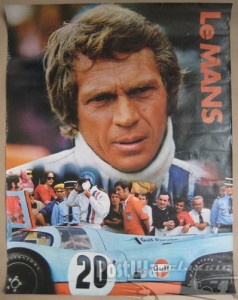
The 1971 LeMans Movie Poster

The Car Bed: Masked and Primed

All Painted!


A Modified Little Tikes Twin Size Car Bed (It is pretty easy to find these on Craig’s List) painted to match the LeMans Porsche 917 Gulf Livery Paint Scheme (also seen in the 1971 LeMans movie staring Steve McQueen). We masked and spray painted the orange striping and added the Gulf decals. My husband would still like to hang a picture of Steve McQueen above the bed (I’m still not sure how I feel about this). I also sewed the striping details and number onto the Comforter.

The Dresser & Nightstand: We decided buy a new dresser and nightstand. I tried finding something on Craig’s List but I really wanted a dresser with easy open drawers and we had limited floor space. We bought them unfinished (American made) and stained them gray.

The Chair: An old Ikea classic that use to sit in our Living Room (it reclines). I added the vintage scarf with classic car emblems to the back. I have had the scarf for years but never had a good place for it until now.

The Aerial Rug: I LOVE this rug. It is called the Flyover Rug from Land of Nod. I think it is interesting (it could be because of the years I spent drawing/making colorful planning maps) without being overly “kiddy” feeling but it is still good for pushing matchbox cars on.

The Sewing Desk: Okay so this really shouldn’t be in his room, but it is pretty convenient to have it hear for when I need to sew. He actually likes watching me sew and has never bothered it (knock on wood). This use to be my husband’s grandma’s desk. The funny thing is that my grandma had the same exact desk! It will eventually move upstairs to my future craft room, but for now it works out well being here (plus I can look out the window while I sew).

Accessories: The pillow and sheets came from Dwell for Target Kids (no longer available). I bought a blue comforter and sewed on the orange fleece and piping.  The curtains were clearance shower curtains (cut in 2) from CB2. I made the bunting for the baby room originally.

The To Do List:

Add a little more artwork (possibly some of Sam’s). I am looking for a different piece of art for above the bed. The race poster is from the baby room and the colors don’t work as well as I would like. Move the sewing table. Clear out all of the old chest to make space for more toys and clothes.
Maisie’s Big Girl Room:

Now to decide if Maisie should get a matching pink car bed (w/ LeMans Porsche 917 Pink Pig Livery color scheme)!

6 Comments