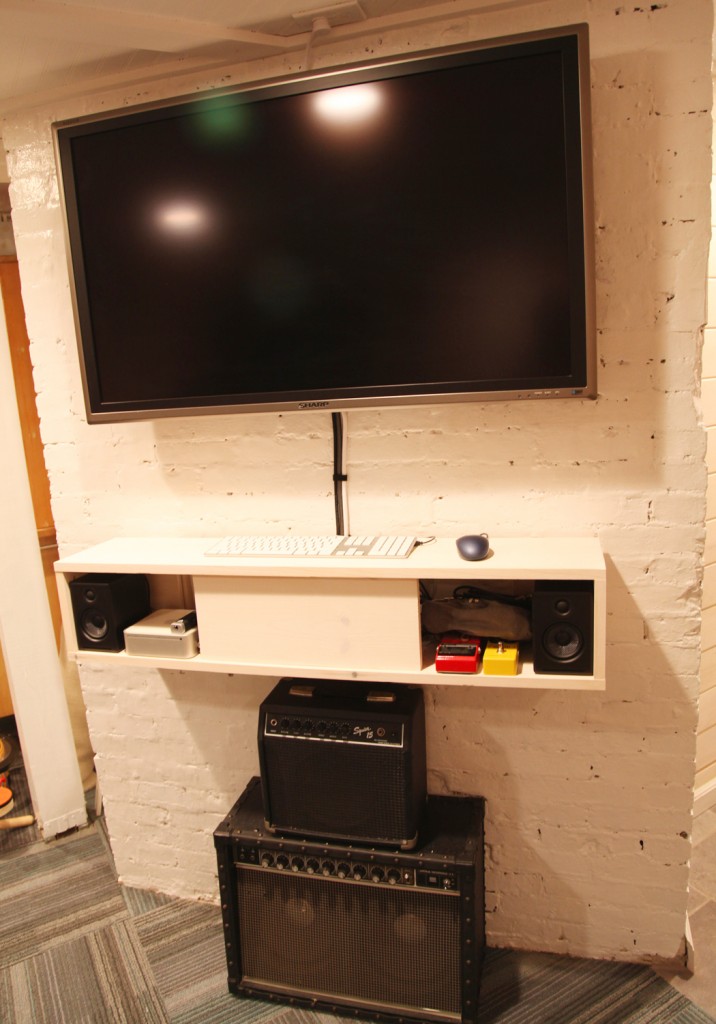
It was a busy DIY weekend here! I think this is the most woodworking that I have done in a single stint in a LONG time, certainly in the last 5 years. The good news is that the TV console and the wine rack are done. I still need to whitewash the wine rack, but it is up and in place, which is great. I made the TV console on Saturday and whitewashed it Saturday night. Then Mr. S. hooked up all of the TV components on Sunday morning, so this project is actually complete! I spent most of the day Sunday working on the 6′x2′ wine rack, which I will write about later this week.
So anyway, back to the TV console. I have been tinkering with the design in my head for a few weeks, but Friday night I decided that it was now or never and spent some time drawing up the “perfect” shelf. I measured our new tiny speakers, the small computer (a mac mini with all of the hookup on the back), the giant power strip and some miscellaneous smaller bits. I wanted to minimize the dimension that it stuck out from the wall (since it is in a major pathway), while provided enough depth for the computer. I also needed quite a lot of space for allowing wires to go up and down and all of the plugs and electrical bricks. Somehow the idea of a sleek TV set up still seems pretty elusive. In the name of minimizing its size we don’t even have a cable box down here, and have to rely on the computer for everything (which is a whole different experiment).
The Design
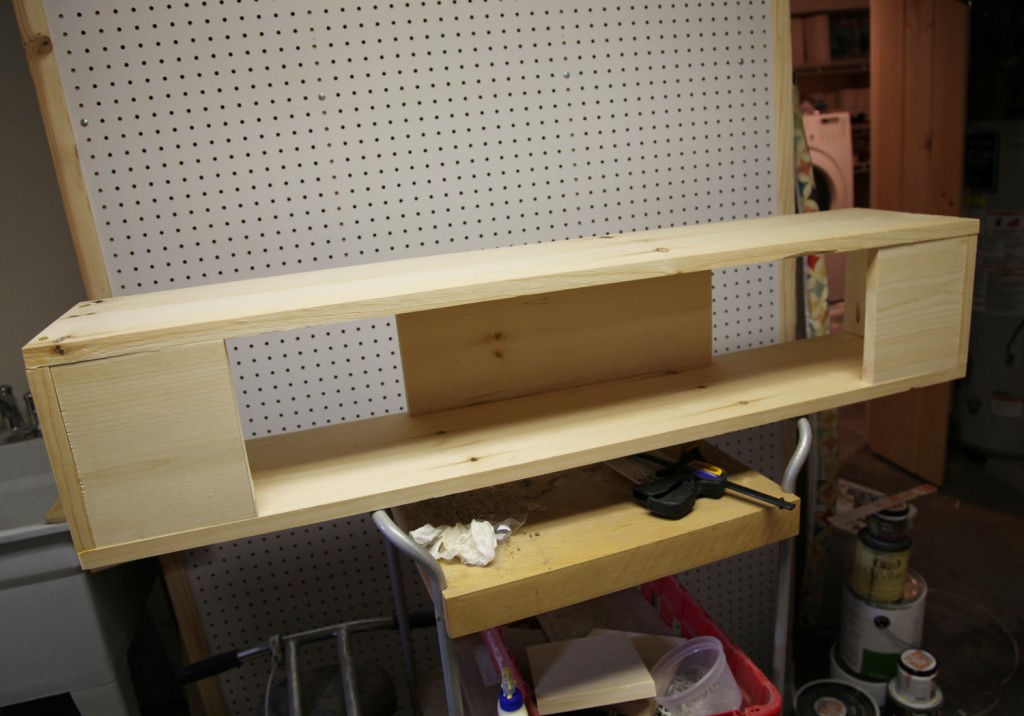
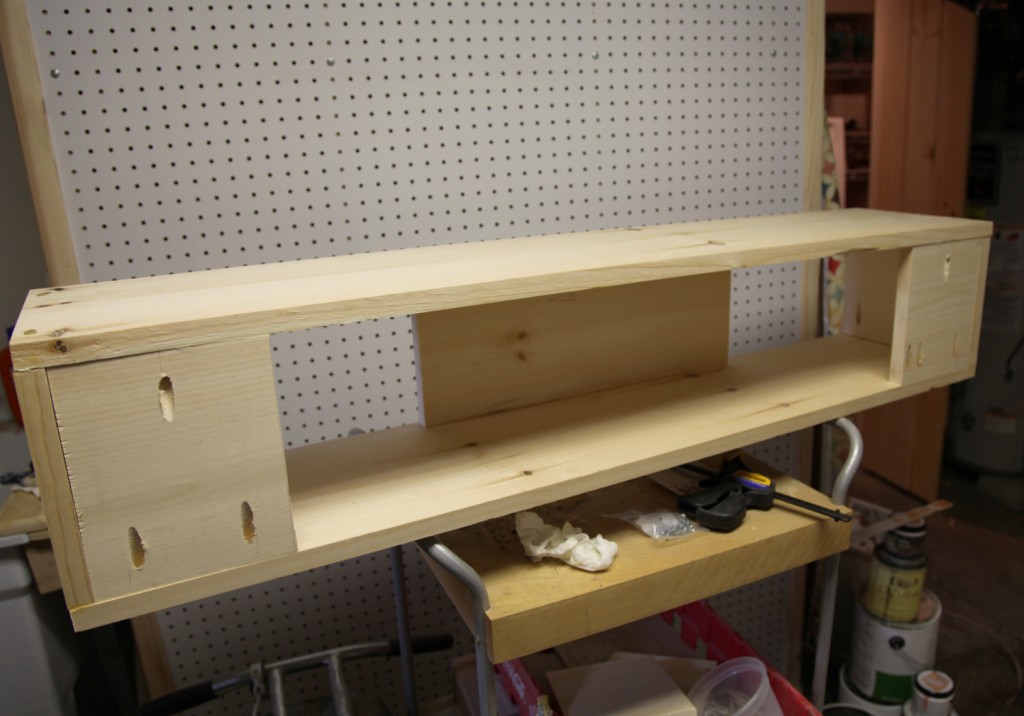
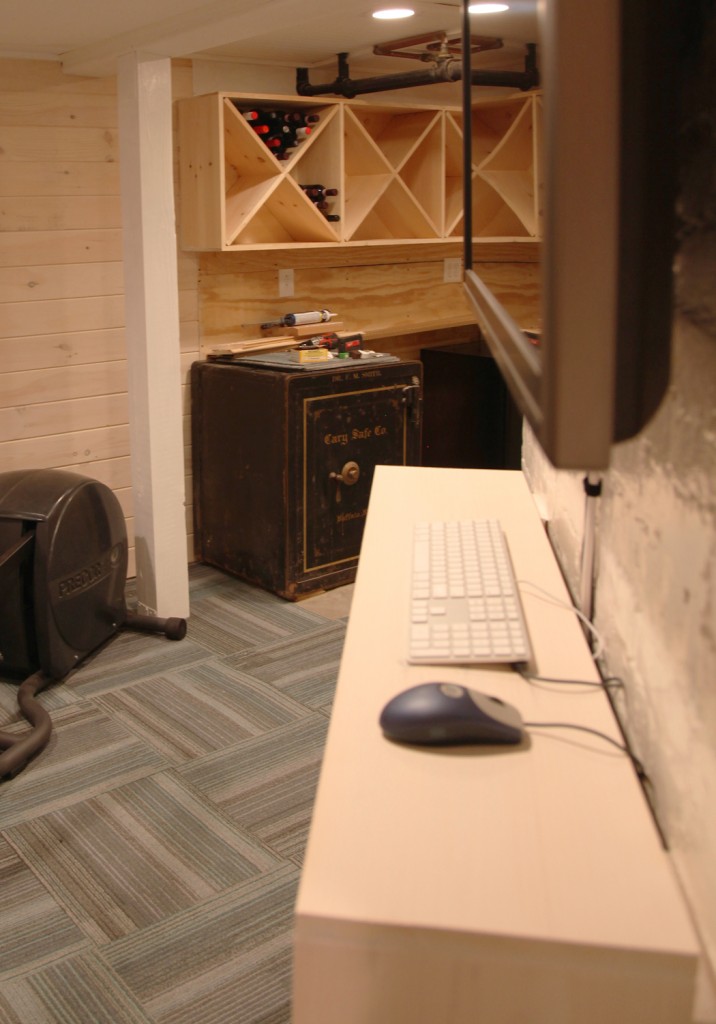
I decided to keep it simple. I went with a box with enough height on the inside to accomodate the speakers (I went with an inside height of 7 1/4″ to allow for the front cover plate to be a 1×8). The depth is 10″ including the mounting blocks. This allowed enough space for the computer and the hookups on the back (approximately 9 1/2″). I used 1×10 pine for the box (9 1/4″) plus the depth of the 3/4″ mounting blocks. The width is 44″. The TV is 42 1/2″ so I started with that width and added a little to make sure that I could fit the speaker and computer on one side of the wood cover plate. In the middle there is an 18″ wood cover plate to hide the 17″ power strip. It is funny that the power connection takes up almost 3 times the width of the computer. On the right side there is space for the other speaker and a little bit of miscellaneous storage.
Materials
1x10x10′ Pine (3/4″ x 9 1/4″ actual)
1x8x6′ Pine (3/4″ x 7 1/4″ actual)
Kreg Tool w/ Pocket Screws
Wood Screws
Glue
Masonry Nails (to attach it to the wall)
Total about $40
Instructions
1. Cut the top, bottom and 2 sides out of the 1x10x10′ (in our case: 2 @ 44″ and 2 @ 7 1/4″)
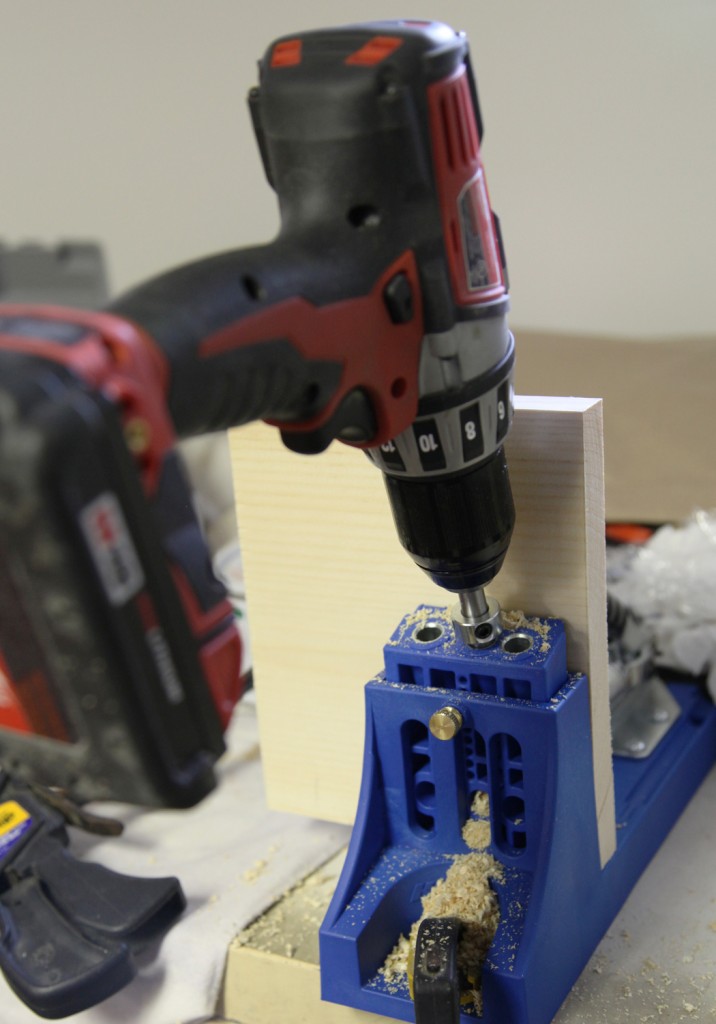
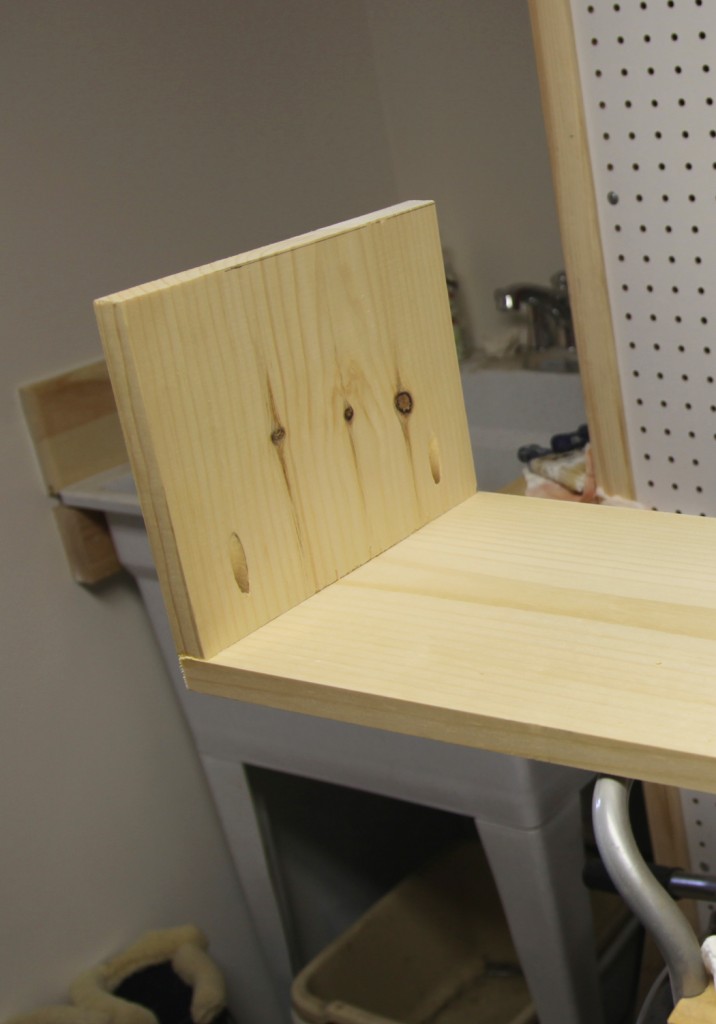
2. Use Kreg tool to make holes for pocket screws to attach the sides to the top. This way there are no exposed screws. I also glued the pieces together.
3. Screw the bottom with regular wood screws (since the bottom won’t be visible it doesn’t matter if they are visible).
4. Cut the back corner pieces and front cover piece out of the 1x8x6′. I used 6″ wide pieces for the back and 18″ for the front piece. I also cut 2 extra 6″ pieces for spacer to attach to the brick wall.
5. Test fit the pieces.
5. Using the Kreg tool add pockets in the 2 back pieces (I went with 2 on the top and one on the bottom). The back pieces will be supporting the shelf so I wanted to make sure it was totally secure to the shelf.
6. The front cover piece is to be secured later after installing the shelf to the wall.
Installing it on the Wall
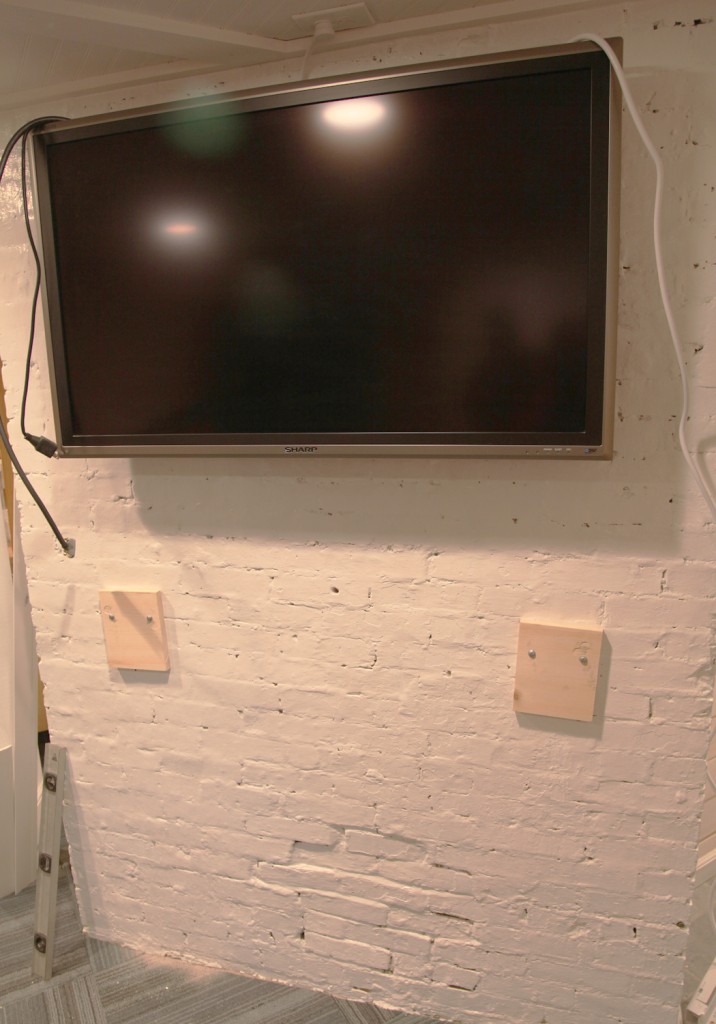
Our old brick wall is VERY difficult to drill into. The Masonry Anchors we used require pre drilling 1/4″ holes to the proper depth. After blowing through more than one bit anchoring the TV we decided to align the holes with the softer mortar.
7. We decided where we wanted the shelf (high up enough to allow the amps to fit below and low enough to be able to use the keyboard on top).
8. I roughly measured the placement of the wood blocking with the mortar joint. Then we predrilled the holes in the wood with a wood drill bit. This left a mark on the wall and we drilled with a masonry bit.
9. We hammered in the masonry anchors through the wood blocking. This left everything a bit wonky, but we decided to proceed.
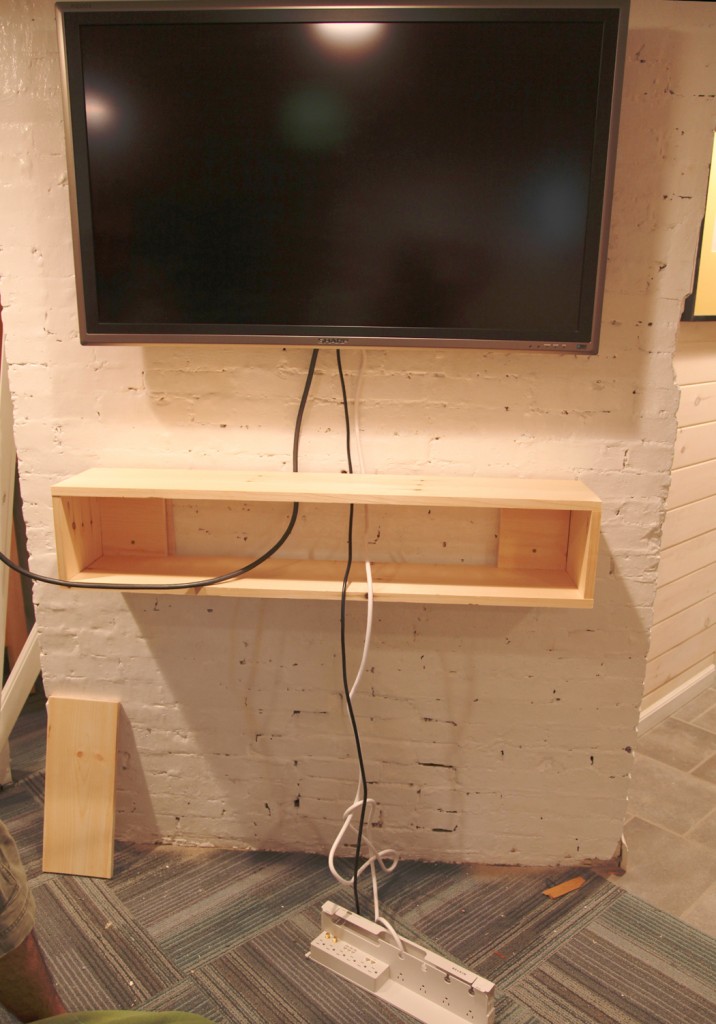
10. We screwed the shelf to the blocking. We actually had to do this twice because we released that the power strip needed to go through the back first (and the other end was located in the outlet above the TV).
11. At first this wasn’t as secure as I would have liked. Then I realized that by tightening the screws we had actually pulled the blocking away from the brick wall at the bottom (while keeping it tight at the top). The anchors were still secure, so I was a little unsure what to do. Then I tried a shim underneath the bottom of the blocking at it was suddenly nice and tight and secure. Phew! Just a little caulk to cover the seam and we were good to go.
Finishing
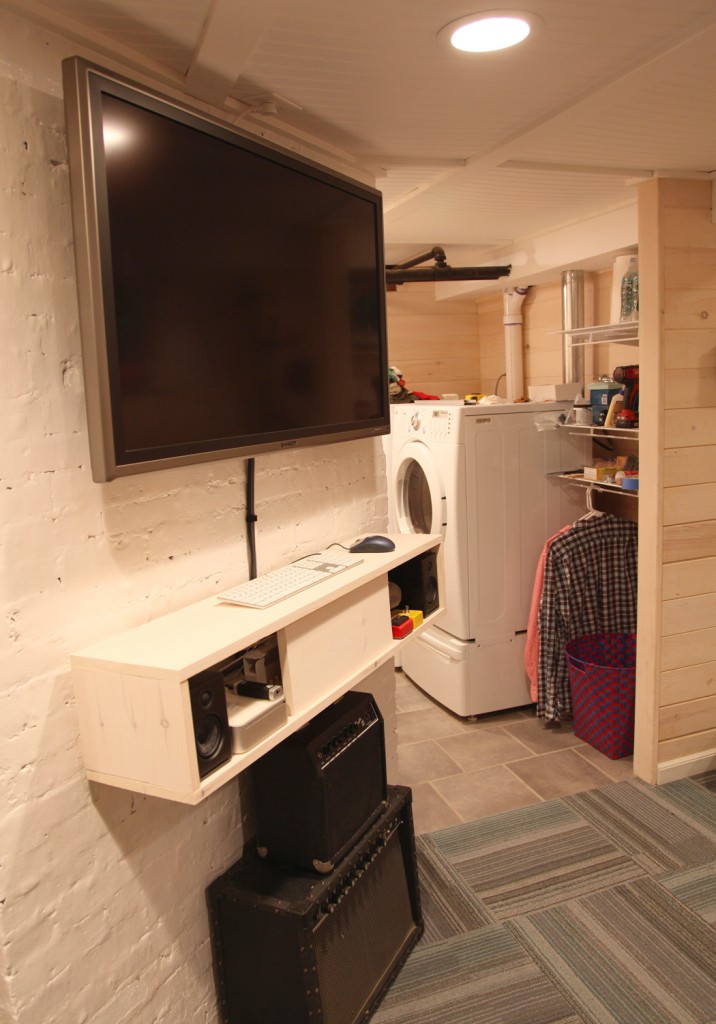
After the shelf was in place we used the gloss white to match the wall for the blocking on the back (along with the caulk). For the rest of it I white washed it similar to the walls. Then I let it dry overnight before installing the equipment.
What would I do differently?
After I do these projects there are normally a few things that I would do differently. The main thing is that I would have made the blocking for the wall smaller than the back corner pieces on the shelf. In the end they didn’t end up aligned very well and you can see one side of it sticking out if you are looking at the inside of the shelf. Otherwise I would have been more careful about the various plugs and making sure that I had put them through the rear of the shelf before installing it.
All in all this was a pretty easy and quick project. I think it is something that most people could do. It also cost less than anything I would have bought at Ikea which is always a nice feeling.
Finally, I will leave you will a detail of the shelf and a sneak peak at the wine rack in the distance. Later this week I will break down how I made it.
* To see all of the posts about our basement click here.

