I thought it was about time I gave an update on the basement. As with so many project around here we get 95% of the way done and loose steam (Does that happen to anyone else?). That was definitely the case with the basement. We got it far enough along that it was functional and let it be. Well now I am trying to finish up before we embark on the second and third floor adventure.
The Basement To Do List:
-Add a closet below the stairs
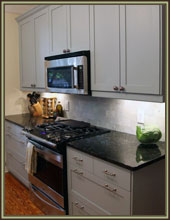
-Finish the counter and backsplash in the wine/beverage area
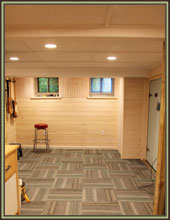
-Finish up the workroom
-Add artwork and decorate
-Decide on curtains for the washer and dryer area
-Decide on furniture/shelving/storage for the pantry area
I have been working on pretty much all of these (except the last 2) and we are definitely in the home stretch. Our contractor installed the closet a couple of weeks ago (Yeah!), I just need to add trim to the door and whitewash.

The workroom is definitely more organized and I can actually find most of our tools, although I still need to decide which table/bench to install the miter saw on. I have also started adding artwork and accessories. And for the last couple of weeks we have been concentrating on the counter and backsplash at the wine/beverage area.
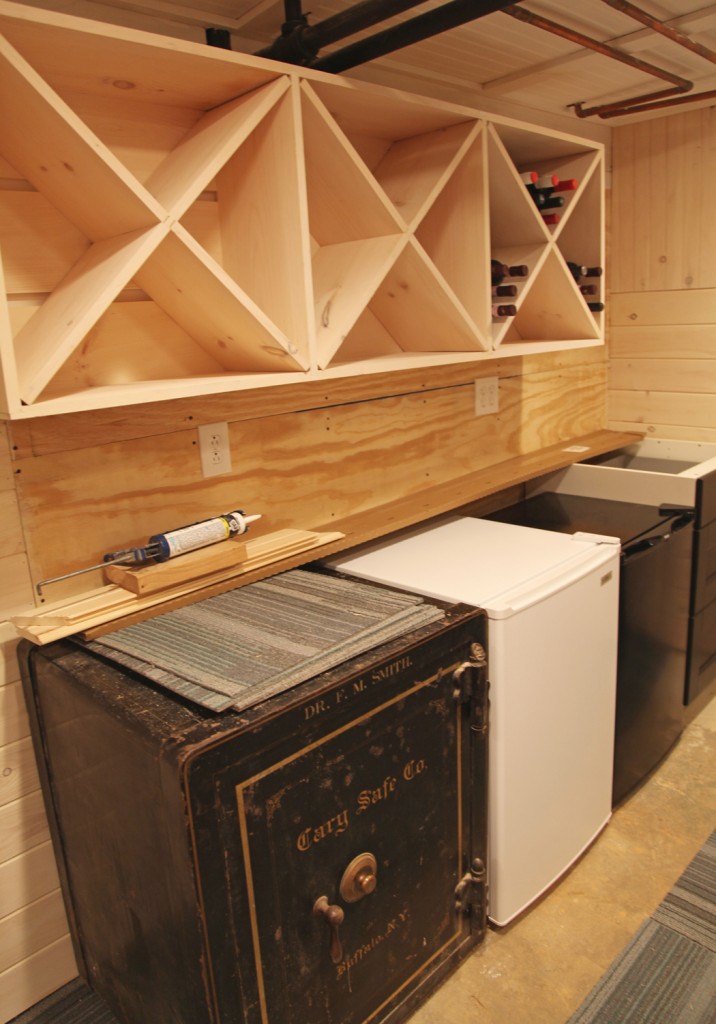
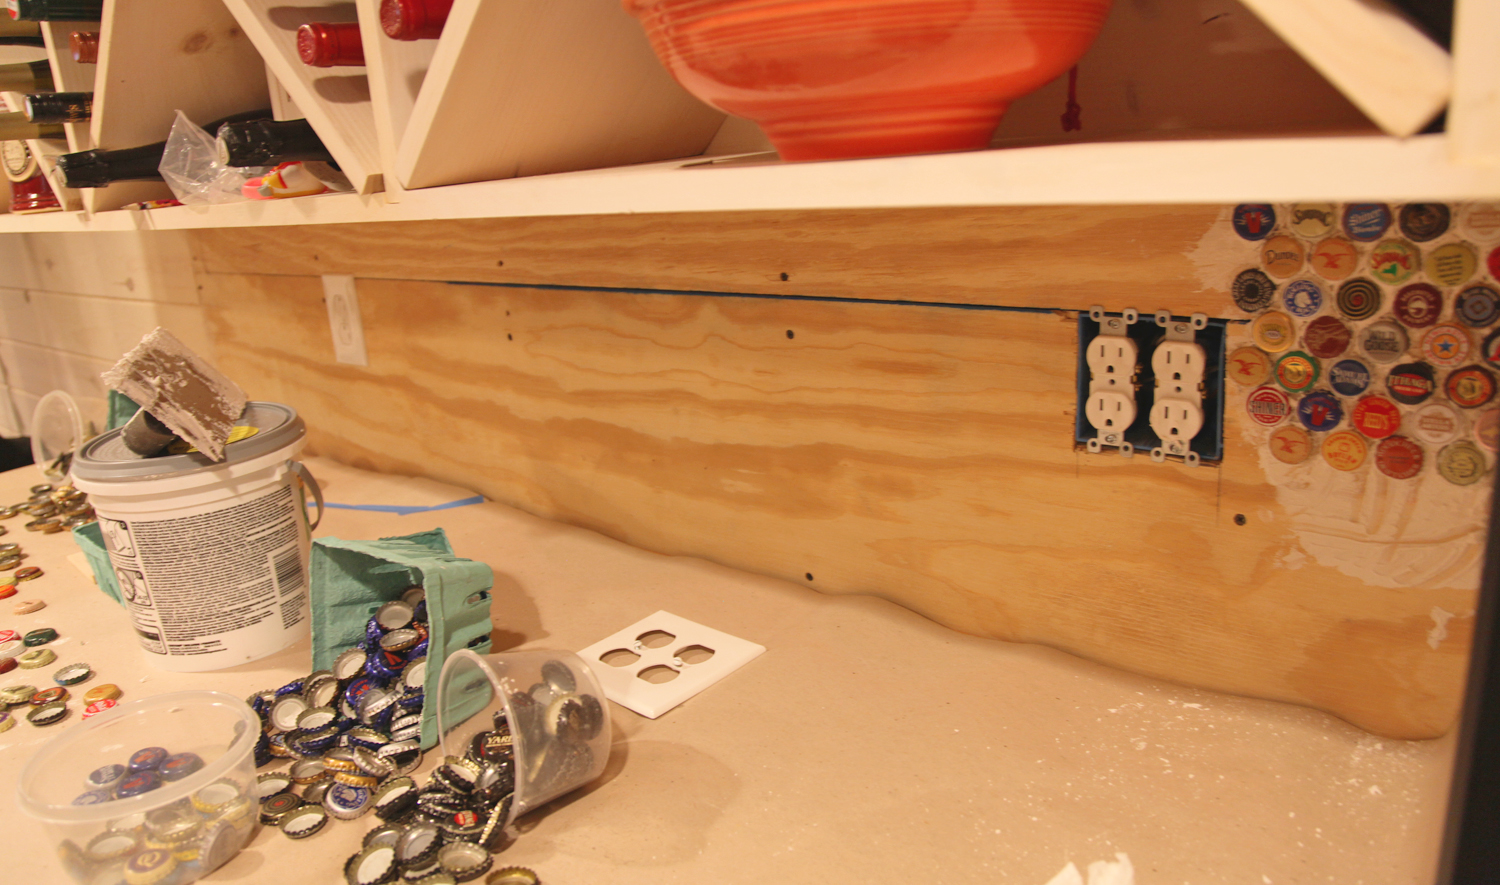
This is where we left off over the summer. We quickly put the wood counter on top with some loose wood blocking and decided to let it be (after all there was a 5 year old birthday party to prepare for). Then of course it was easier to leave it then actually finish it.
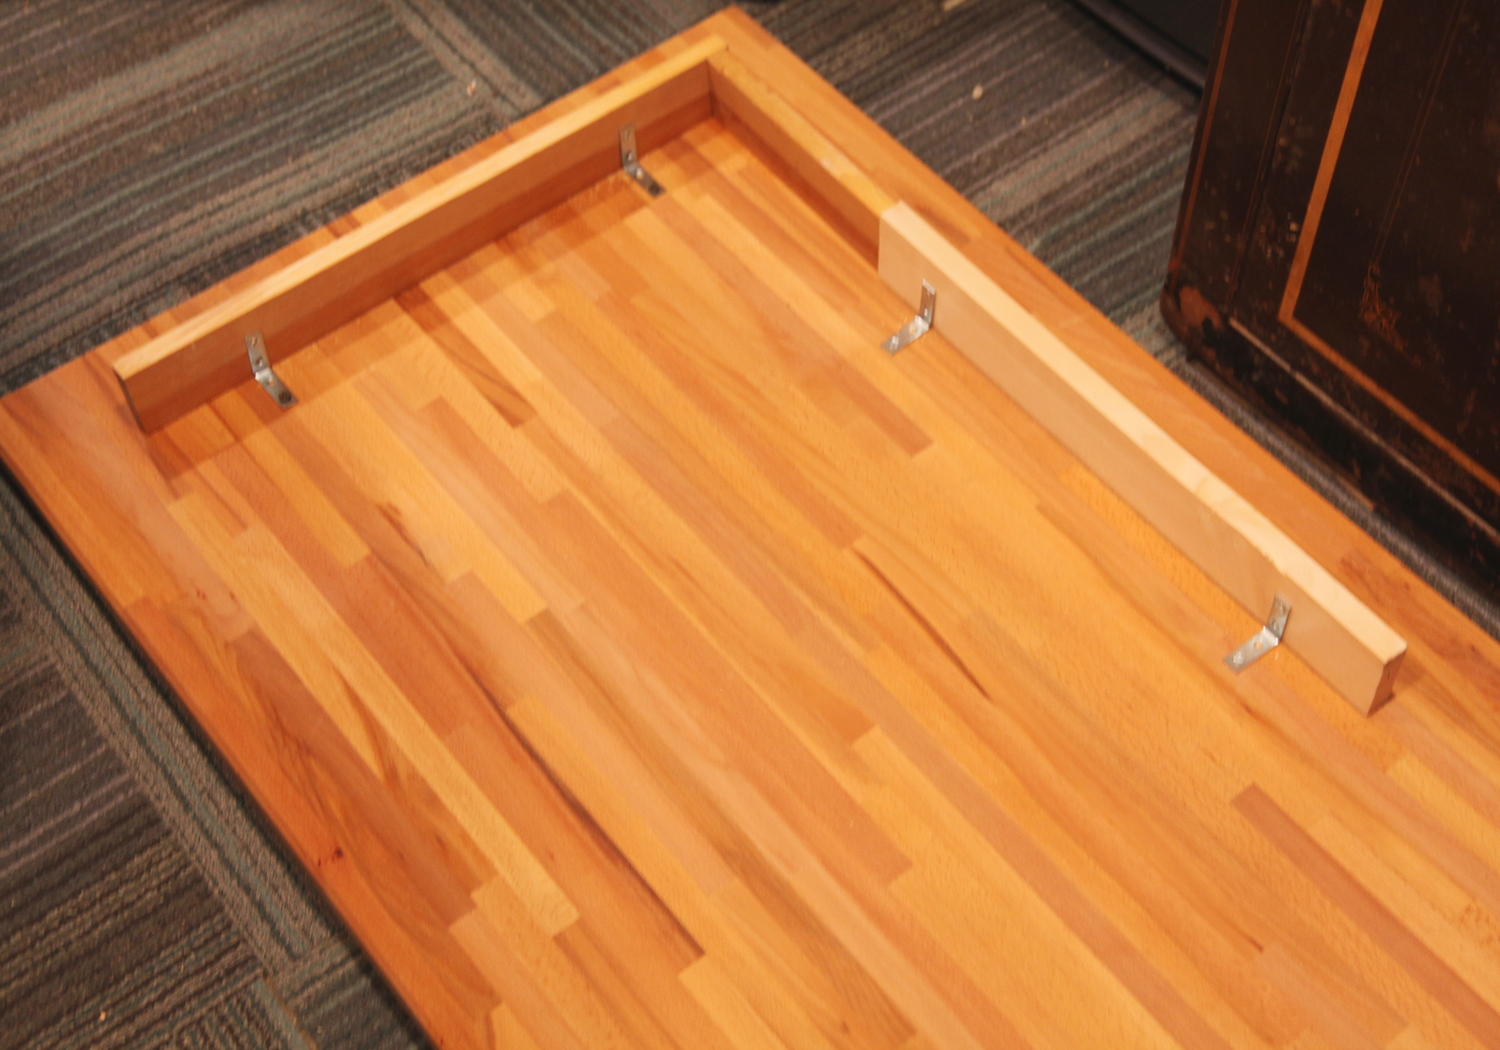
Well we finally busted out some scrap wood and used some small brackets I had on hand and put this baby in. Of course with everything in our house it was not quite that simple. We did design this area to fit the longest Ikea wood counter but the portion that needed to sit on the victorian safe needed blocking to raise it to counter height (and of course nothing is level down here). We also added a cleat on the back wall behind the fridge and freezer while leaving a gap above them to allow air to circulate. Finally we attached it to the drawer cabinet on the end. The upper cabinet just sits on the counter, so we just had to screw it to the wall to keep it in place.

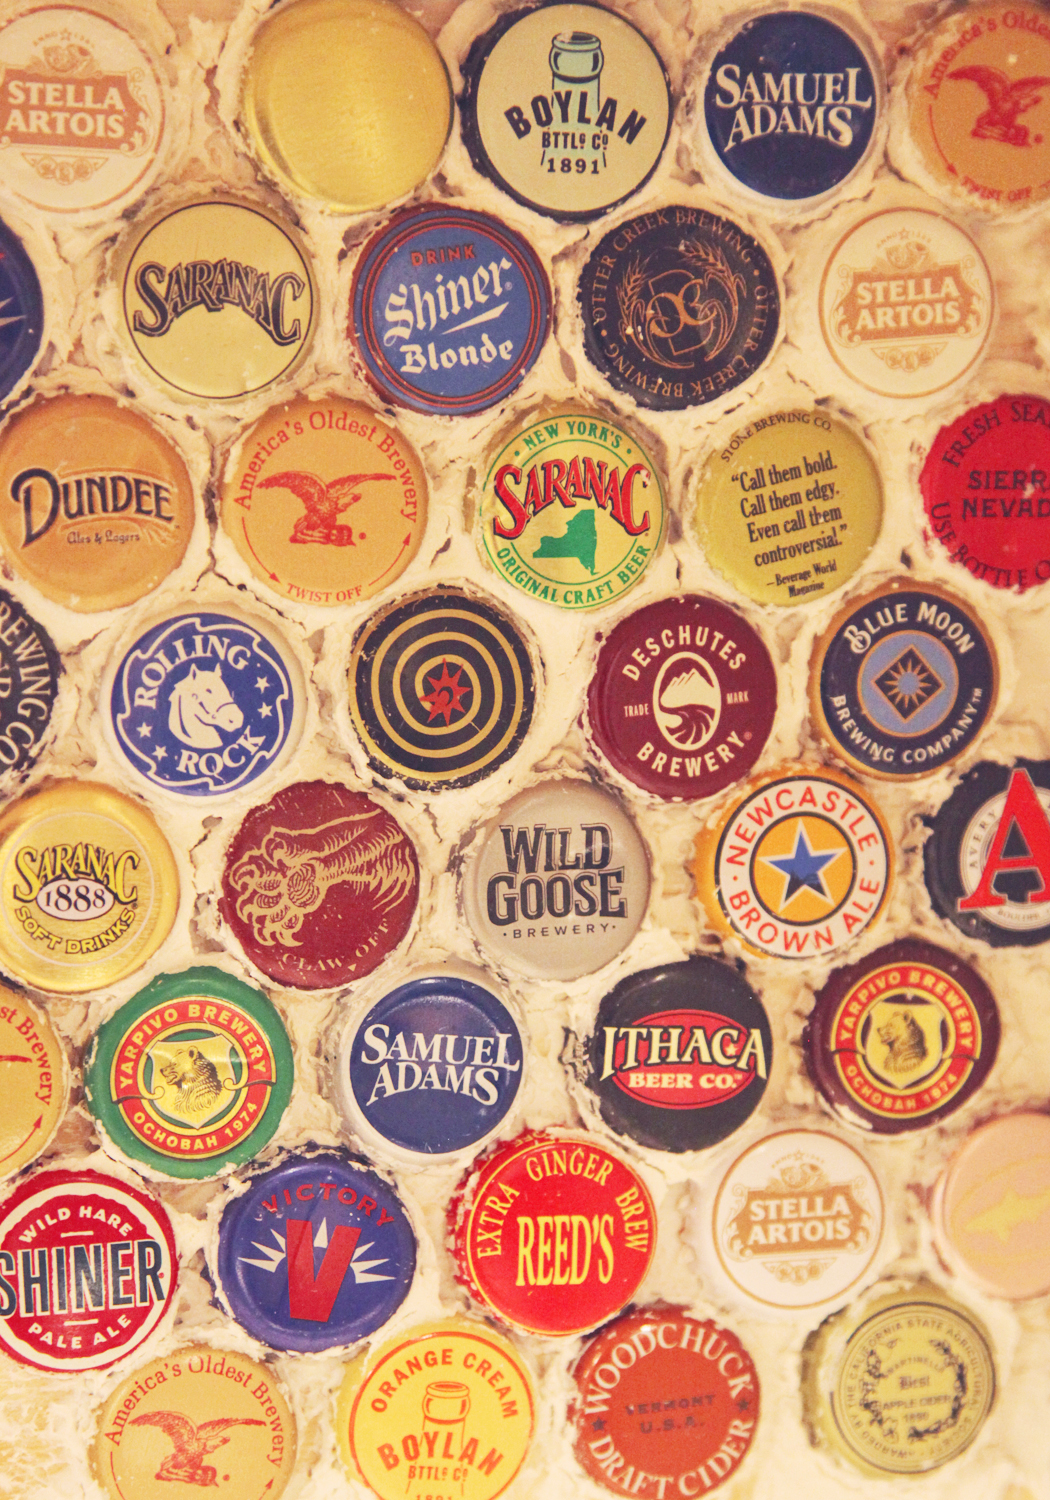
So after spending way too long messing with the counter, came the fun part. Sorting bottlecaps! We along with several of my friends and neighbors have been graciously collecting beer bottlecaps for us (I know it is a hard job but somebody needs to do it!). We have some nice ones now, although I now realize that we are still short. I am hopeful that beer drinking will continue and we will be able to finish relatively soon. We cleaned them up, sorted them by color and took out the ones that were too bent to use.
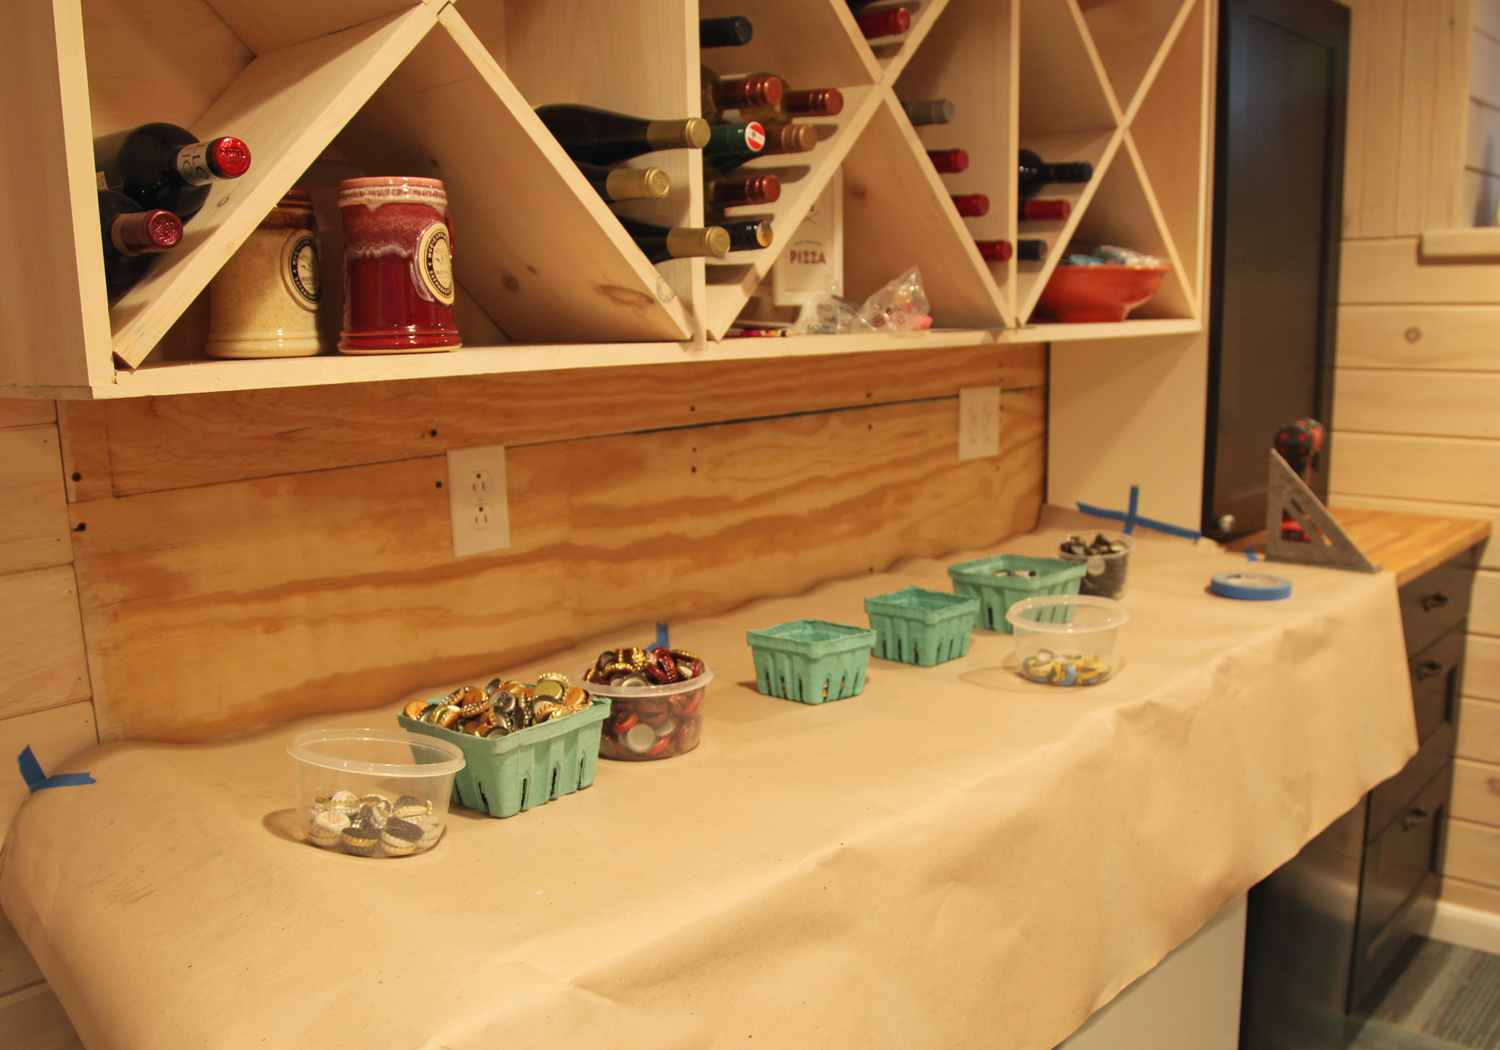
So now where to start? I starting mixing the bottlecaps by color trying to keep a good mix. I also decided to start in the upper corner (which is less visible) to allow me to get the hang of attaching them. I decided to go with a premixed tile adhesive from Home Depot.
After quite a bit of trial and error I determined that the best way to apply the adhesive was to put a thin coating on the wall with the trowel and then back butter the bottlecaps. This actually takes a lot of adhesive since you need to fill the cavity behind each cap. I also found out that the caps tend to slide, so I had to keep pushing them up. These took a couple of hours to set in place and by morning were nice and tight. Of course now I realize that I am only about 1/30th the way finished and this took me over an hour. Granted I think now that I have a strategy it will go quicker, but I will most likely be at this for a while. I thought it might be nice to do a little each night (although so far that hasn’t happened). If all goes well I will finish this up in about a month, unless I get some time on the weekend to work on it. I do like how it looks and it does make me smile when I head down to grab something or do the laundry.
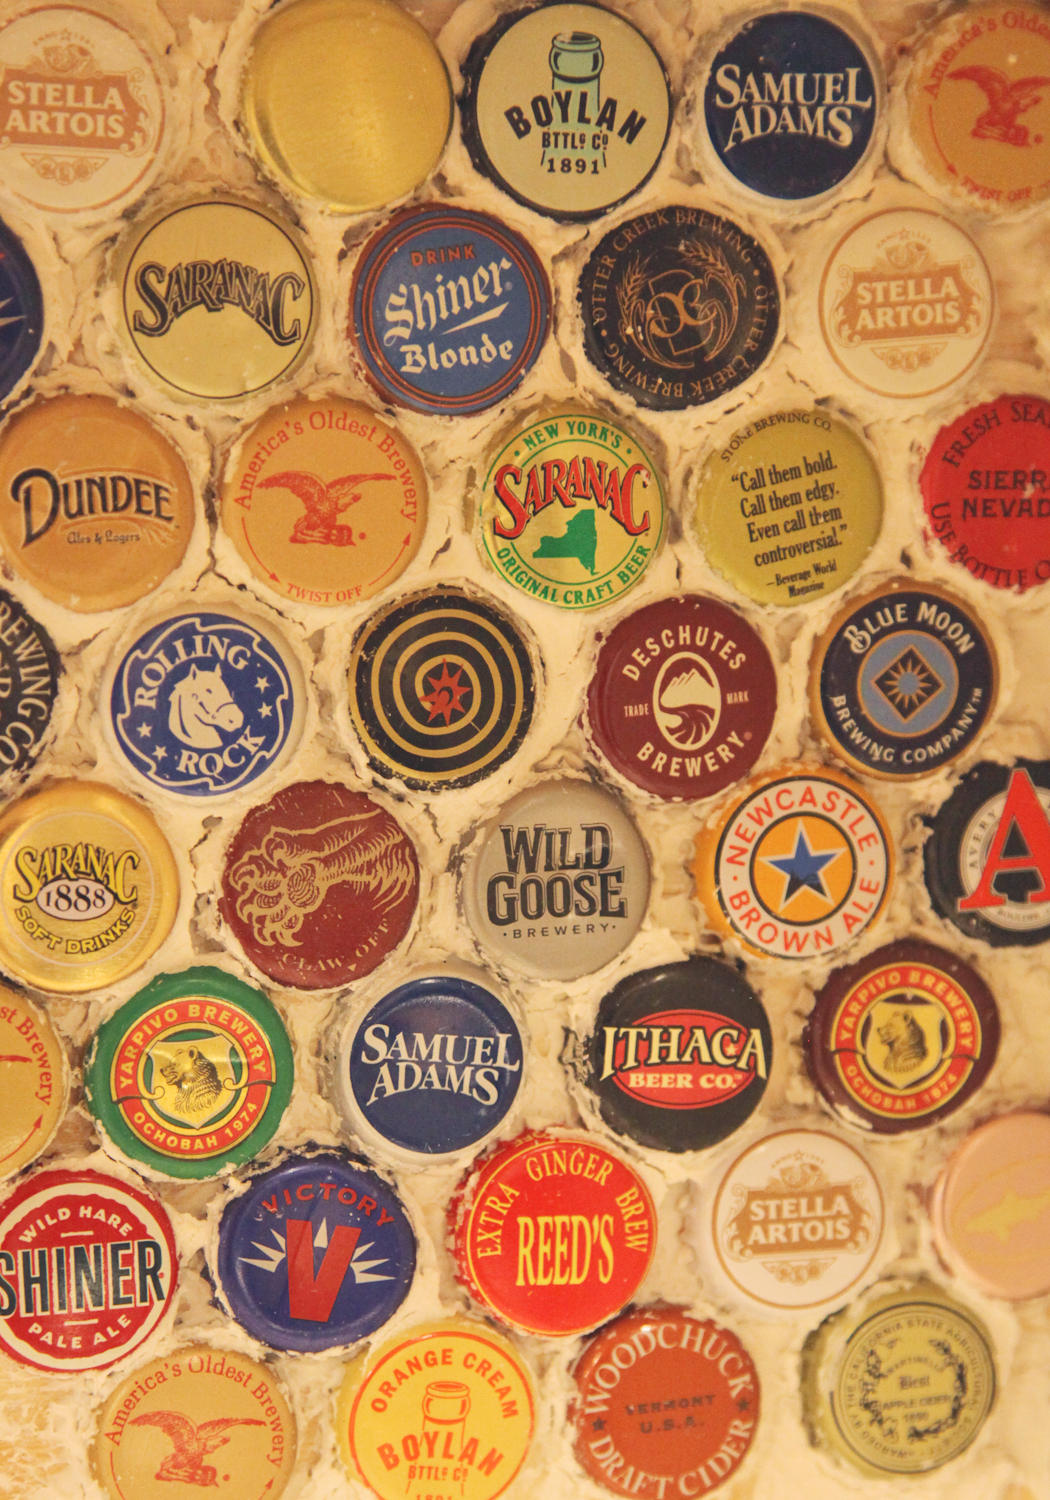
The only other change I have to make, is that I was planning on using gray grout, but because of the thick white adhesive I will need to switch to a matching white grout. So drink up and wish me luck!
To see all of our basement projects click here.


We have more caps for you, Heidi — not tons, but pretty ones. I love recognizing the ones that were ours on your wall!
Thanks Andi! I really like recognizing the different ones too and who and where they come from. There are definitely a few that bring back some memories.
Will you accept caps from non-alcoholic beverages? Jon’s a Reed’s Ginger Brew fanatic (he buys it by the case), so we will definitely be able to collect some caps for you!
Hi Katie,
Of course! We actually have a few ginger beers already.