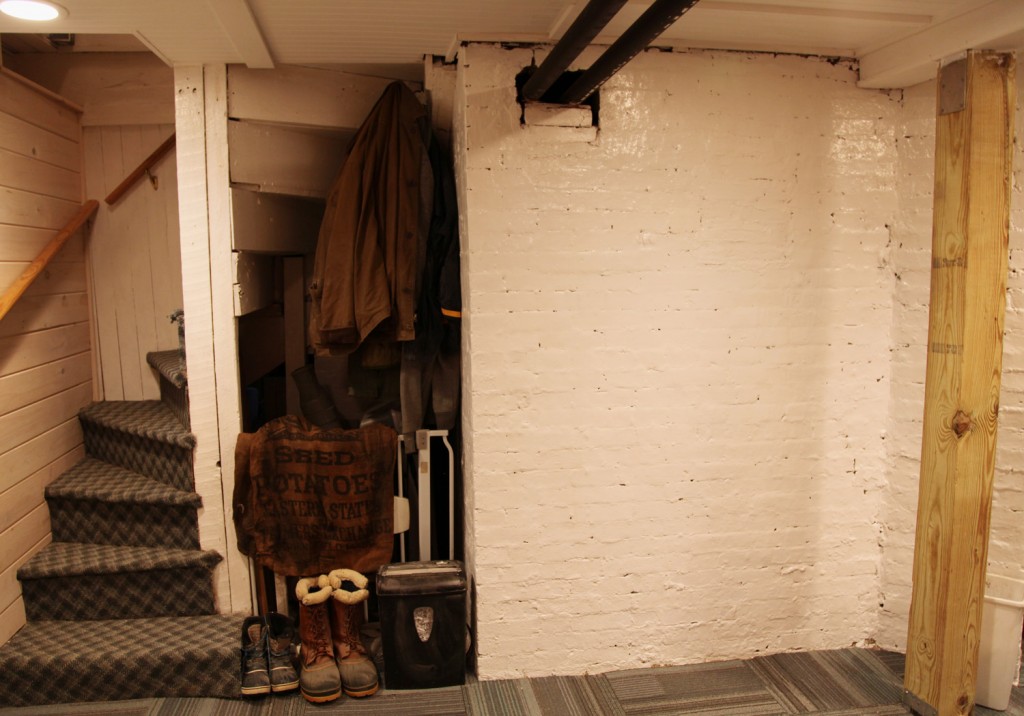
Painted Brick Walls (area to the left is going to become a closet and columns still need to be routed and painted)
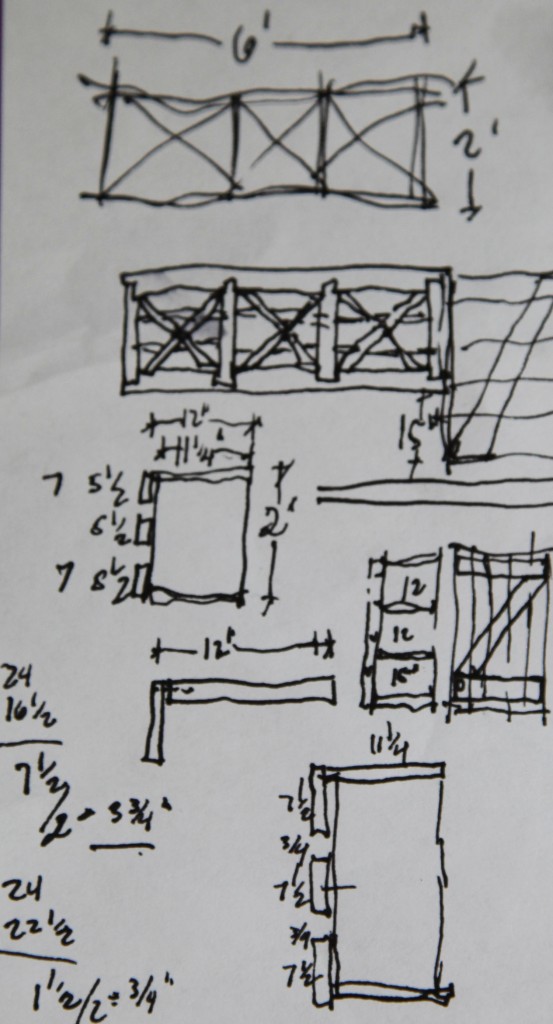
I hope everyone had a lovely weekend. We had a productive and fun weekend. It is really nice now that the basement is far enough along that the kids can come downstairs and “help”. My parents came down on Saturday, so we took the opportunity to scrape and paint the brick walls (the bottom of the fireplaces) in the basement while the kids were down at the park, since those were not activities that could be done while they were there (i.e. lead paint and wet walls). We also cleaned the last corner that still had dust from the renovation (future closet), and although there are still a lot of things that are not in their final resting place, it is feeling nice down there. The carpet is almost all in (minus some at the pantry area that I won’t install until we have everything). We are still in discussions about where to put furniture in the main space, although we did manage to decide on a general direction for the panty/wine storage. Mr. S thought that the Ikea options were too Euro, so I drew up some ideas for wall mounted wine racks.
I have always liked the look of the X type storage, so I think we are going to go with that. I looked online first for kits and plans but couldn’t come up with anything that I liked, that wasn’t overly complicated or didn’t involve a million little pieces.
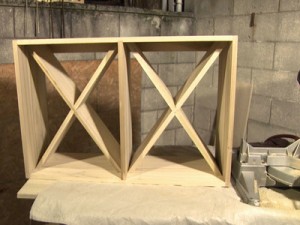
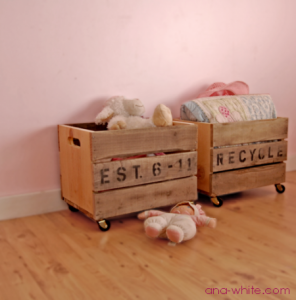
The closest wall mounted wine rack was this from the DIY network. I also looked at these pallet crates from Ana White’s site for ideas. The DIY version, was overly complicated with lots of unnecessary cutting and fitting. I liked the pallet crates from Ana’s website but obviously that needs a fair amount of tweaking to work.
My plan uses pine 1x12s as the frame and 1x8s for the back. I looked at Home Depot to price it out, and this should be less expensive than using Home Depot Cabinets, and then it can be whitewashed to match the rest of the beadboard. I plan on rabbiting the verticals into the horizontal members with our router (which I don’t think you would have to do, but will add to the strength). The back pieces will screw into the frame. The nice thing is that I can also screw into the back of the diagonals, making it quite a bit more rigid. Then I can screw the unit up to the studs from the top of the back piece. For the cabinet to the right, I haven’t decided whether we are going to go with a standard wood cabinet from Home Depot or make our own to match (in my sketch I have drawn out a beadboard door for the cabinet). For the bottom drawer cabinet, I am still planning using an ikea cabinet, since they are still the best deal on full extension drawer cabinets, and I really need the storage.
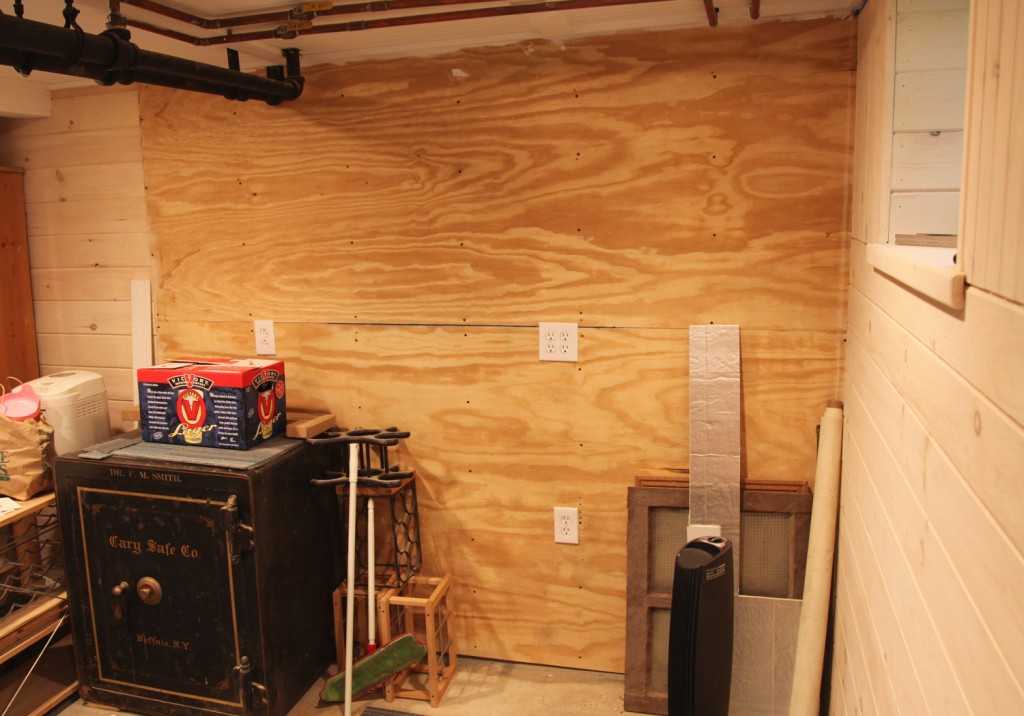
I still have to decide on a wall treatment for behind and above the wine storage. My friends have weighed in on the backsplash and are heavily in favor of the bottle cap option. So, time to start saving up those caps! So if you are my favorite sister-in-law, I am making my official request for you to start saving some interesting beer caps for us! I am also thinking up some fun ways to make the fridge and freezer better looking, since they will be arriving in white (the only color that the freezer is available in).
Tomorrow I will show you a couple of the fun details that we are working on elsewhere in the basement.
* To see all of the posts about our basement click here.

